Make the second filter earn its place
Two creative filters can interact, but a more elaborate effect is not automatically a better photograph. Start with a specific intention: perhaps retaining a readable face while changing the appearance of lights behind it. This sponsored guide turns that intention into a four-frame comparison. The Camera Post and SZ Filters share ownership; SZ Filters is our sole site sponsor. We have not conducted an optical test for this article. The method is a proposed exercise, and the accompanying photographs illustrate equipment rather than measured results or a matched comparison.
Check the connection before looking through it
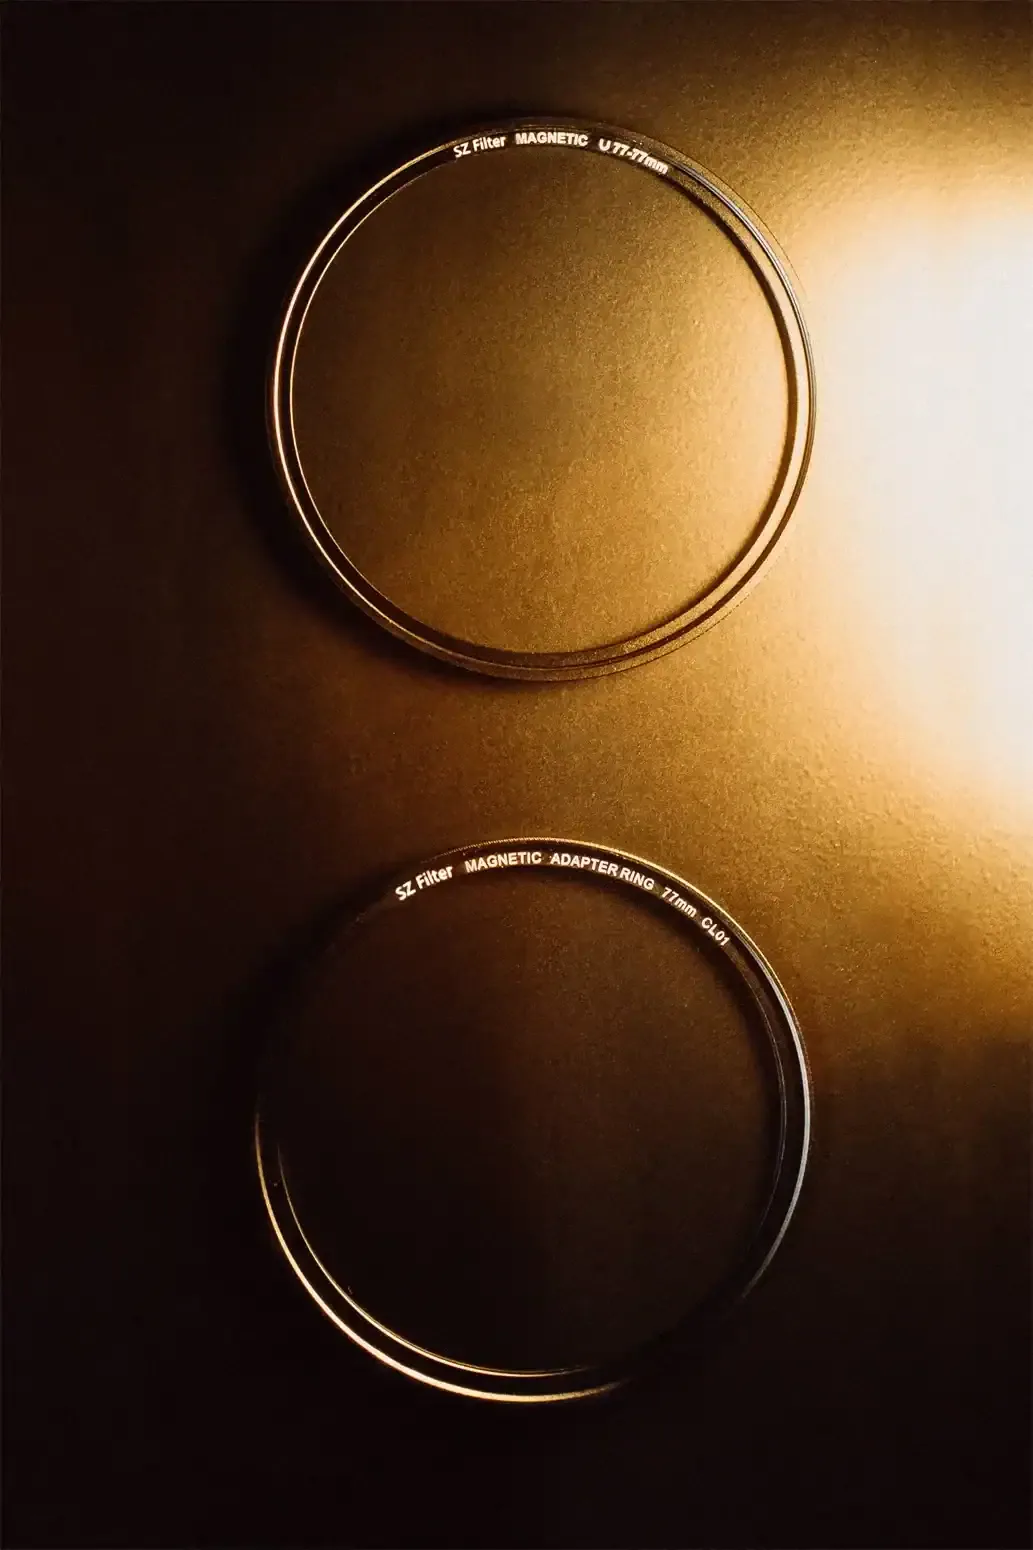
Confirm the lens filter-thread diameter and the attachment method of both filters. Matching diameter labels alone do not prove that two particular accessories can attach securely to each other. Look for the manufacturer’s stated front-thread or adapter compatibility. Do not force a ring that resists, balance an unsupported filter in front of a moving subject, or assume a magnetic connection is designed to carry extra layers. If the combination is not documented or does not seat securely, use one filter at a time and ask the manufacturer about the exact components.
Build a four-frame reference
Choose a stationary subject and stable light, then secure the camera without obstructing anyone. Make four identifiable configurations: no filter, filter A alone, filter B alone, and A plus B. Record the order, orientation and settings in a note. Keep camera position, focal length, aperture and focus consistent. This separates each individual contribution from the combination. Do not label the files only good and bad; meaningful names let you return to the evidence after the novelty of the strongest effect has worn off.
Separate light loss from a changed look
Begin with a consistent exposure and white balance so you can see whether adding a layer changes brightness or color. Avoid judging only an automatically brightened preview. If you then compensate exposure to compare the appearances at similar brightness, save that as a separate, clearly labeled comparison and record what changed. A longer shutter time can alter movement, and an ISO adjustment can alter noise. Use a static subject for this first exercise, and do not claim that differently exposed pictures isolate every optical difference.
Look at the corners before the highlights
Inspect the complete frame at the focal length you intend to use. A combination that seems acceptable at a longer setting may obstruct the edges when the lens is widened. Distinguish a physical dark boundary from ordinary gradual shading, and compare with the no-filter reference. Removing a layer or changing the attachment arrangement may solve the problem; cropping is a creative compromise, not proof that the original setup covered the frame. Retest after changing adapters rather than assuming the earlier result still applies.
Judge the subject at the final viewing size
Bright streaks or softened highlights can dominate the first impression. Return to the subject: can you still read the eyes, gesture, product edge or detail the photograph needs? Compare the four files at equal display size and with consistent processing, then check the intended delivery size. An effect that is attractive on a large monitor can become an indistinct patch in a small image. Pick the version that supports the picture’s purpose, even if that turns out to be a single filter or the clean reference.
Change one scene variable for the next round
Only after choosing a promising combination should you vary the scene. Move the light or change the camera angle, then repeat a short reference sequence. Do not simultaneously change aperture, focal length, orientation and processing and call the result a comparison of filter order. Different light positions can produce very different reflections. If testing order is mechanically supported, record it explicitly and keep the remaining setup fixed. This exercise supplies information about that combination in that scene, not a universal ranking of products.
Keep a reliable route back to a clean frame
For an assignment, rehearse removing the filters and storing them safely without delaying the subject. Capture an unfiltered alternative when the brief requires readable detail, faithful color or a conservative option for the editor. Never add layers simply because you brought them. The SZ Filters educational reference below discusses stacking and its limits; it is not evidence that every pair of accessories is compatible. The useful outcome is a documented choice and a repeatable setup, not the greatest possible number of pieces in front of the lens.