Start with a question you can answer
Does a filter help this particular photograph, and at which aperture? That is more useful than looking for a universal setting that makes every effect attractive. SZ Filters discusses the relationship between aperture and creative effects in its October 1 educational article. This sponsored guide develops a matched-pair exercise to separate the variables. The Camera Post and SZ Filters share ownership, and SZ Filters is our sole site sponsor. We have not performed this test or measured a product for this article.
Make the subject the fixed reference
Choose a stationary subject with visible detail and a background containing a few distinct highlights. Keep the camera position, focal length, focus distance and lighting steady. A stable support helps you compare framing, but check the sharpness of the subject before proceeding. Start without a filter and choose the aperture that gives enough depth of field for the intended picture. If the eyes or the important product detail already fall outside that zone, an attractive light effect will not solve the underlying focus decision.
Use pairs instead of one long filtered sequence
Make an unfiltered and filtered frame at the first aperture, then repeat that pair at a second and third aperture. For example, use f/2.8, f/4 and f/5.6 if your lens supports them and the scene makes the differences useful. Keep filter orientation consistent whenever its design makes orientation relevant. Handle the lens gently so the comparison does not become a test of changed framing. A pair at each setting helps distinguish what the lens and scene do on their own from what adding the filter changes.
Keep brightness comparable without hiding the exposure cost
For a stationary still-life under stable continuous light, hold ISO steady and compensate an aperture change with shutter time. Moving from f/2.8 to f/4 reduces exposure by roughly one stop: 1/125 second becomes about 1/60 for comparable brightness before allowing for any filter light loss. Check the recorded files rather than assuming the meter gives identical results. Write down all settings. With a moving person or flickering light, the longer exposure introduces another variable; choose a different setup or acknowledge that the comparison is no longer tightly controlled.
Lock processing as well as the camera
Use the same white balance and picture treatment across the exercise. When reviewing raw files, avoid applying a different automatic adjustment to each frame. Match overall presentation deliberately, but do not remove the very color or contrast differences you are trying to assess. Keep a neutral reference in a separate setup frame if useful. Export the candidates at the same size and inspect them on the same display. A brighter preview or a stronger contrast preset can easily win an informal comparison for reasons unrelated to the filter.
Judge three things separately
First inspect the intended subject: is its important detail legible and appropriately sharp? Then inspect the background: does it supply context or distract? Finally inspect the effect itself, including bright edges and the parts of the image near the frame boundary. Do this at normal viewing size before magnifying small details. Mark each pair with a short decision, such as “background competes with face” or “effect crosses important lettering.” That gives you a usable shooting note instead of a vague preference for whichever frame looks most dramatic.
Check fit and avoid stacking variables
Confirm the filter thread or mounting arrangement against the exact lens and filter instructions. The diameter marked for a filter is not the focal length of the lens. Check clearance and corners at the focal length you intend to use; an adapter does not guarantee freedom from shading. For this exercise, use one creative filter rather than adding several at once. If you later investigate stacking, treat it as a separate comparison. Never use a creative filter as eye or camera protection for photographing the sun.
Take the result back to a real shoot
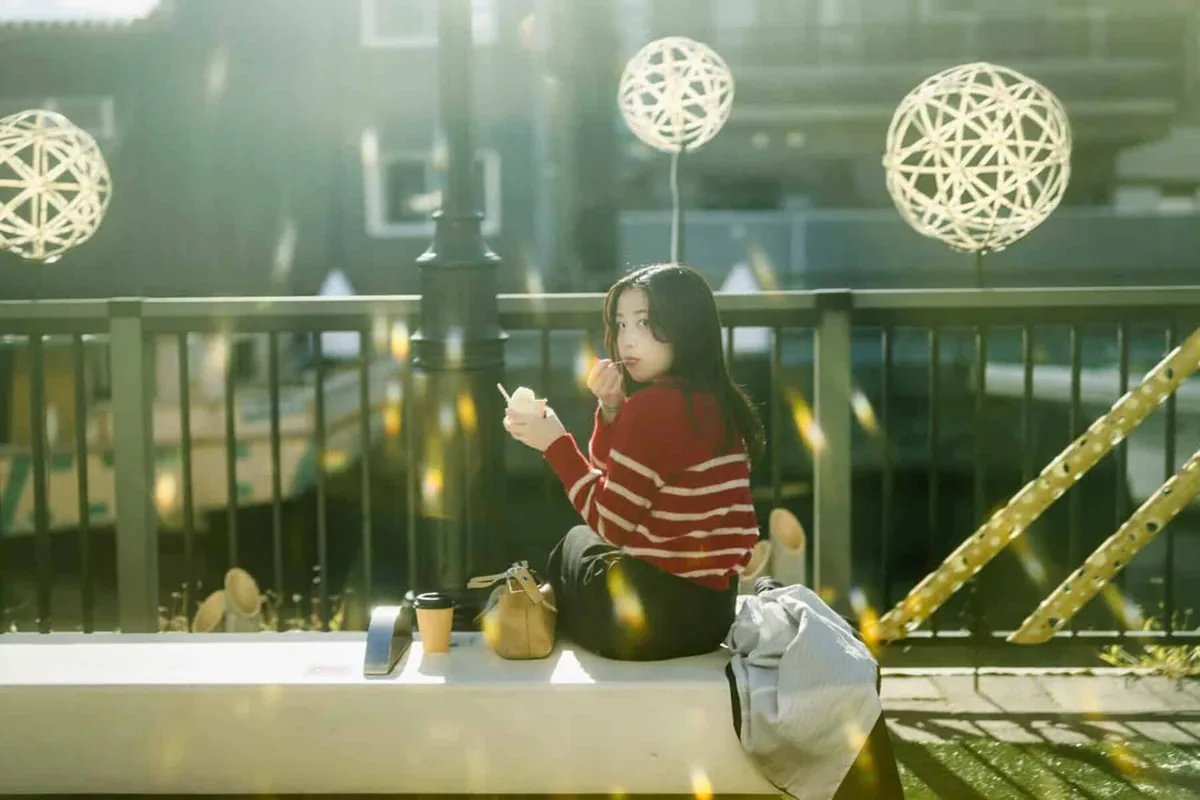
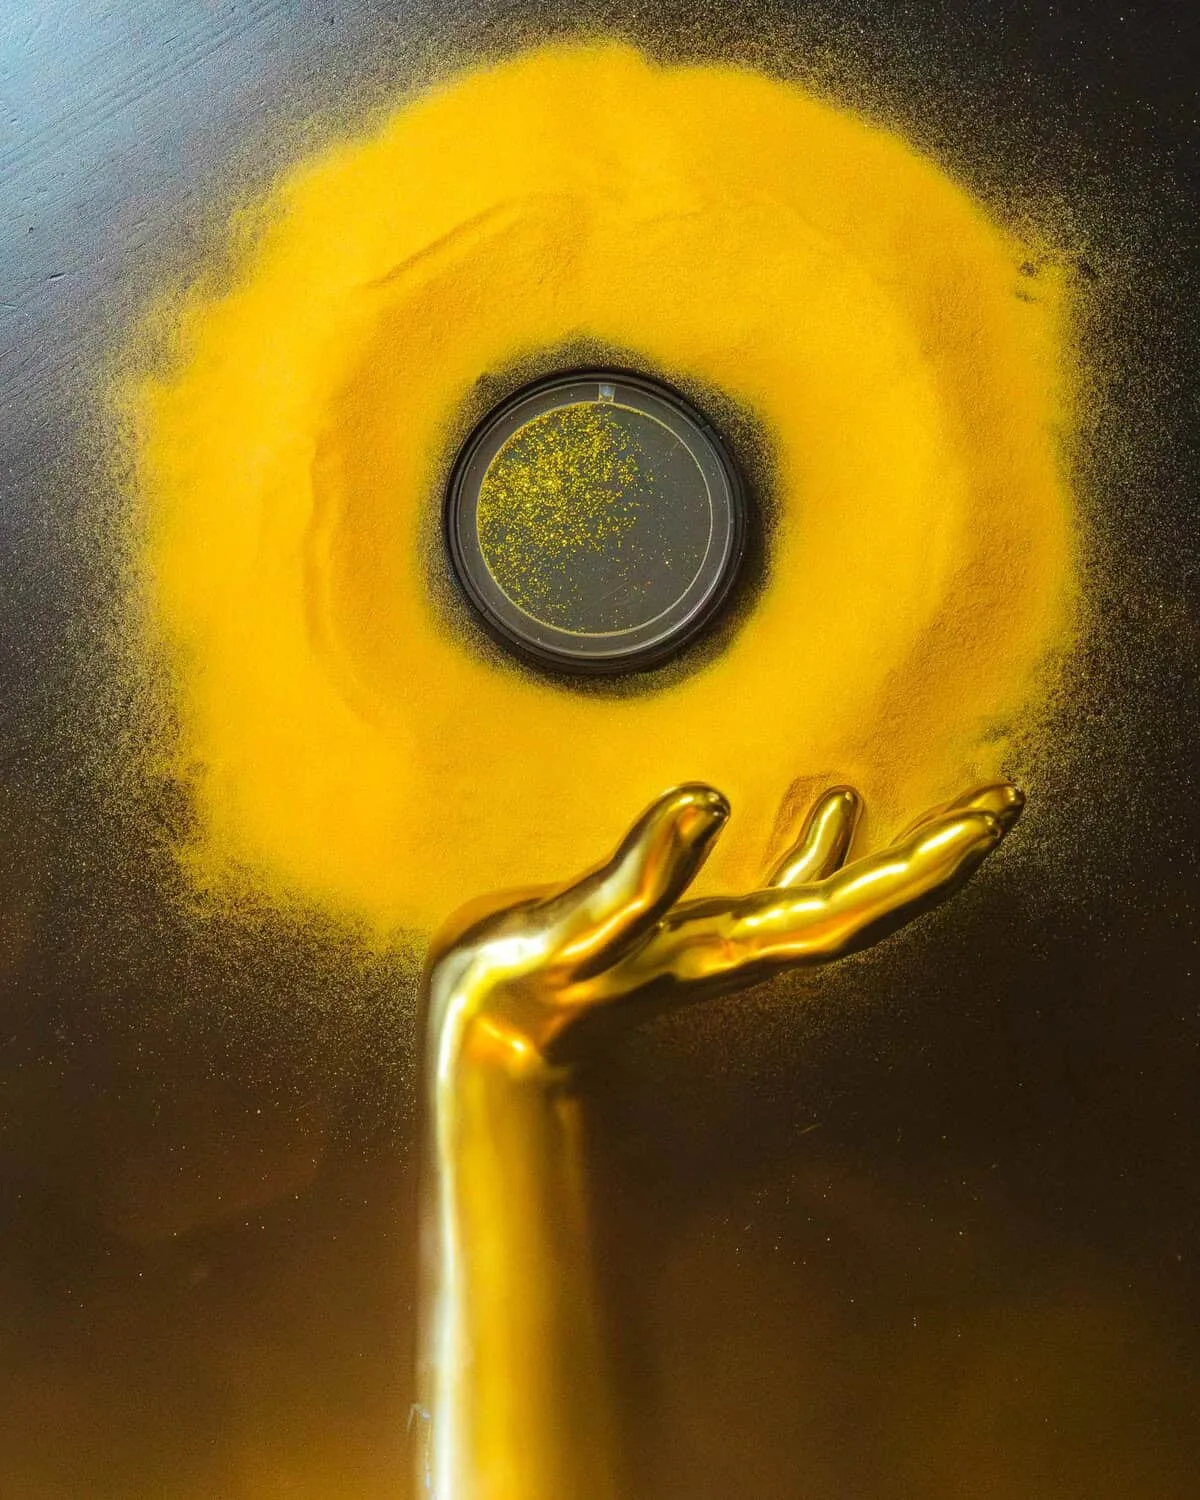
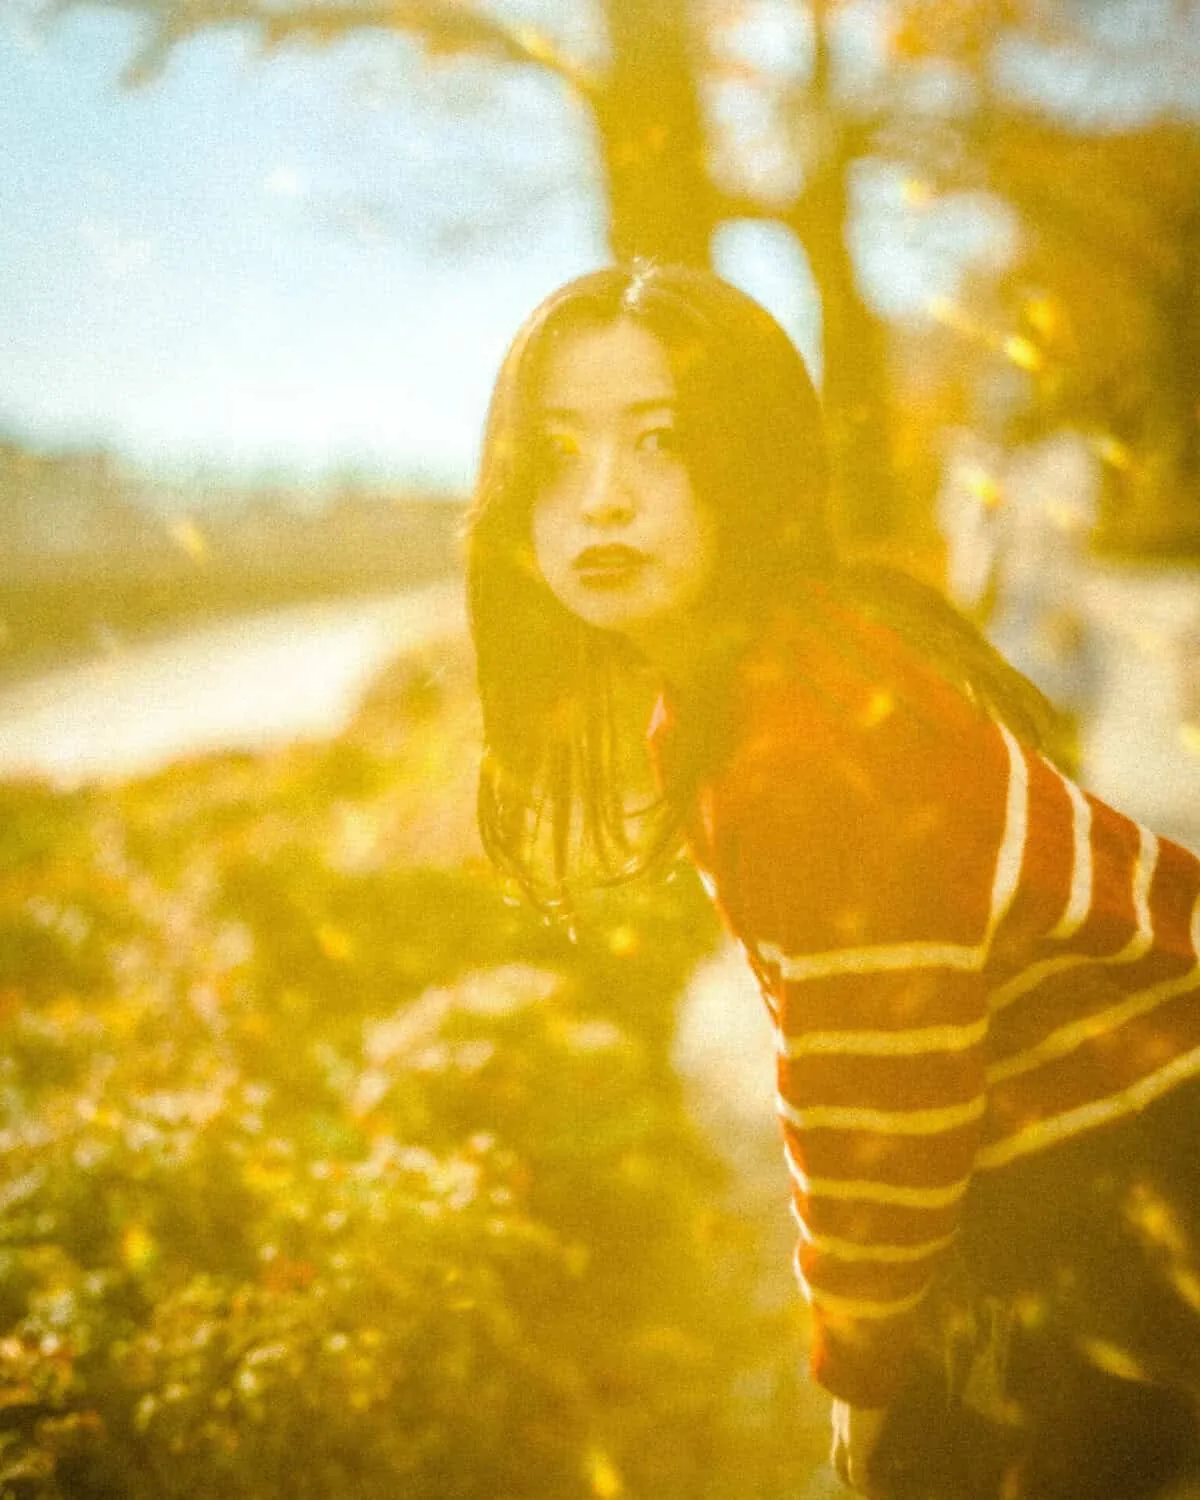
A setting that works with one background and camera position may not survive a different light source or subject distance. Keep a simple note of the successful combination and repeat a short check when the scene changes. The SZ Filters educational article linked below provides brand context; this guide is not a recommendation to buy a particular model. The accompanying owned photographs show Midas Touch examples and the physical filter, but their apertures are not established here. They must not be read as before-and-after pairs or proof of the exercise. Keep an unfiltered option whenever clarity matters more than the effect.