Solve the changeover, not the photograph
A magnetic attachment can simplify changing an optical effect, but it cannot decide when the effect helps the picture. This guide proposes a setup and checking routine for SZ Filters’ Filter Magnet Pro, distinct from last week’s portrait-lighting exercise. It is not a hands-on review, a timed comparison or a retention-strength test. This is sponsored content: The Camera Post and SZ Filters share ownership. Sponsorship does not determine our editorial conclusions. The photographs are supplied by the brand, not made during an independent test; the clapperboard cover illustrates the broader filter workflow.
Identify both sides of the connection
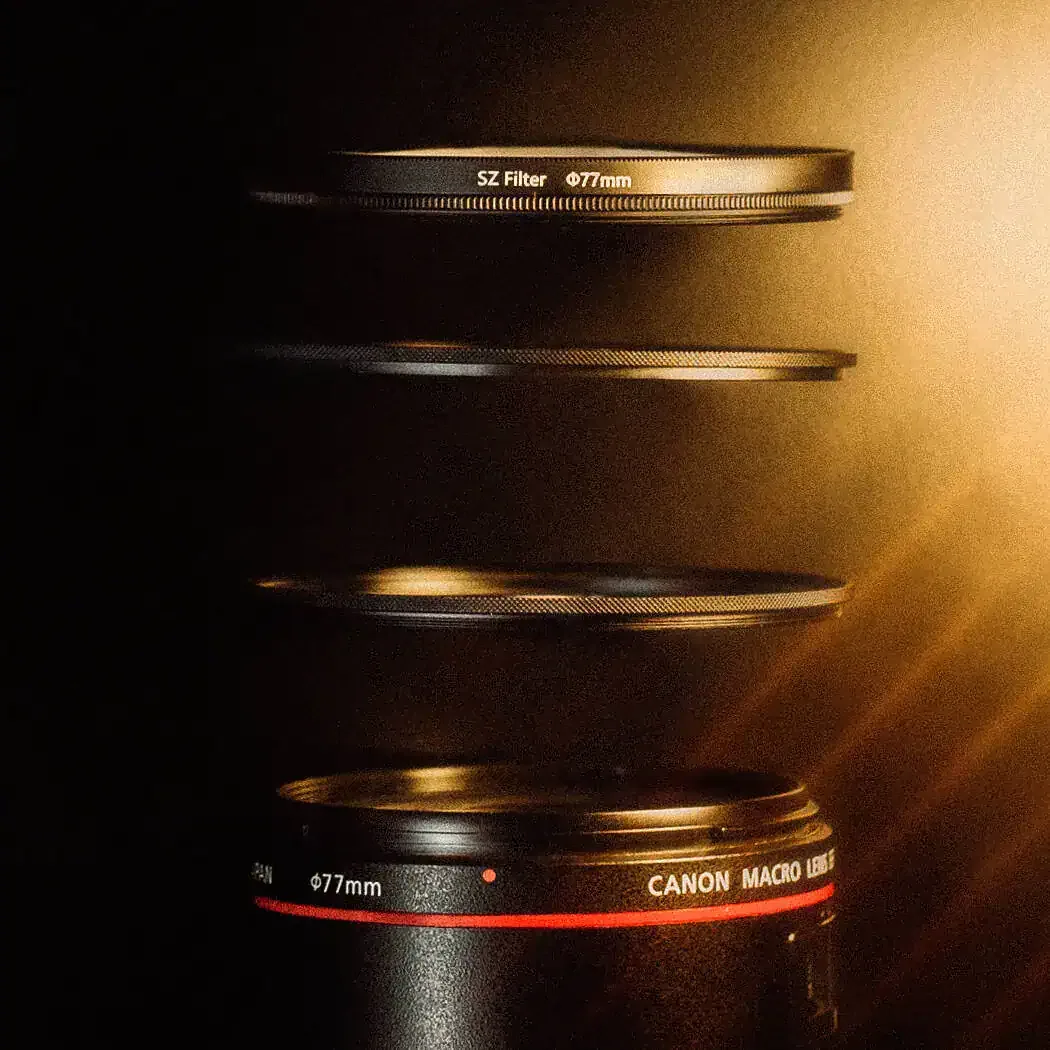
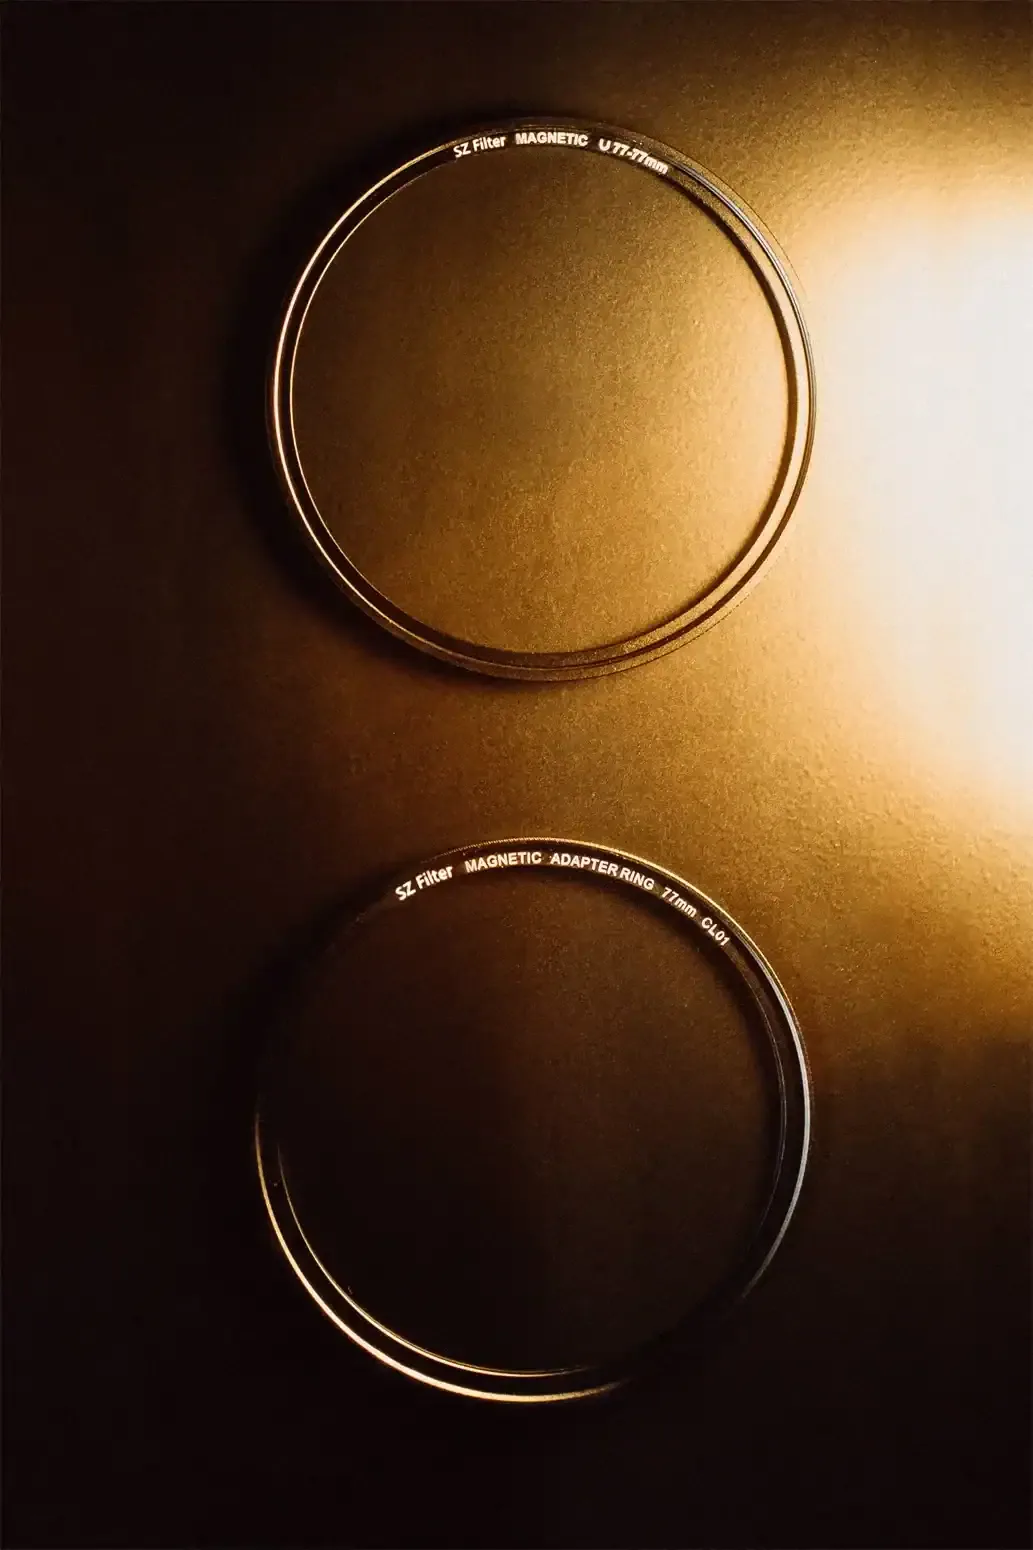
The official page describes lens-side and filter-side components for 77mm and 95mm setups, with adapters for other sizes. Start by reading the filter-thread diameter on the lens or in its manual; do not substitute its focal length. Write down the intended lens, any step-up adapter, the lens-side magnetic component, the filter-side component and the filter. Confirm the complete combination with the manufacturer before ordering if any interface is unclear. Matching one number is not proof that every part, cap or hood will fit together. Avoid forcing threads or assuming compatibility with another manufacturer’s magnetic system.
Set up over a safe surface
Our suggested first assembly is at a table with a clean, soft surface beneath the equipment, not over water, a roadside or a hard floor. Follow the supplied mounting instructions and keep each component identifiable. Check that the connection is seated evenly before lifting the camera. Do not lift the camera by the filter or use a dangling filter as a retention test. If a part rocks, binds or appears damaged, stop and verify the combination. A fast attachment still needs a deliberate visual check; saving a few seconds is not worth creating uncertainty about what is supporting the glass.
Check the corners before judging the effect
Make a clean reference frame without the creative filter, then repeat with the intended assembly. Inspect the whole recorded image, not just the center of the live view. Repeat at the widest focal length and at the recording mode you expect to use. Look for dark corners, visible rings, reflections and an effect that crosses important detail. An adapter that solves physical fit may not solve optical clearance. If the result is unsuitable, simplify the assembly or change the setup; do not assume that cropping later will preserve the composition or the delivery resolution you need.
Give each swap a repeatable sequence
Use three deliberate actions: identify the selected filter, check the seating, then make a reference frame. Keep removed glass protected and separated so one piece cannot rub against another. For a comparison, hold camera position, subject position and lighting constant, and record any exposure adjustment. Compare the clean frame with the filtered frame at the intended output size. This makes it easier to distinguish an intentional optical effect from a change in brightness or framing. In a video sequence, also review the transition between shots: a look that works in isolation may be distracting when adjacent clips use a different treatment.
Price and availability are variant-specific
On September 30 the official component page displayed US$30–70 and an ordering interface; it did not establish stock for every unselected variant or provide an original launch date. The same page listed a 77mm Pack 1 with one lens ring and three filter rings at US$112.50. These are dated store observations, not promised checkout prices or delivery dates. Confirm the exact variant, included pieces and shipping before purchase. The single contextual product link below is sponsored. We would buy only the components needed for a verified setup, not a larger collection simply to make the magnetic system feel worthwhile.
Keep a simple fallback
Before an important session, complete one full rehearsal: attach, photograph, remove, protect and reattach. Check that your storage arrangement and normal handling do not disturb the assembly. Keep an unfiltered version of an essential frame and a workable route back to your ordinary setup. The useful outcome is not the greatest number of swaps per minute. It is a sequence you can repeat without losing track of the selected effect, overlooking the frame edges or interrupting attention to the subject.