Why optical effects still matter
A filter placed in front of the lens changes the light before the sensor translates it into a file. That distinction matters. Software can imitate bloom, contrast reduction or directional flare, but the optical version reacts to every highlight, angle and focus transition in the actual scene. The result can feel less uniform and more responsive. It can also be harder to undo. The useful question is not whether a filter is “authentic,” but whether committing to an effect during capture helps the photographer see more clearly and work with greater intention.
Start with a visual problem
Choose filtration only after naming what the scene needs. A harsh digital highlight may need a gentler transition. A static night portrait may need directional energy. Midday water may require a longer exposure than the available aperture can provide. Reflections on glass may be hiding the subject. Each of those problems points toward a different tool. If the idea is simply “make this look cinematic,” stop and define what cinematic means here: softer contrast, warmer color, stretched light, shallower focus, slower motion or something else.
Diffusion: glow without losing the photograph
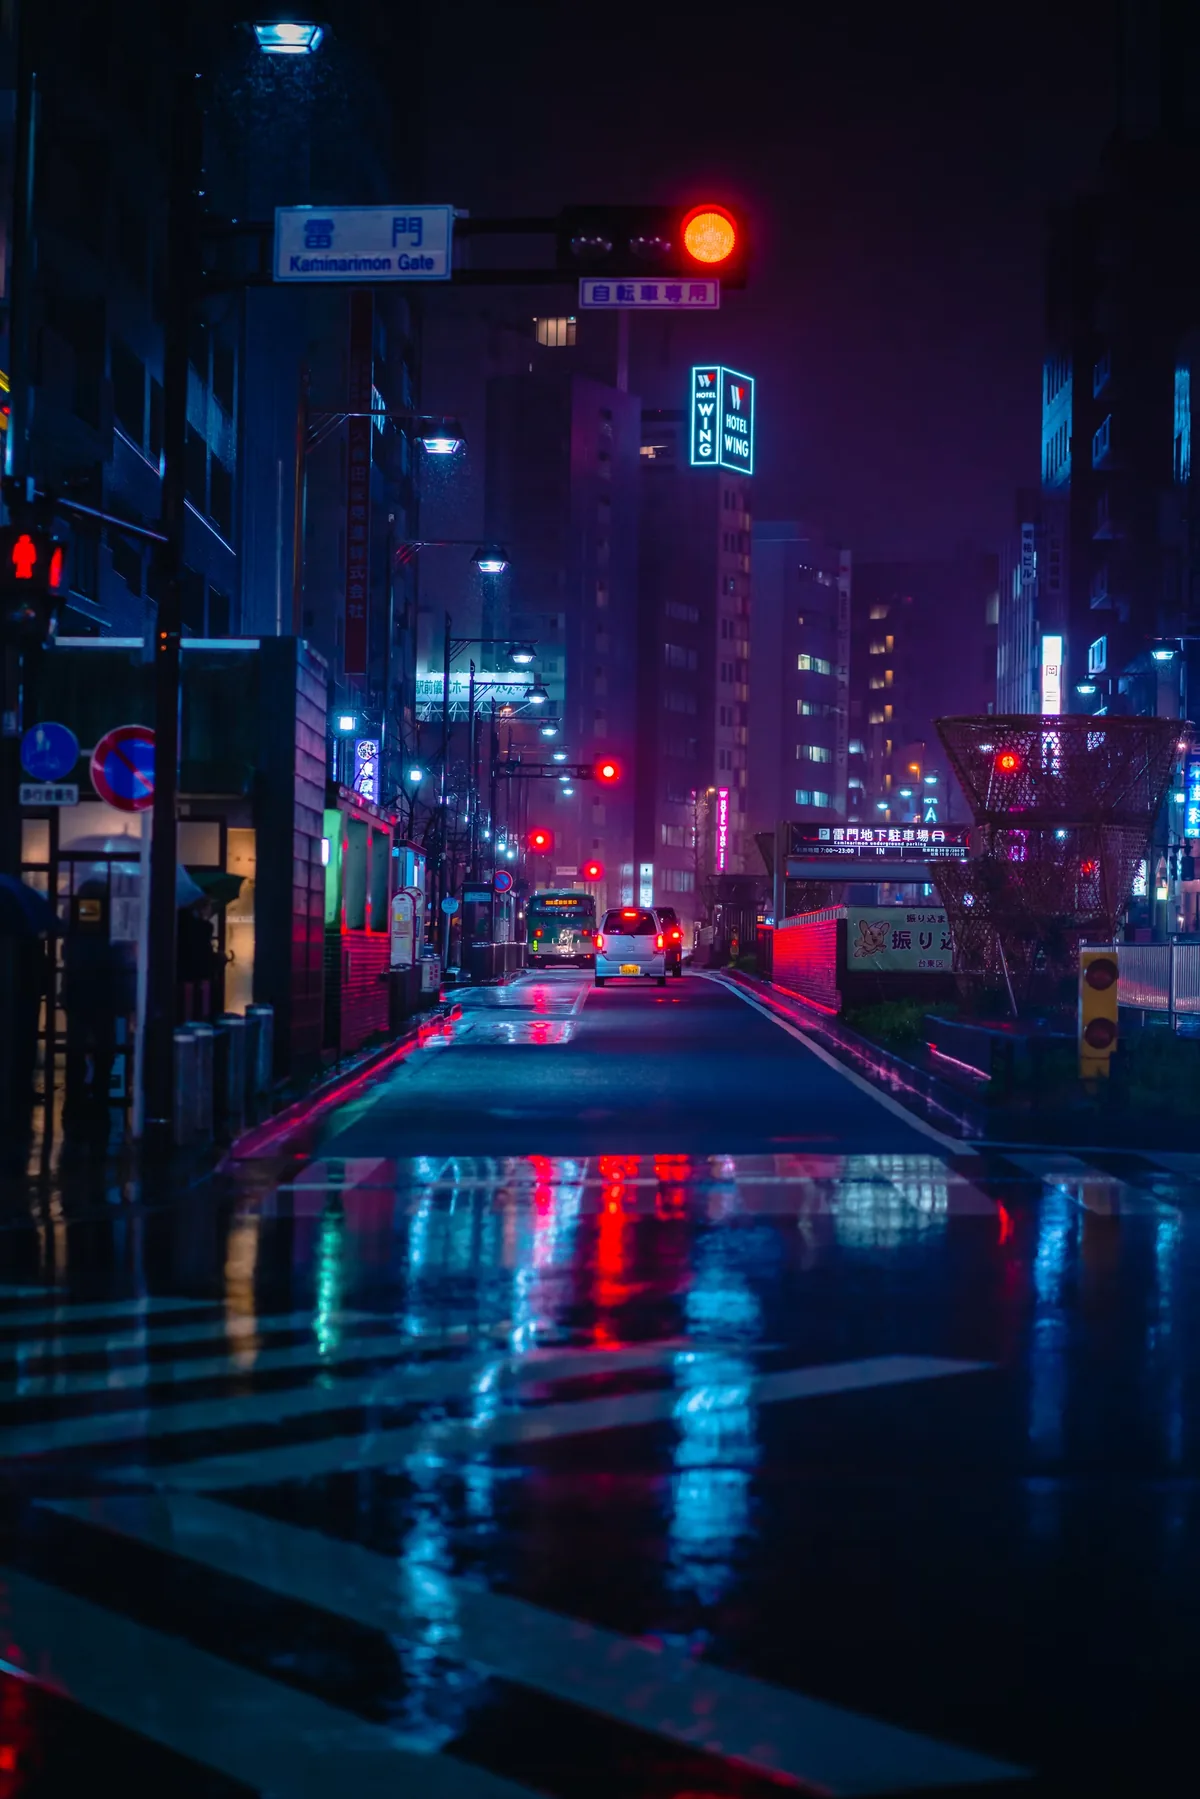
Diffusion filters scatter a portion of bright light into surrounding tones. At low strength they can soften the hard edge of digital highlights and reduce the clinical feeling of very sharp lenses. At high strength they may lower contrast, lift blacks and turn small practical lamps into large halos. Test the effect with faces, dark clothing and backlight in the same frame. Watch the eyes: if fine detail disappears before the atmosphere becomes useful, reduce the strength, move the light farther from the subject or make a clean plate for the editor.
Streak and star effects
Directional streak filters stretch point sources into lines, while cross-star filters turn them into geometric rays. Both work best when the frame contains a limited number of strong lights. Rotate the filter before shooting because the line direction becomes part of the composition. Diagonal streaks can add tension; horizontal streaks may widen a frame; vertical stars can make a still life feel formal. The effect grows with brighter, smaller sources and can become chaotic in a city full of signs. Protect the subject first, then let selected highlights carry the graphic treatment.
Neutral density as a creative tool
A neutral-density filter reduces light without intentionally changing color. That makes it possible to use longer shutter speeds or wider apertures in conditions that would otherwise overexpose the frame. For stills, ND can turn water into a surface, erase moving crowds or preserve shallow depth of field in hard sun. For video, it lets the camera hold a motion-friendly shutter while aperture remains a storytelling choice. Meter after the filter is mounted, cover an optical viewfinder during long exposures and inspect for color shifts when stacking strong densities.
Polarization and controlled reflection
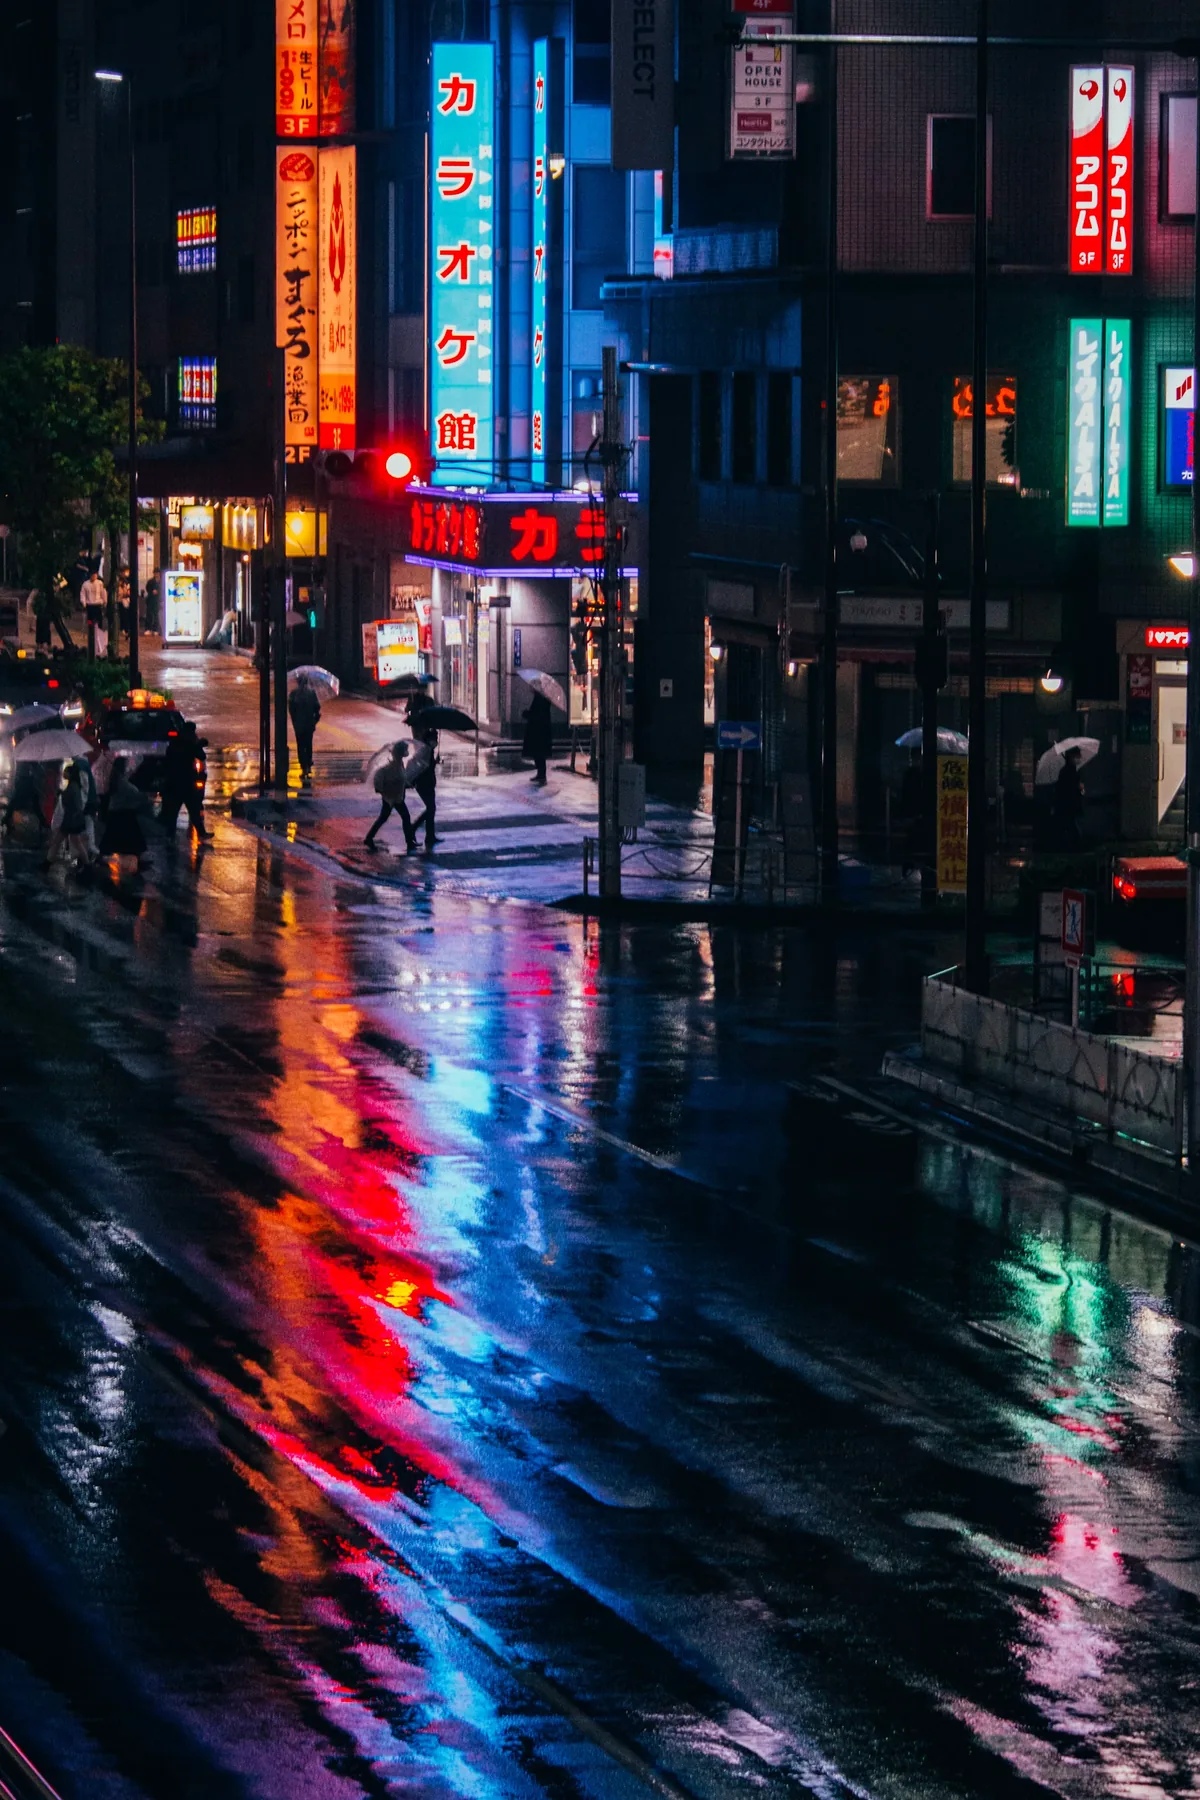
A circular polarizer can reduce glare from water, foliage, painted surfaces and some glass while deepening parts of a blue sky. Its strength depends on the angle between camera, subject and sun, so rotate it while looking at the exact area that matters. Maximum polarization is not automatically best: removing every reflection can make water look opaque and erase the clues that describe a polished surface. Wide lenses may show uneven sky darkening. Use the filter to organize competing reflections, not to force every surface toward the same saturation.
Build a repeatable test
Photograph the same subject with no filter and with each available strength. Keep exposure, white balance and focus fixed, then repeat with a bright practical light inside the frame. Add a face or textured dark object so the test reveals what happens to skin, blacks and fine detail—not only to bokeh. Label the files immediately. A useful test should answer where the filter helps, where it breaks down and how much exposure compensation it needs. Save those answers with the kit so they can guide a real assignment under pressure.
Stack carefully
Every additional piece of glass introduces more reflective surfaces, a greater chance of flare and a thicker physical edge that may vignette on wide lenses. Stack only when each filter has a distinct job. A polarizer plus ND may be justified for moving water; diffusion plus a streak effect may be too much if both are competing for the same highlights. Check corners at the widest focal length, use a hood when it does not interfere and remove protection filters that add no value to the current frame.
A practical field workflow
Arrive with the scene scouted and make a clean exposure first. Add one filter, record its type and strength in a voice memo, then change only one other variable at a time. Review at full magnification for focus, doubled reflections and clipped color channels. When the effect becomes obvious before the subject does, pull back. The strongest optical effects usually reward a second look: the viewer first reads the photograph, then recognizes how the light has been shaped.