Choose a reference that stays recognizable
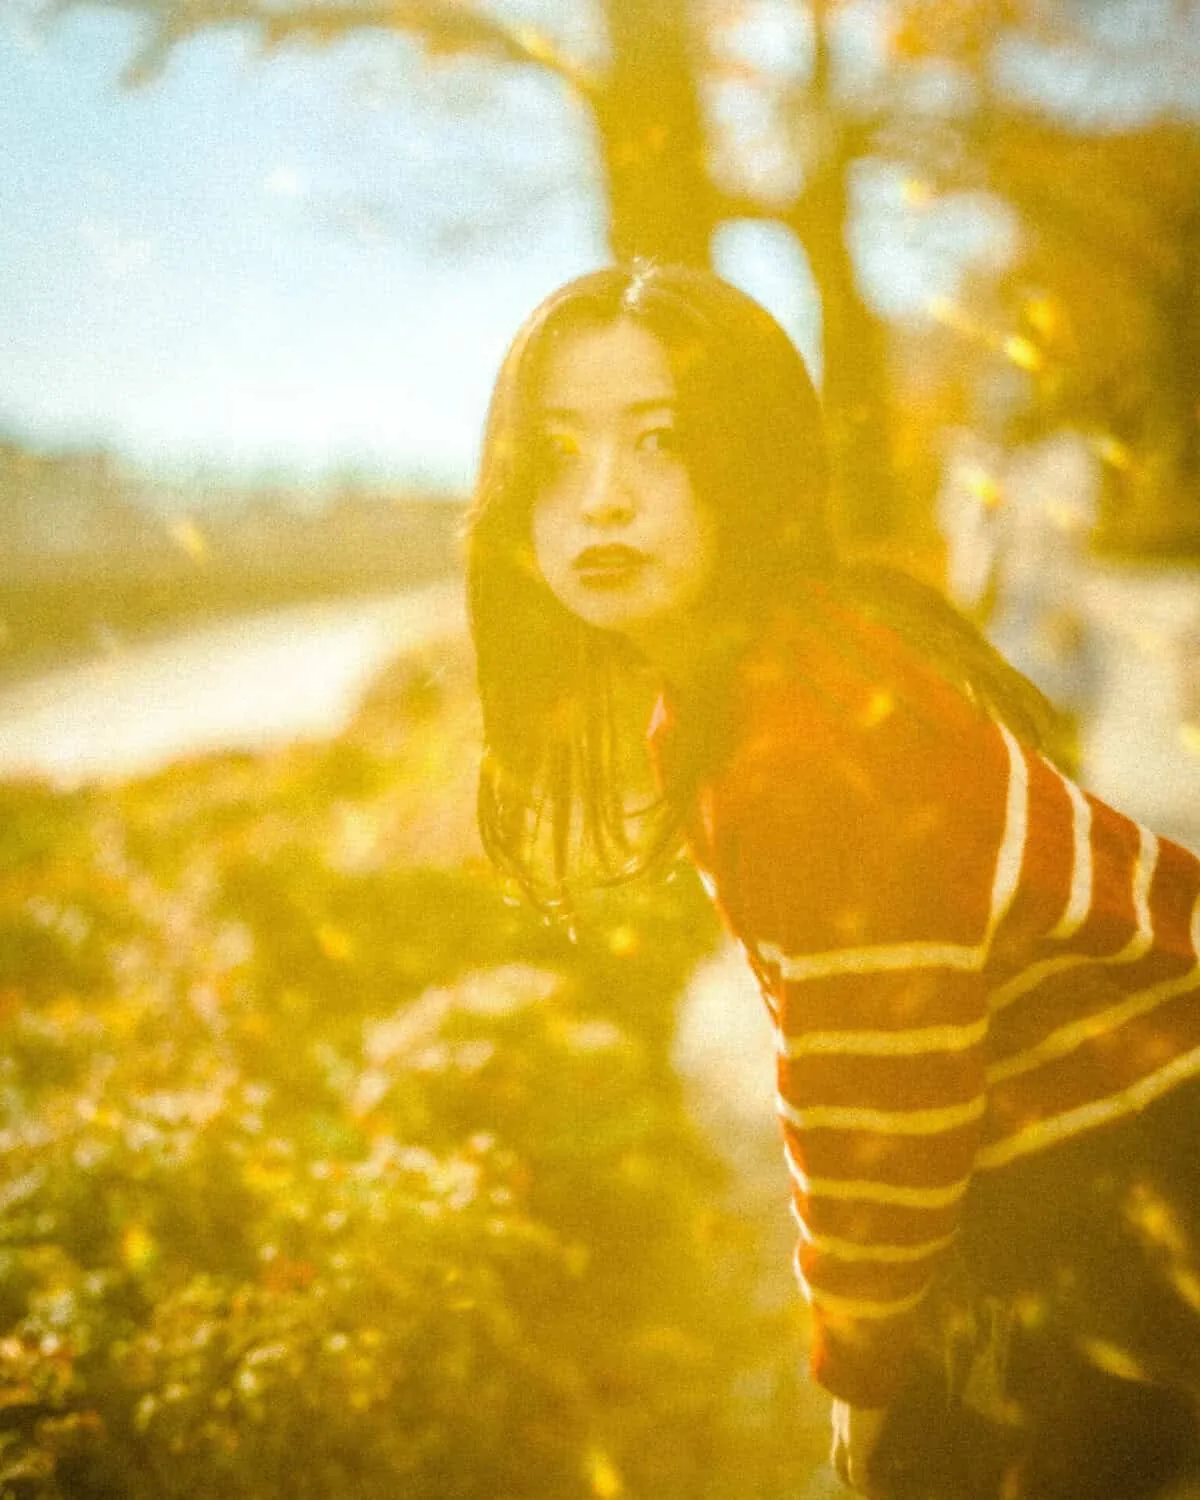
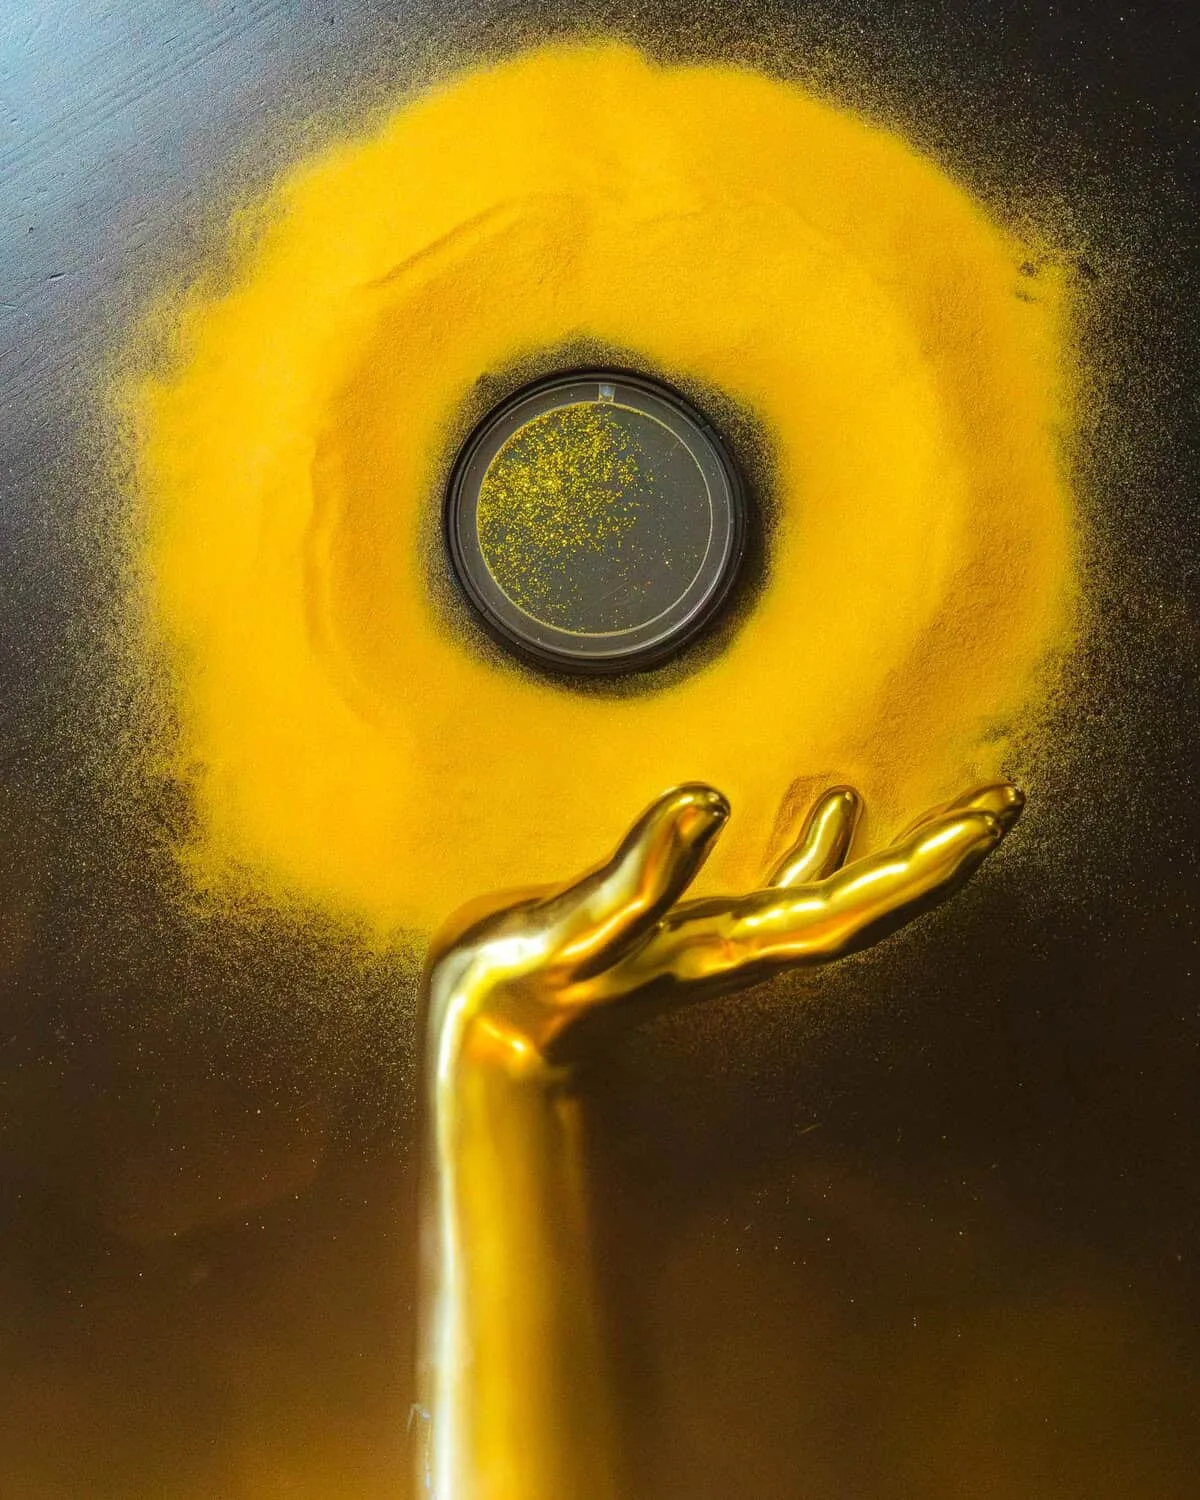
Suppose you need a loose portrait and a close view from the same room. A halo that sits comfortably beside a shoulder in the wide frame may cover an eye in the tighter composition. This exercise helps you plan both frames before the sitter arrives. The Camera Post and SZ Filters share ownership, and SZ Filters sponsors this guide. The accompanying photographs are brand illustrations. You can make the comparison yourself with a stand-in and your own working lens.
Keep the light fixed for the first pair
Place a stand-in against a darker background with a light that reveals the face. Aim a separate small light toward the filter as described in the manufacturer’s instructions. Mark its position and keep its brightness steady. Pick an aperture the lens can hold at both focal lengths, then fix exposure and white balance. Check that the filter and its holder fit the lens securely and that the zoom can move freely. Record a clean reference at each setting.

Zoom from one camera mark
From a fixed tripod position, record the filtered wide view and the longer view. Refocus on the same eye. Compare several frames at each setting because particles can move between exposures. Judge the halos relative to the whole frame and then relative to the face. SZ Filters describes smaller halos at wider focal lengths and warns that the design can leave circular marks near the edges on some wide setups. Inspect all four corners, especially if the client also needs an uncropped horizontal.
Make a second pair with equal head size
Stay at the longer focal length and back up until the head occupies roughly the same fraction of the picture as in the wide reference. Keep the subject in place. Moving the camera changes perspective and its angle to the effect light, so record that movement alongside the focal length. This pair answers the practical question of which setup delivers the requested composition in the available space. It cannot isolate the optical effect of focal length alone.
Choose from the delivery crop
Put the wide and tight frames into the intended layouts. Mark the eye, the outline of the face and any space reserved for text. Look for a setup that keeps those areas usable across several exposures. Save the focal length, camera mark and effect-light position with the selected frames. A repeatable arrangement gives the next portrait a starting point even when the particles settle differently.