Begin with the relationship, not a favorite number
A portrait lens is not a guarantee of a particular face shape. Nikon’s perspective guidance makes the central distinction: camera position controls perspective, while changing lenses often encourages the photographer to change position as well. Those two actions are easily confused. Before choosing a focal length, decide how close you want to work and how the person should relate to the surroundings. A conversational environmental portrait and a tightly framed headshot can call for different working distances without either approach being inherently more truthful.
Make a fixed-position comparison first
Place the camera in one position and photograph a cooperative subject with a shorter and then a longer focal length. Keep camera height, direction and subject position as consistent as practical. The longer setting narrows the view. Crop the wider image to approximately match the tighter framing and compare the relative positions and proportions of visible features. Allow for resolution, lens distortion and imperfect alignment; this is a learning exercise, not a laboratory measurement. Its purpose is to stop attributing every difference in framing to a change in perspective.
Then change the distance deliberately
For a second pair, move closer with the wider setting and farther away with the longer setting while keeping the face approximately the same size in the frame. Now compare the relationship between near and distant facial features and the background. Do not judge the first pair and second pair as if they tested the same variable. Mark where you stood and retain the uncropped files. A few notes about distance and framing are more informative than a filename that records only the lens setting.
Why a close viewpoint looks different
Imagine a feature just a little nearer to the camera than another feature. At a very close distance, that separation is a larger fraction of the overall camera-to-subject distance than it is from farther away. Their apparent size relationship changes accordingly. This is why moving the camera can matter even when the final face occupies the same amount of the frame. A wide lens makes close framing convenient, but it is the close viewpoint that creates this perspective relationship. Avoid describing every close portrait as a defective lens result.
Inspect height and direction as well
Distance is not the only part of camera position worth recording. Raising or lowering the camera changes what surfaces are visible and how features overlap. A slight change in the subject’s pose can also overwhelm a small lens comparison. Ask the person to remain comfortable and make changes one at a time. Explain the exercise rather than asking them to hold an uncomfortable position indefinitely. If the goal is a finished portrait rather than a technical comparison, prioritize the expression and interaction once the basic viewpoint is chosen.
Do not confuse background size with blur
A background can appear larger relative to the subject without becoming more blurred, and blur can change without a new viewpoint. Aperture, focus distance, focal length and the distances within the scene all affect the result. Compare recognizable background shapes separately from their softness. For a practical portrait, first decide how much context should remain identifiable, then adjust framing and aperture to serve that decision. Calling every soft background compression makes it harder to diagnose what actually changed and harder to repeat the picture intentionally.
Choose the lens that fits the chosen position
Once the viewpoint works, select the focal length that provides the framing you need from there. A small room may prevent a distant headshot position; a busy public location may prevent working close. Respect those limits instead of backing into traffic or obstructing other people. If the available lens cannot frame tightly enough, a moderate crop may be acceptable for the intended output, but check the remaining dimensions. Cropping changes the boundaries of the picture; it does not move the camera to a different viewpoint.
Use the comparison as a decision tool
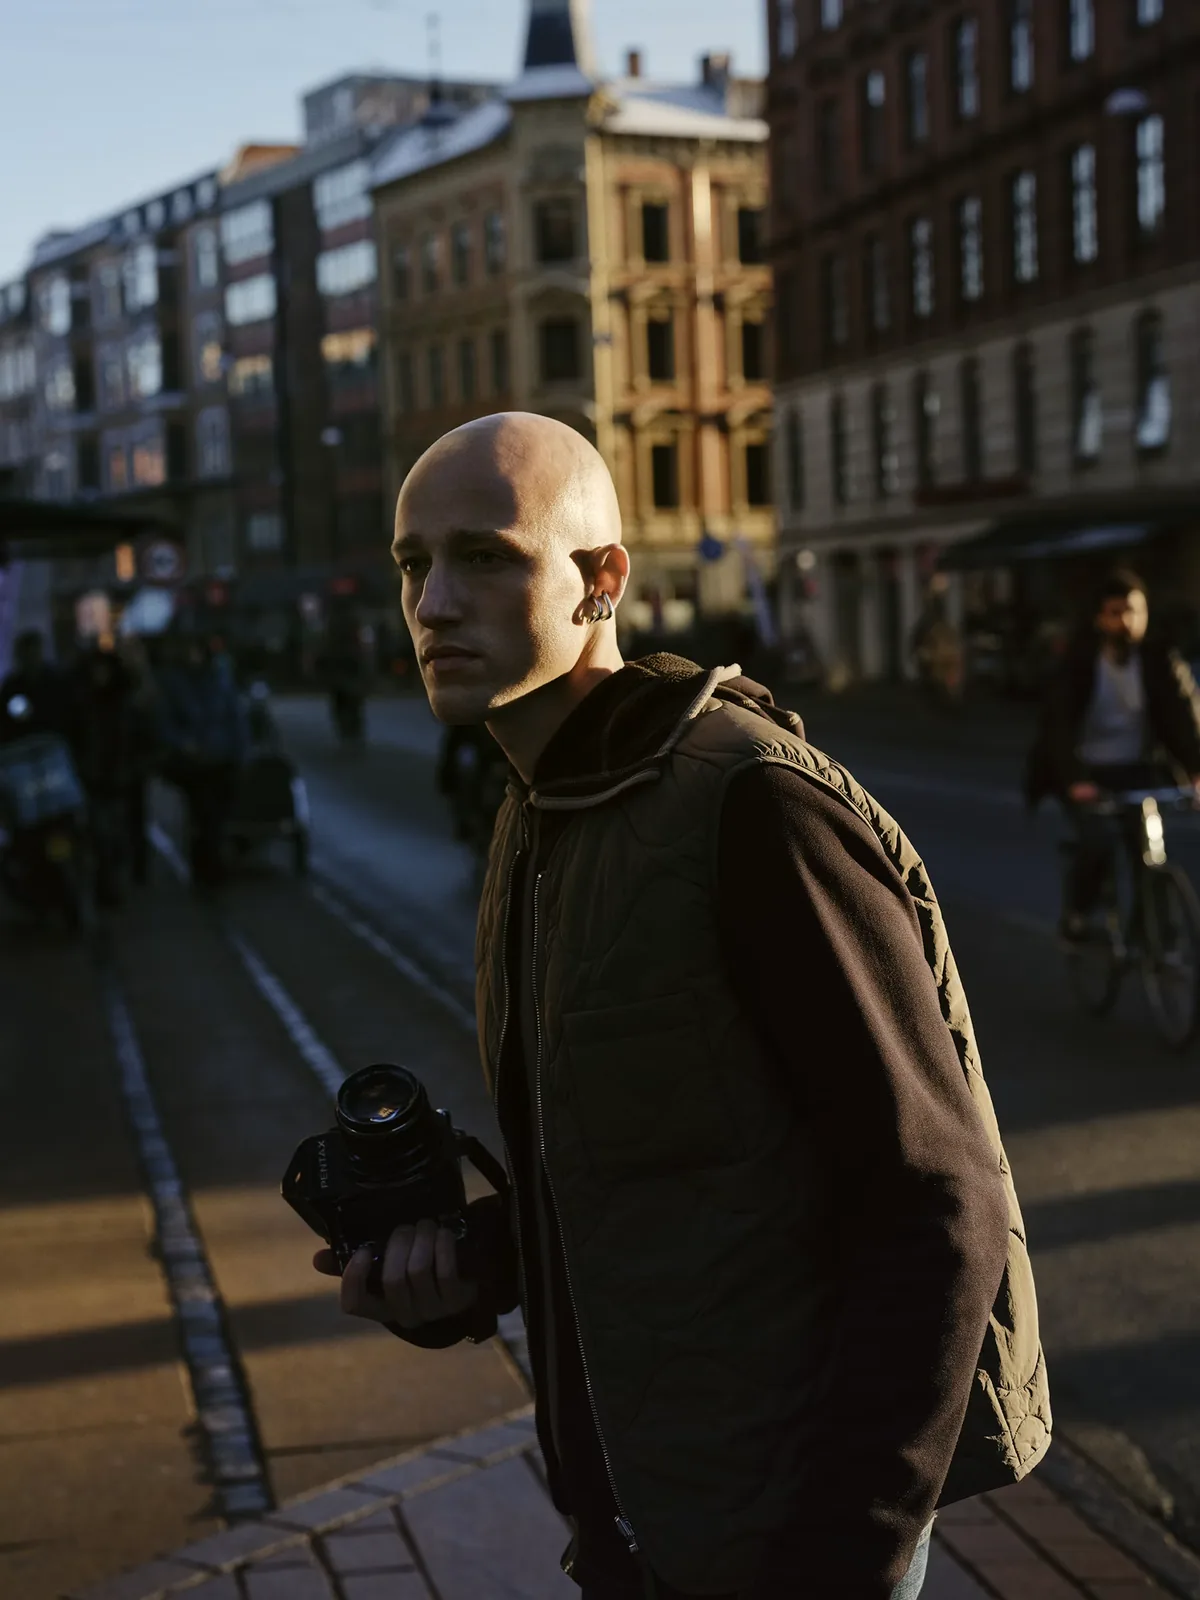
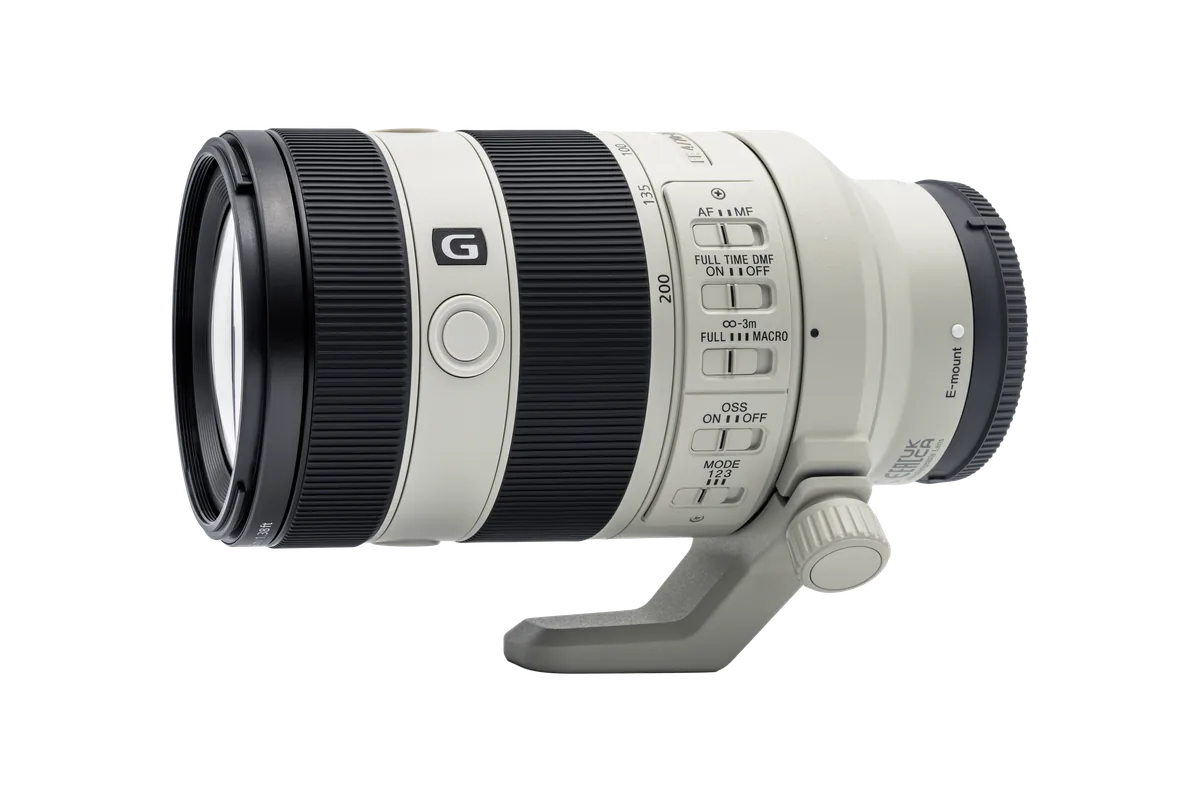
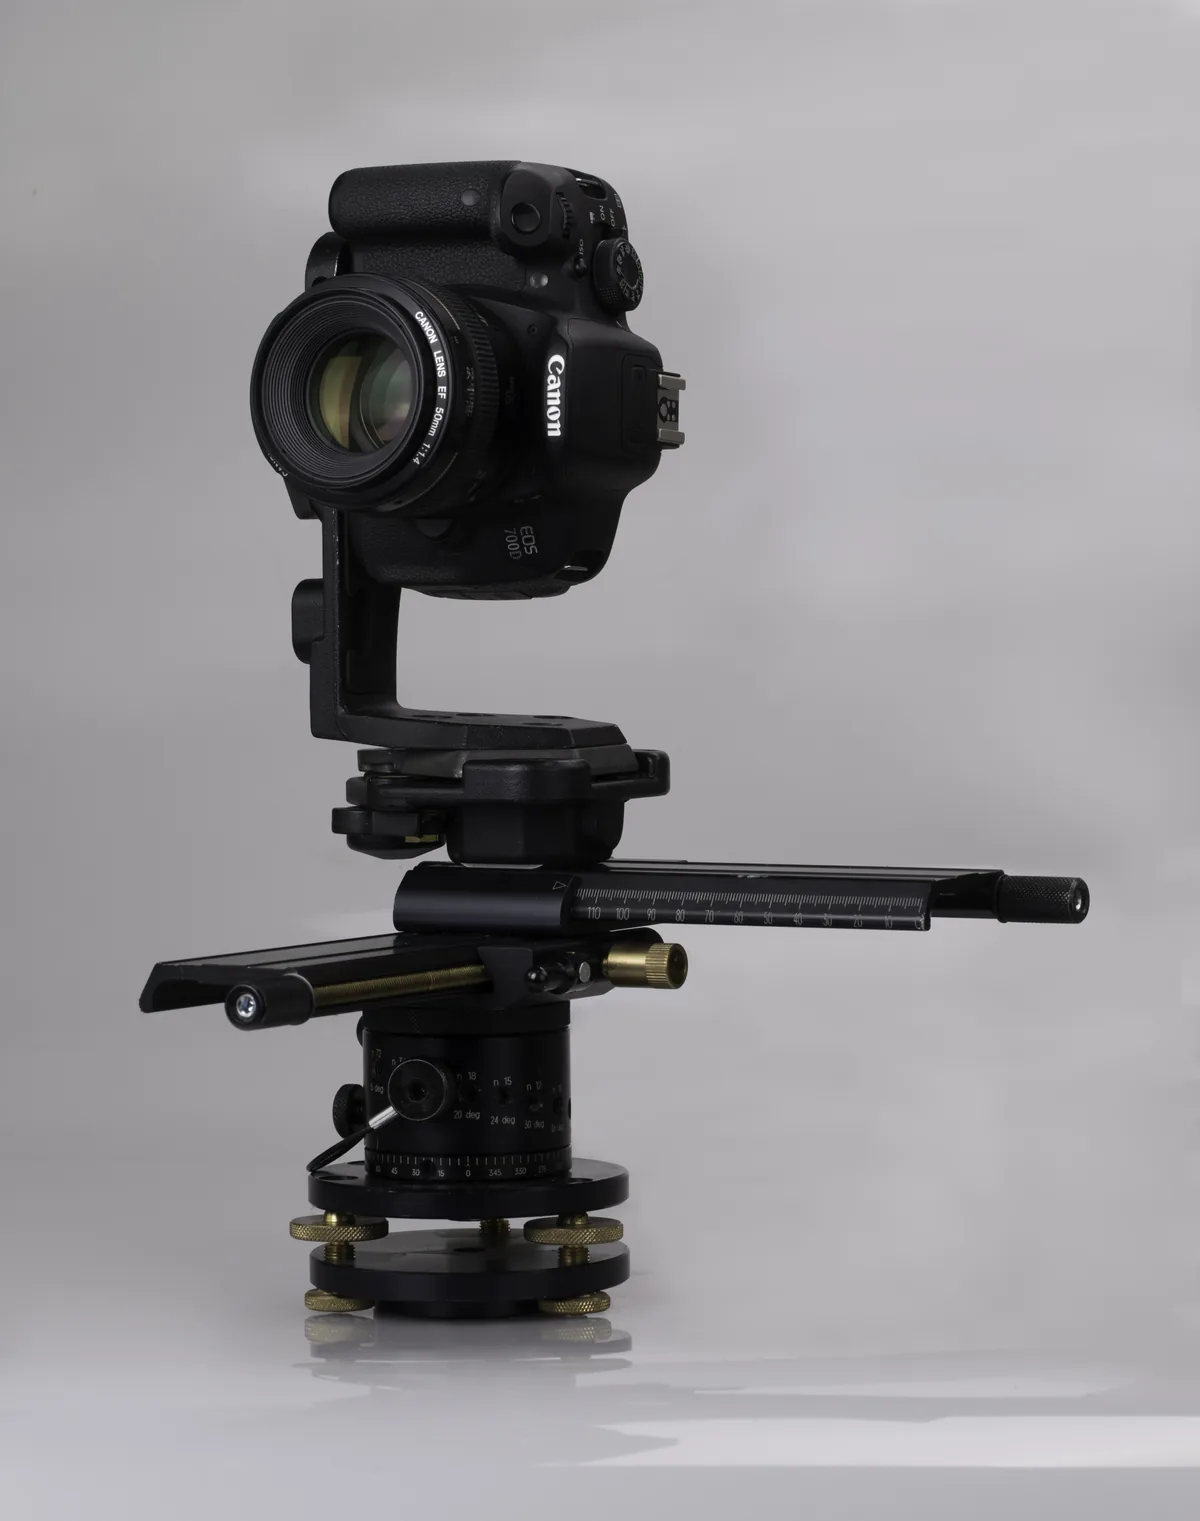
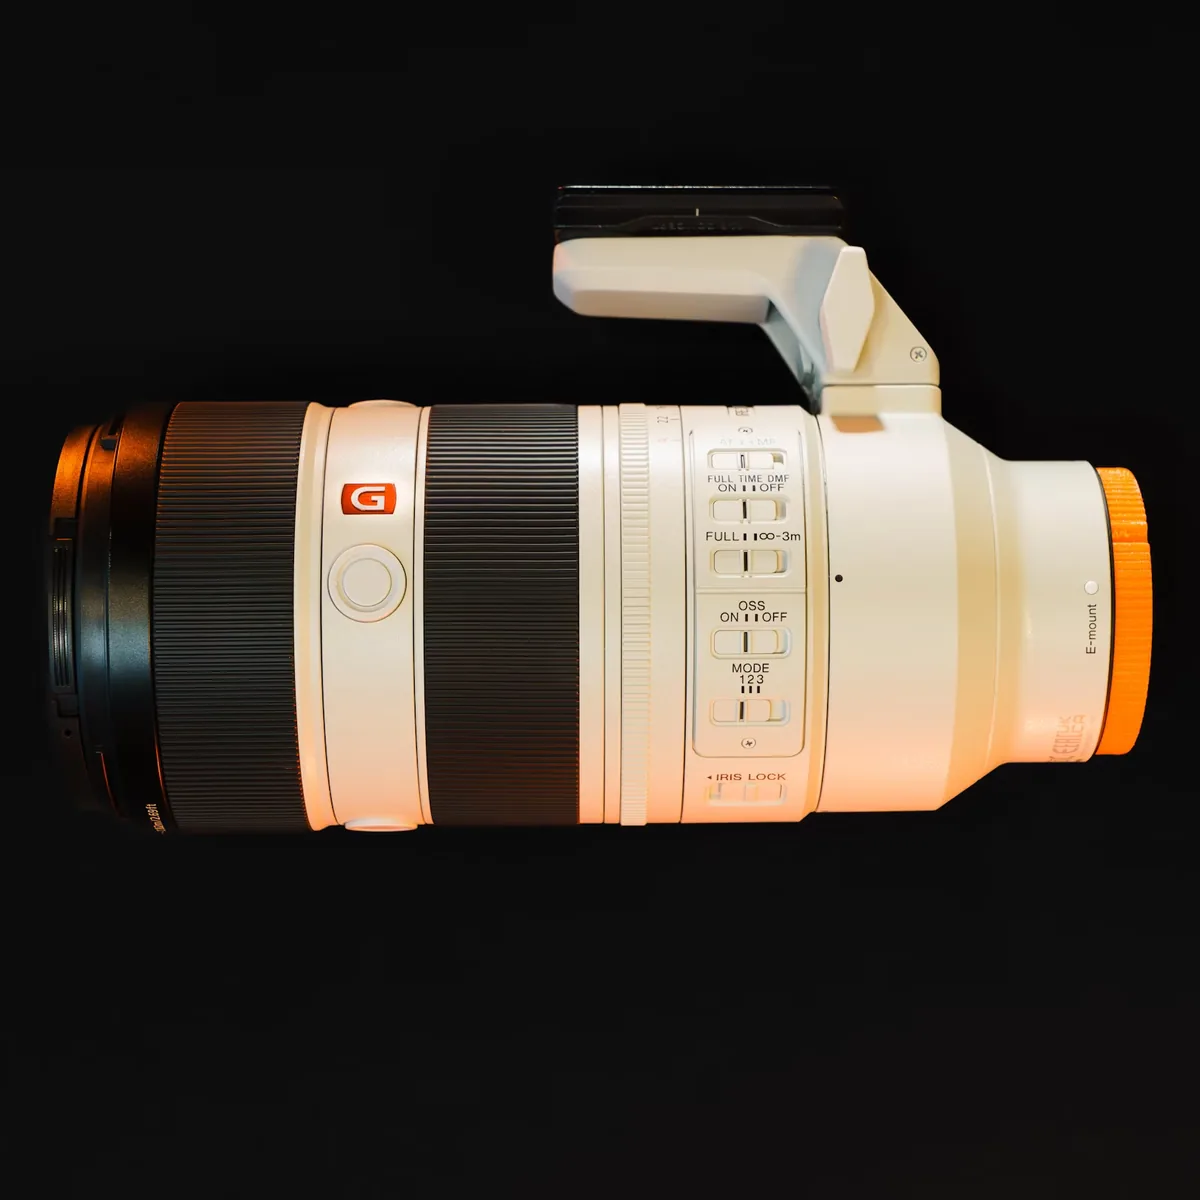
Keep a simple contact sheet labeled fixed position and matched framing. Review it at the same display size and decide which relationships support the portrait you want. Do not present the accompanying photographs as that experiment: they are licensed illustrations of a portrait, a prime lens and lens controls, with no verified capture distance or comparative setup. The useful outcome is a repeatable way to choose where to stand. Focal-length recommendations become much more meaningful after that choice is explicit.