Begin at the shorter end
A 70–200mm zoom is useful when access and subject distance change faster than you can change lenses. It is not an instruction to stay at 200mm. Begin near the shorter end to find the subject and understand the surroundings, then tighten the frame when the picture requires it. At an event, a slightly wider view may retain the person reacting beside the speaker. In sport, it can preserve a ball or an outstretched hand. Before raising the camera, decide what must remain inside the photograph. The zoom ring should help make that decision visible rather than turn every scene into a tight crop.
Portraits: organize distance and background
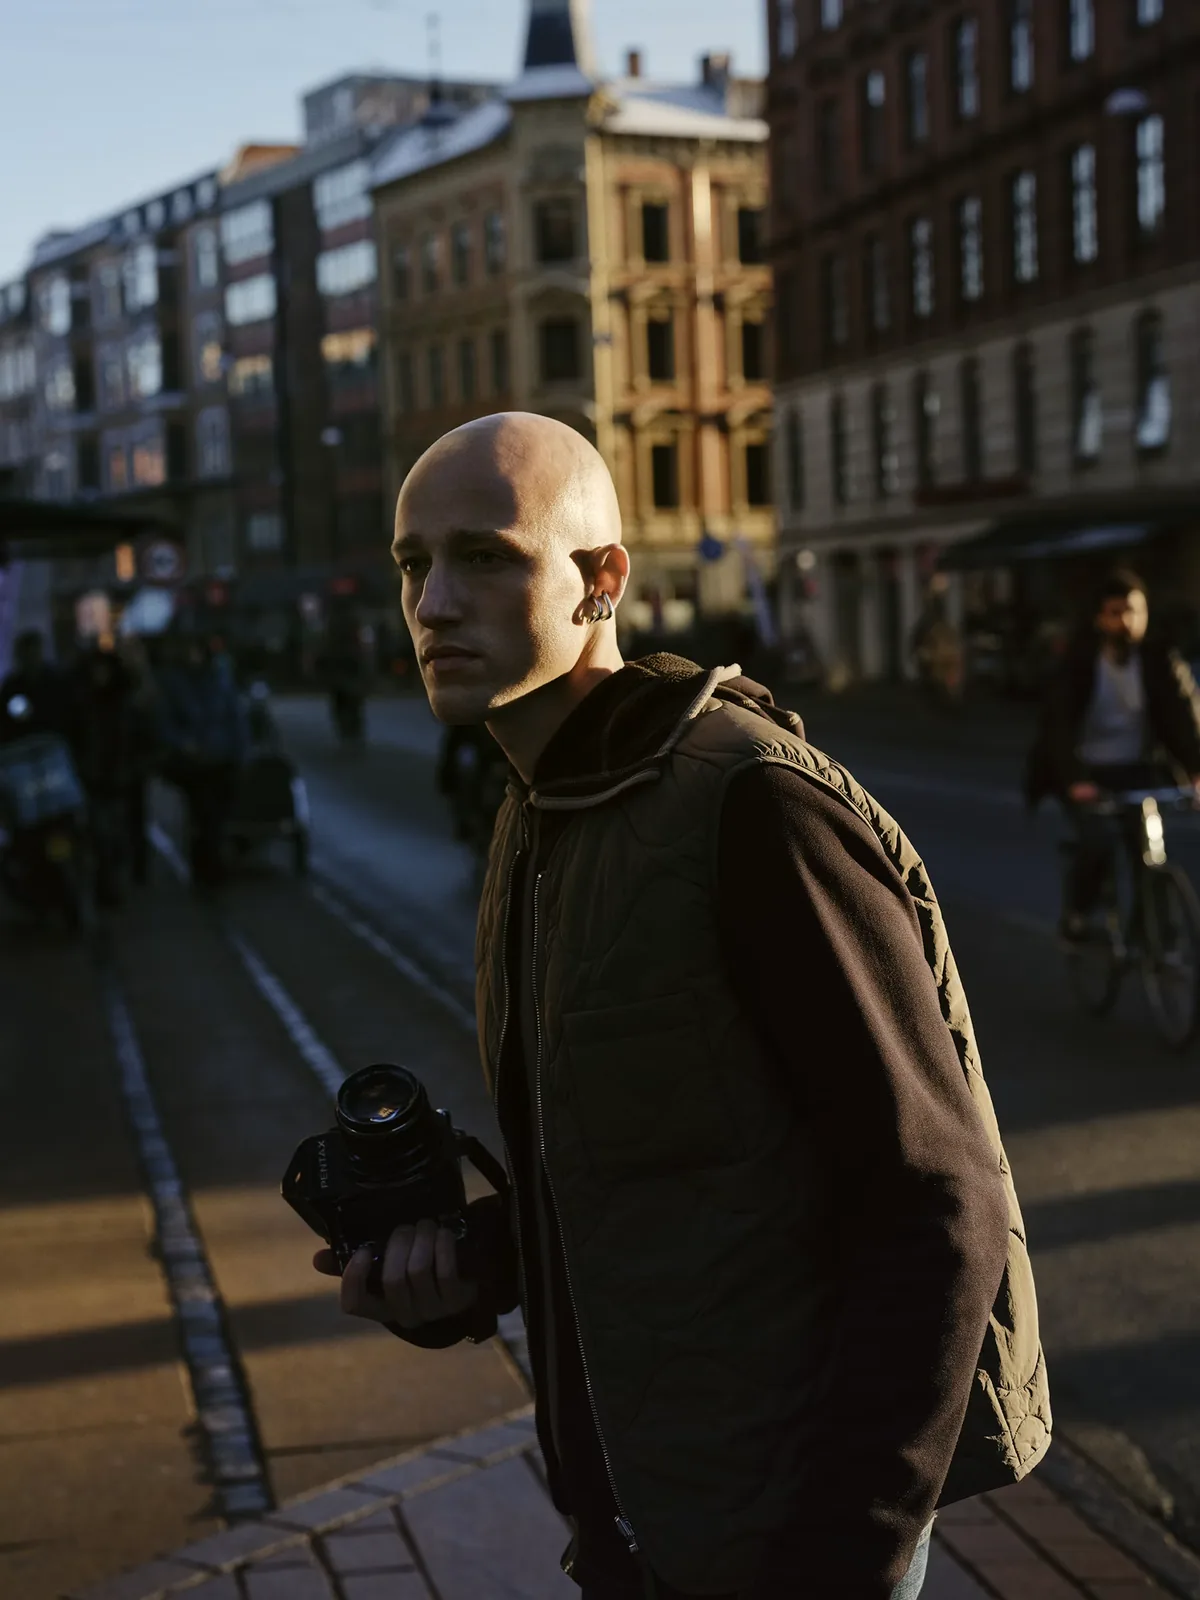
Choose a safe working position from which you can communicate comfortably with the person. Look beyond them for bright patches, poles and distracting edges, then move sideways or change height before reaching for a wider aperture. Moving the subject farther from a cluttered background can be more useful than opening the lens indiscriminately. For a simple exercise, make one portrait with environmental context, one half-length frame and one closer expression. Keep talking between frames. If the longer working distance makes communication awkward, shorten the focal length and move closer rather than sacrificing the relationship for a particular number on the lens barrel.
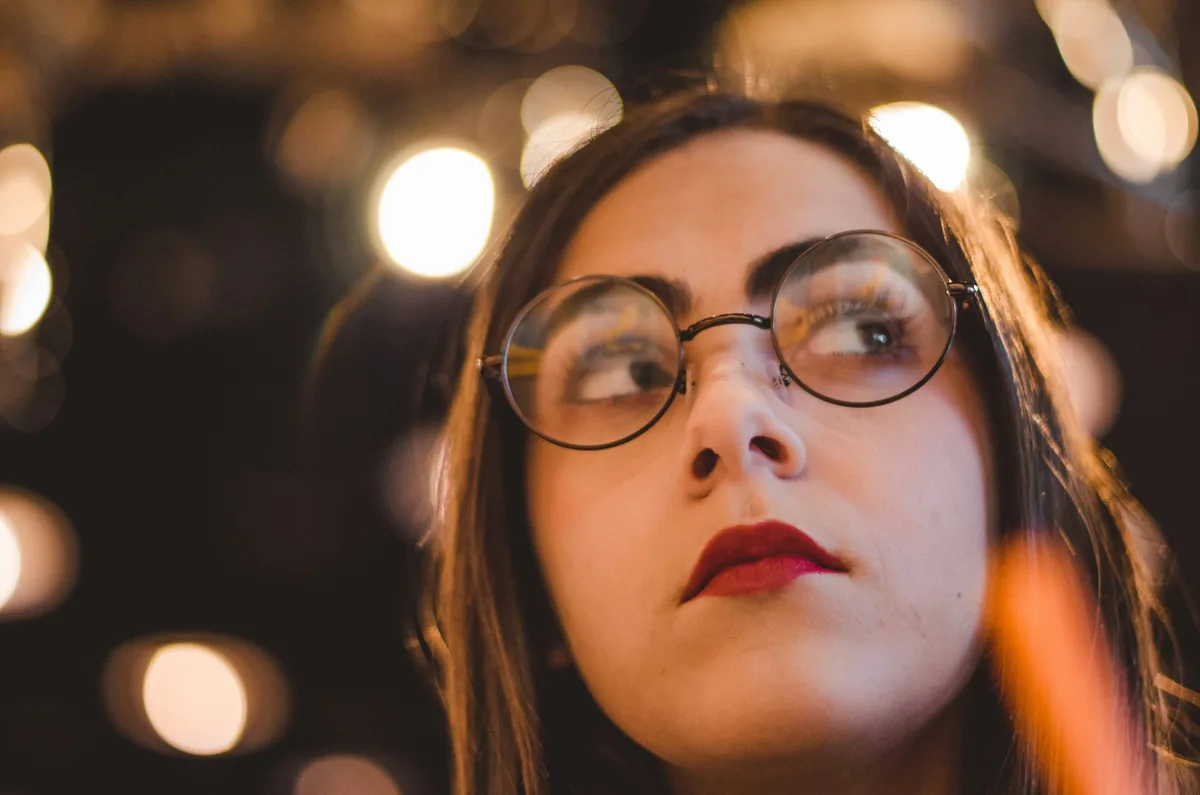
Perspective comes from where you stand
A distant shooting position changes the relative apparent sizes of near and far objects. A long lens can frame the subject tightly from that position, giving the familiar impression of a larger, closer background. Zooming alone from a fixed position mainly changes framing; it does not transport the camera to a new viewpoint. Test this distinction with a person and a distant building. First make several frames without moving. Then keep the person similarly sized while changing your distance and focal length together. Comparing the two sequences makes the difference much clearer than treating “compression” as a special effect that switches on at 200mm.
Sports: reserve space for what happens next
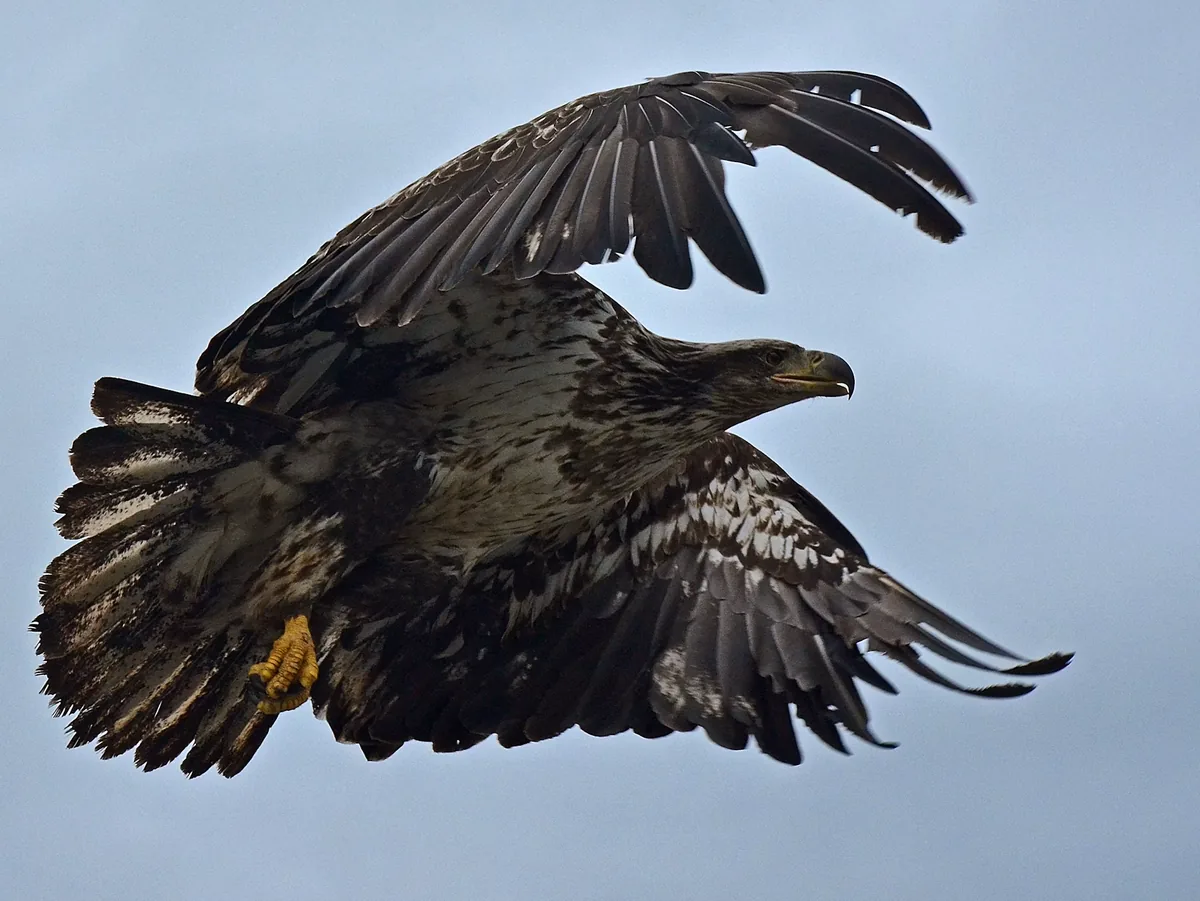
Find a permitted viewpoint with a clear background and a predictable area of action. Start wider than the final composition, track the player and tighten only when the movement becomes readable. A useful first shutter-speed experiment for running action is around 1/1000 second, then faster if the important details remain blurred; it is a starting point, not a universal prescription. Inspect hands, feet and the face at actual size. Select an appropriate continuous autofocus mode and area for the camera, and practice before the decisive play. Never step into the field of play or an active route to solve a framing problem.
Events: cover relationships as well as faces
A long zoom makes it easy to collect isolated expressions and forget the story connecting them. Build a small sequence instead: the setting, a key interaction, a reaction and a meaningful detail. Do not block guests or assume that a distant position removes the need for permission and discretion. In changing light, review the shutter speed and the important highlights when moving between locations. Photographing a person standing at a lectern and someone dancing may call for very different exposure decisions. The lens can cover both distances; it cannot make one shutter speed suitable for both kinds of movement.
Support the lens without fighting it
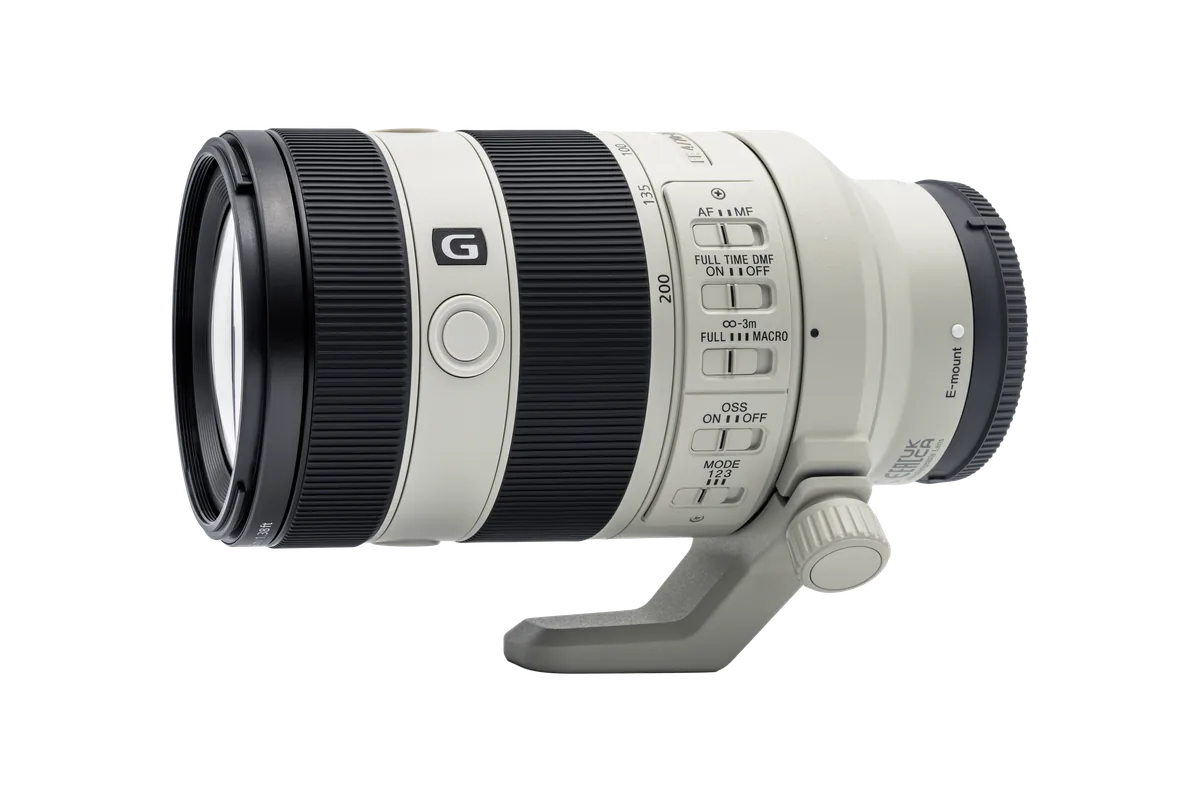
Support the lens with your left hand, keep your stance comfortable and use the lens’s tripod collar when the manufacturer recommends it for that support arrangement. Check the instructions for the particular stabilization modes: panning and tripod behavior differ between models. Do not assume a stabilized view means the subject will be sharp. Make a short sequence, inspect it and adjust one variable at a time. After the session, compare successful photographs by focal length and working distance. If nearly every keeper came from one part of the range, that is useful information for the next assignment—and more informative than buying a new lens because the present one was used without a plan.