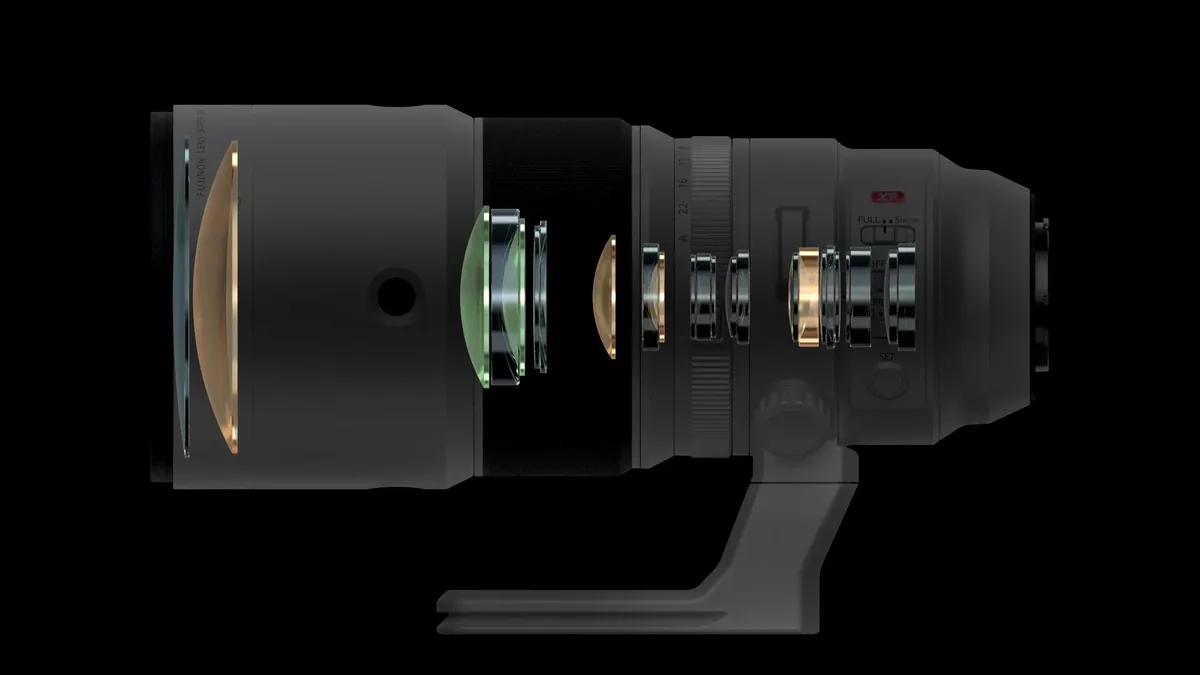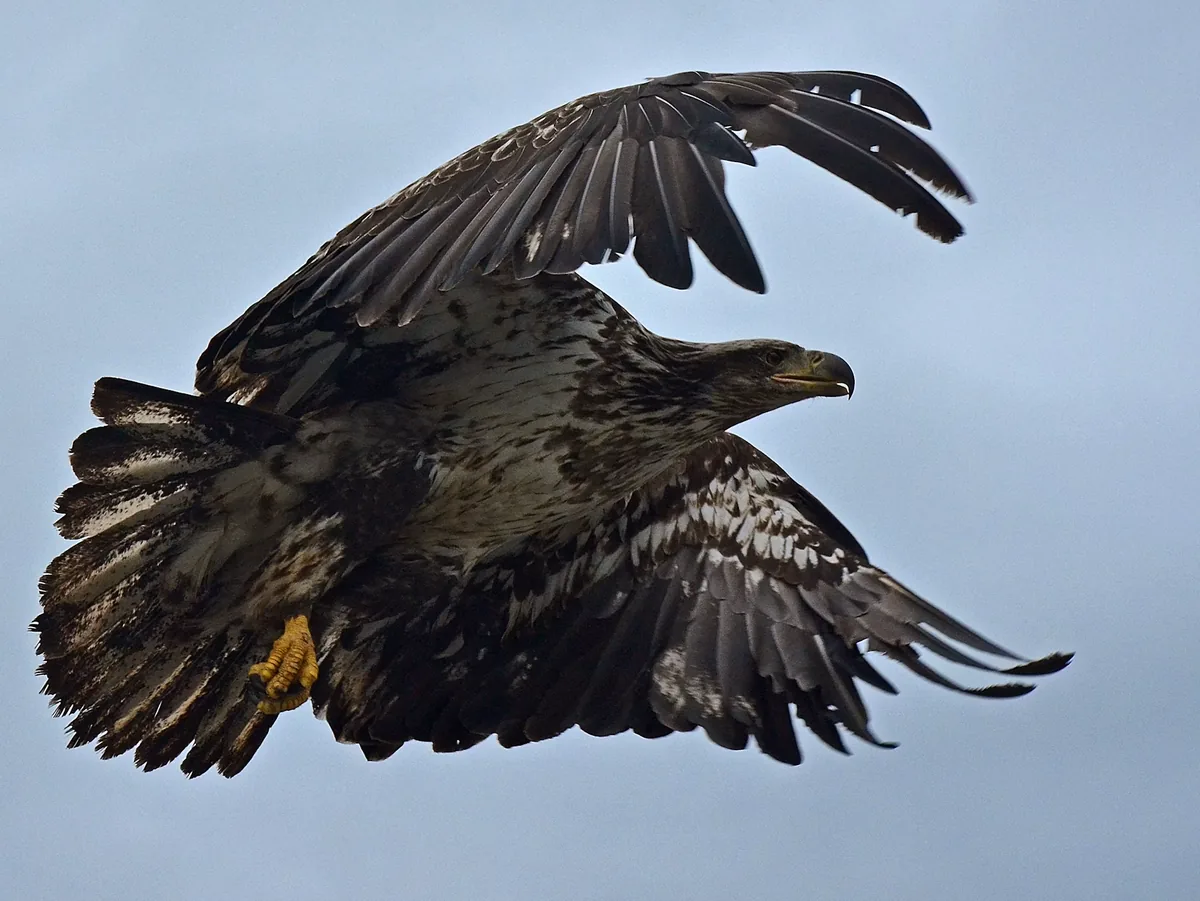
Begin with one reliable exposure pattern
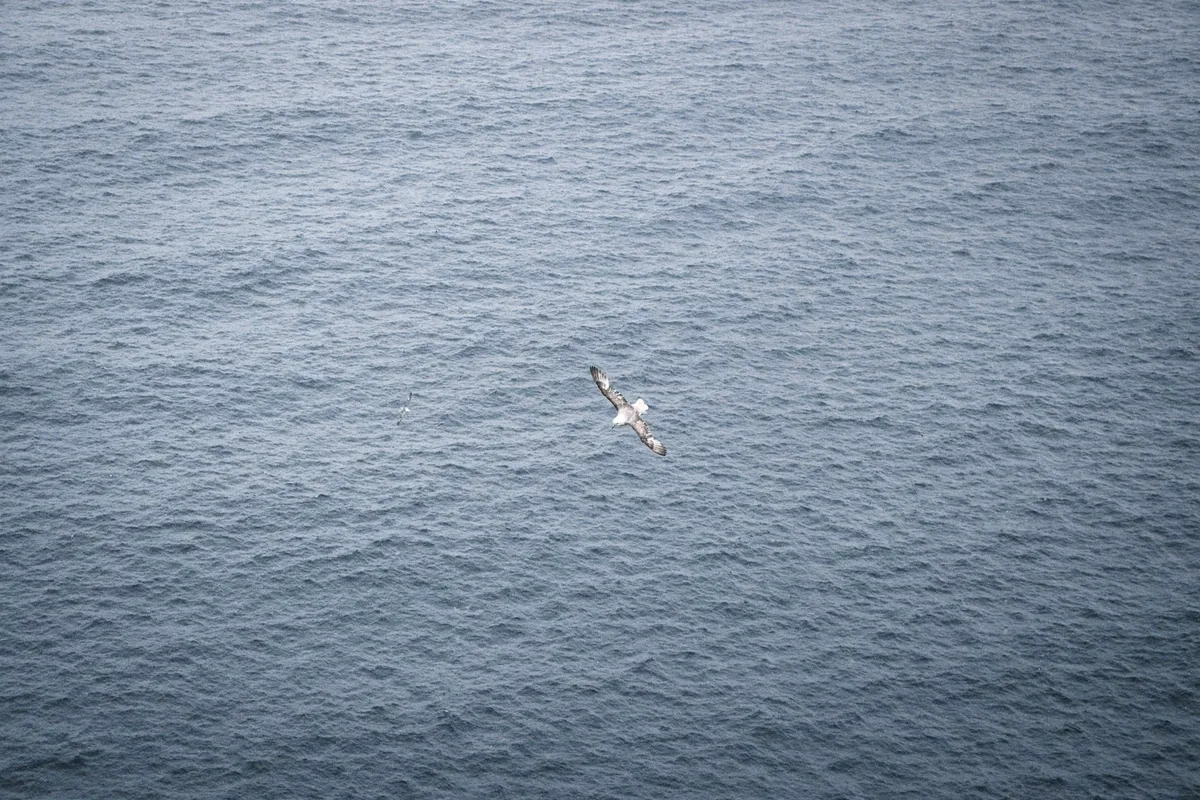
For a bird already in flight, a useful daylight starting point is manual exposure mode, 1/2000 second, the lens near its widest useful aperture and Auto ISO. That combination gives shutter speed priority without forcing the photographer to chase changing brightness manually. Large, slow-gliding birds may be sharp at 1/1000, while small birds, rapid wingbeats and sudden dives often benefit from 1/2500 or 1/3200. Treat those numbers as tests, not rules. Make a short burst, magnify the eye and wing edges, then change the shutter speed according to the motion you actually see.
Choose shutter speed for the picture, not the species list
Two kinds of movement must be managed at once: the bird moving through space and the photographer moving a long lens to follow it. A fast shutter reduces both sources of blur, but it also raises ISO or opens the aperture. If the goal is a crisp identification frame, err toward speed. If the goal is to show motion, try panning near 1/125 to 1/320 and accept that the success rate will fall. Keep the head as sharp as possible while allowing wings and background to move; intentional blur works when one part of the frame still tells the eye where to rest.
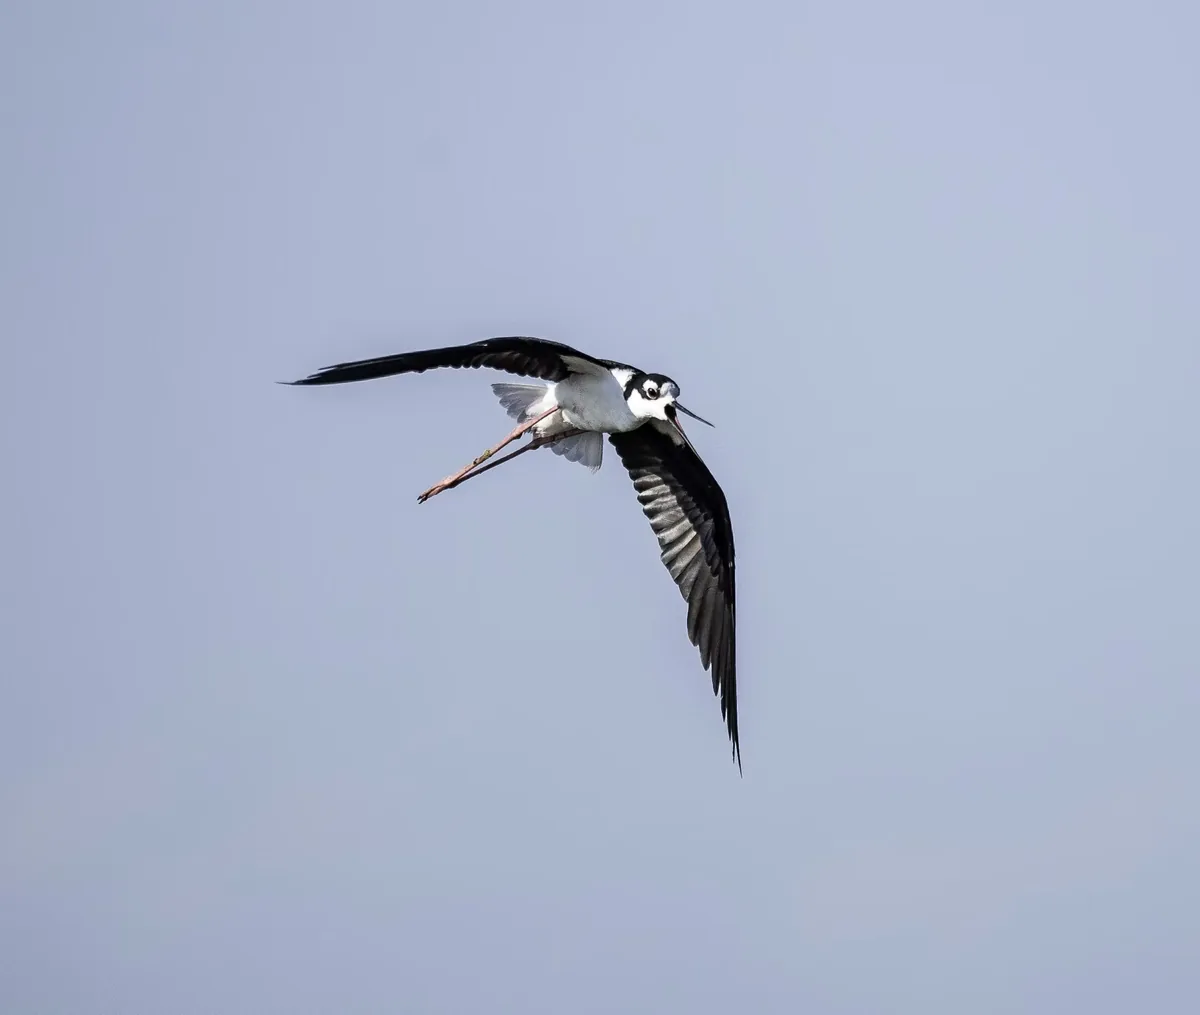
Continuous autofocus is the foundation
Select continuous autofocus—AF-C on most systems—and enable bird or animal subject recognition when the camera provides it. Subject detection can prioritize an eye, head or body, but it does not replace placing a useful focus area over the bird. Sony’s current guidance recommends Continuous AF with Bird recognition and a Zone, Wide or medium Spot area depending on the scene. Fujifilm likewise recommends AF-C with Subject Detection for moving wildlife. The shared principle is more important than the menu names: give the camera a continuously updated subject and enough surrounding area to recover when the bird changes direction.
Match the focus area to the background
Use a wide or zone area when a bird is isolated against open sky; it is easier to acquire a small, erratic subject when the camera can search a larger region. Against trees, reeds or a crowded colony, narrow the starting area so the system is less likely to jump to a branch or another bird. If tracking repeatedly abandons the subject, test a medium spot or expanded spot, then place it on the chest or head before the eye becomes visible. The correct area is the smallest one you can keep on the bird without losing it during an unpredictable turn.
Exposure compensation still matters with Auto ISO
A white bird against dark water can fool evaluative metering into overexposing feathers; a dark bird against bright sky can become a silhouette. With manual shutter and aperture plus Auto ISO, use exposure compensation to move the camera’s target brightness while preserving the motion settings. Watch the histogram and highlight warning after a representative burst. Protect pale plumage first, because clipped texture cannot be recovered. RAW files provide more latitude for shadow and color adjustments, but they do not restore blown channels or fix movement blur. Recheck whenever the bird crosses from sky to foliage or sun to shade.
Burst rate is useful only with discipline
Continuous shooting increases the chance of catching a clean wing position, eye contact or landing gesture, but the highest frame rate is not always the best choice. Long uncontrolled bursts fill the buffer, consume batteries and turn editing into an endurance test. Start the burst just before the anticipated change—takeoff, banking, contact with water—and release when the moment has passed. If the camera offers pre-release capture, learn its file-format and crop limitations before relying on it. A shorter, intentional sequence is easier to evaluate and more likely to preserve buffer space for the next real opportunity.
Stabilization and stance support acquisition
Optical or in-body stabilization reduces viewfinder shake, making it easier to keep a distant bird inside the frame. Use the lens’s panning mode when available, and verify whether tripod detection or stabilization should be changed on a rigid support. Handheld, stand with feet apart, keep elbows relaxed and rotate from the torso rather than making abrupt corrections with the wrists. Begin tracking before pressing the shutter and continue the motion after the burst. A smooth follow-through keeps the bird centered and prevents the final frame from being pulled away by the act of pressing the button.
A ten-minute practice routine
Choose a common, predictable subject such as gulls moving along a shoreline. Spend three minutes acquiring birds against open sky with a wide or zone area. Spend three minutes tracking them as they cross a textured background, narrowing the area only when needed. Then make four short sequences at different shutter speeds and compare eyes, wing edges, ISO and background rendering at 100 percent. Record the combination that produced the highest keeper rate. The point is not to memorize one universal setup; it is to build a default that can be changed deliberately when distance, light or movement changes.
Field checklist
Before the first bird arrives, confirm AF-C, subject recognition, drive mode, shutter speed, available card space and battery level. Set a focus-area button where it can be reached without leaving the viewfinder. Keep some space in front of the bird rather than centering it tightly, and zoom out when acquisition becomes difficult. After a burst, check focus on the eye instead of judging only the rear-screen thumbnail. Finally, protect the subject: stay outside nesting buffers, avoid blocking flight paths and leave immediately if the bird changes behavior because of your presence.