Decide what the portrait needs to explain
Before choosing an f-number, identify the details the photograph cannot afford to lose. In a close portrait that may be the nearer eye; in a couple’s photograph it may be both faces or their joined hands. In an environmental portrait, a recognisable location may matter too. These are different requirements. A very soft background can help one picture and remove useful information from another. Write the priority in plain language, then use the camera settings to serve it rather than starting with the lens’s widest aperture.
Separate focus placement from depth of field
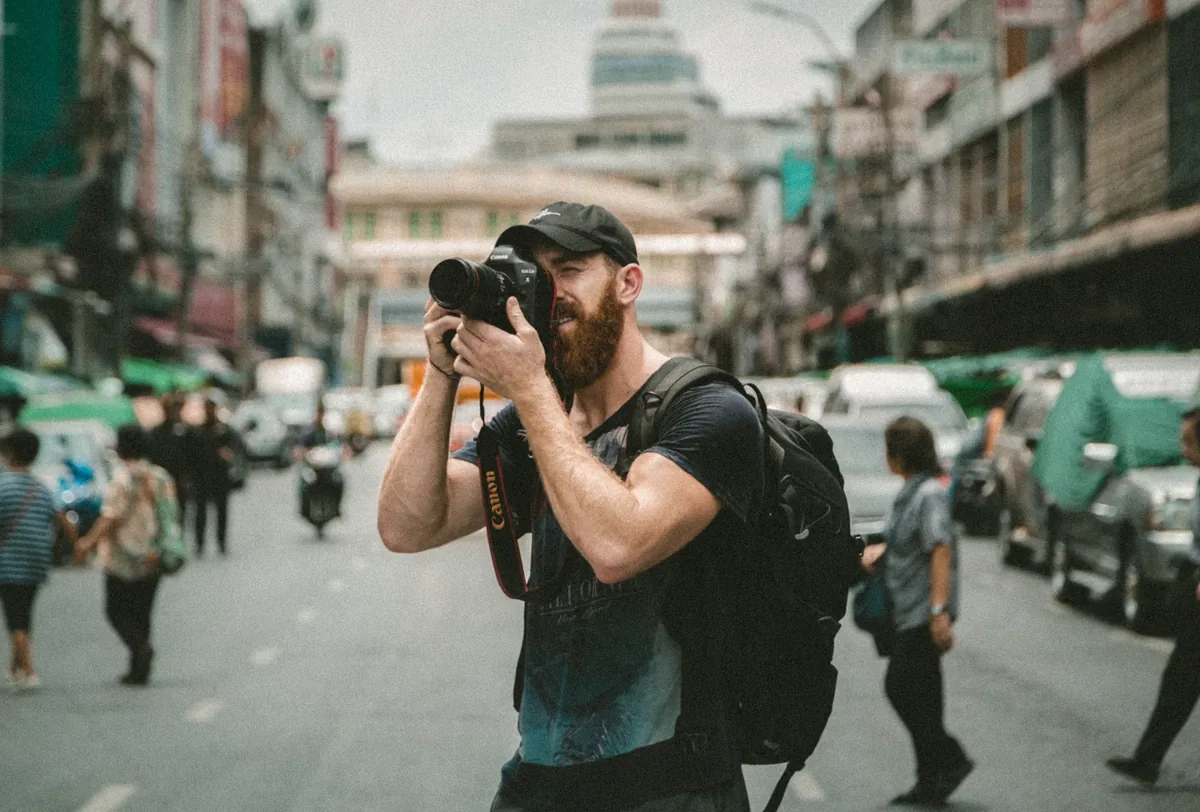
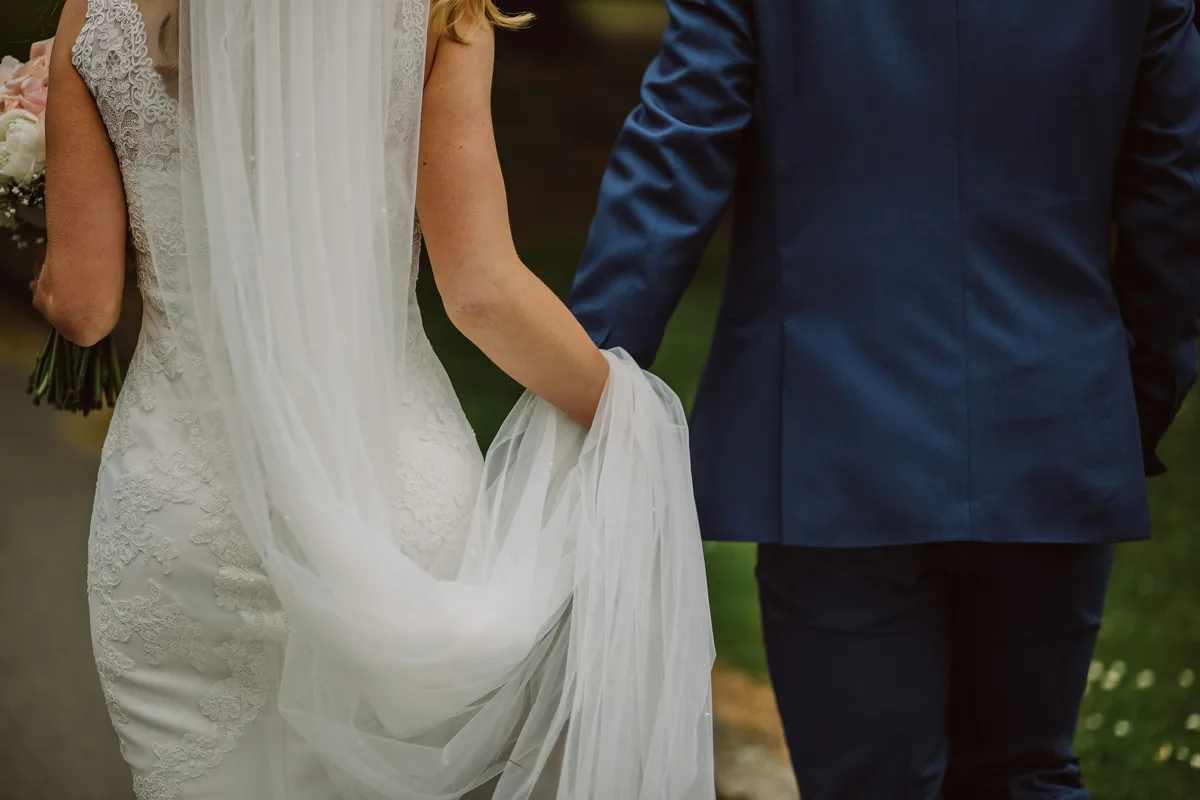
Focus placement selects the distance of greatest sharpness. Depth of field describes the range that appears acceptably sharp around it, under the viewing conditions. Nikon’s aperture guidance explains that a smaller opening increases depth of field and a wider one reduces it. That does not mean a narrow aperture repairs focus placed on the wrong subject. First confirm the intended detail, then decide how much surrounding depth must remain legible. The photographs here illustrate different portrait arrangements; they are not a controlled aperture comparison and their capture settings are not verified.

Arrange two people before stopping down
When two faces matter equally, avoid placing one much nearer the camera unless that difference is deliberate. Ask the subjects to adjust their positions and check the arrangement from the camera, not from beside it. A small change in pose can make the depth requirement less demanding without forcing a smaller aperture. For a detail photograph, apply the same reasoning to hands, clothing or objects. Do not assume that two people standing next to each other have their important details at the same distance.
Use a short, controlled comparison
Keep the camera position, focal length and subject arrangement unchanged. Make a frame at your initial aperture, then another one stop smaller, refocusing on the same intended detail. Maintain a shutter speed suitable for the movement and adjust exposure as necessary. Inspect the differences in the face, secondary detail and background separately. This is a practical comparison to make with your equipment, not a universal recommendation for a particular f-number. If the subject changes pose substantially, reset the comparison rather than attributing every difference to aperture.
Do not trade focus blur for motion blur
A smaller aperture admits less light. If the camera compensates with a longer exposure, a moving face or hand may become blurred even while the depth of field increases. Watch shutter speed and ISO as well as the aperture display. If the light is insufficient, reconsider the pose, location or lighting rather than insisting on one number. Inspect edges and fine detail: a missed focus distance and movement during exposure are different problems, so they need different corrections.

Treat background distance as a separate choice
After securing the essential subject detail, consider the space behind the subject. Moving a person away from a distracting background can change its appearance without requiring the widest available aperture. Recheck the lighting and composition after moving them. For an environmental portrait, retain enough visual information to establish the setting instead of erasing it automatically. Our mountain portrait and portrait with bright background lights invite different readings of their surroundings; neither establishes a setting that will work for another location.
Judge the file, then the delivery
Magnify a saved image to inspect critical detail, including the less prominent face or hand. Then look at the whole photograph at the size it will be viewed or printed. A technically demanding large print and a small web image do not invite the same scrutiny, but neither excuses missing the subject that matters. Save a useful example with its settings for your own reference. The goal is a deliberate hierarchy of sharpness, not maximum blur or maximum sharpness everywhere.