Start with an empty cup
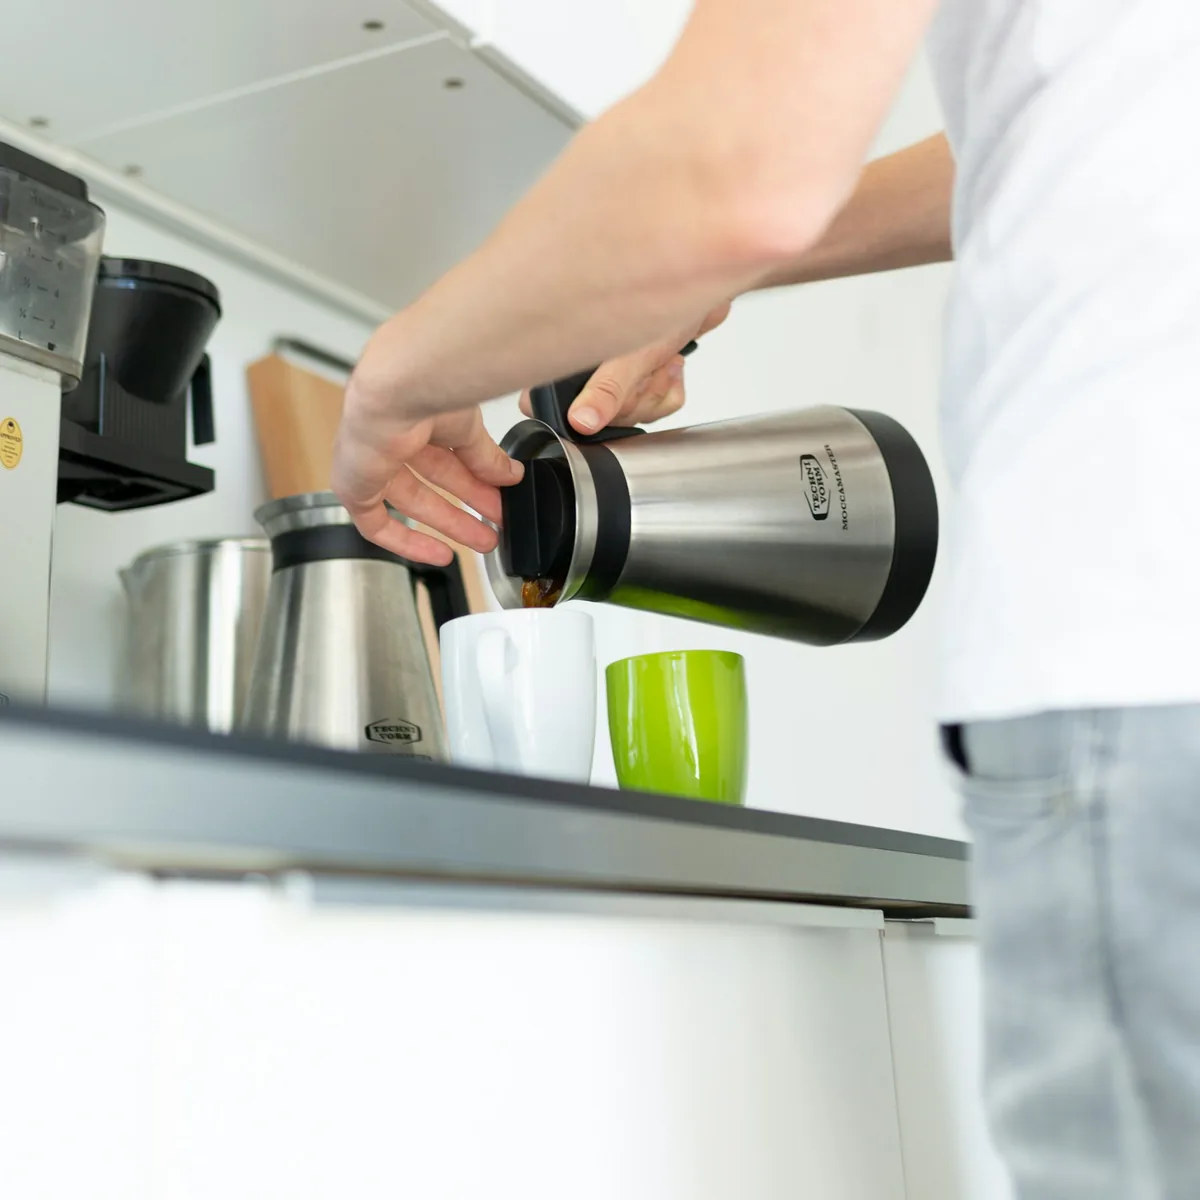
Set the cup down and look through the camera before pouring. Follow the path between the spout and the cup rim. A black appliance, a patterned sleeve or the vertical edge of a cupboard directly behind that path can make part of the stream disappear. Shift sideways until the falling liquid crosses one quiet area. Moving the cup a few inches may solve the problem without changing the rest of the composition.
Give the liquid an edge
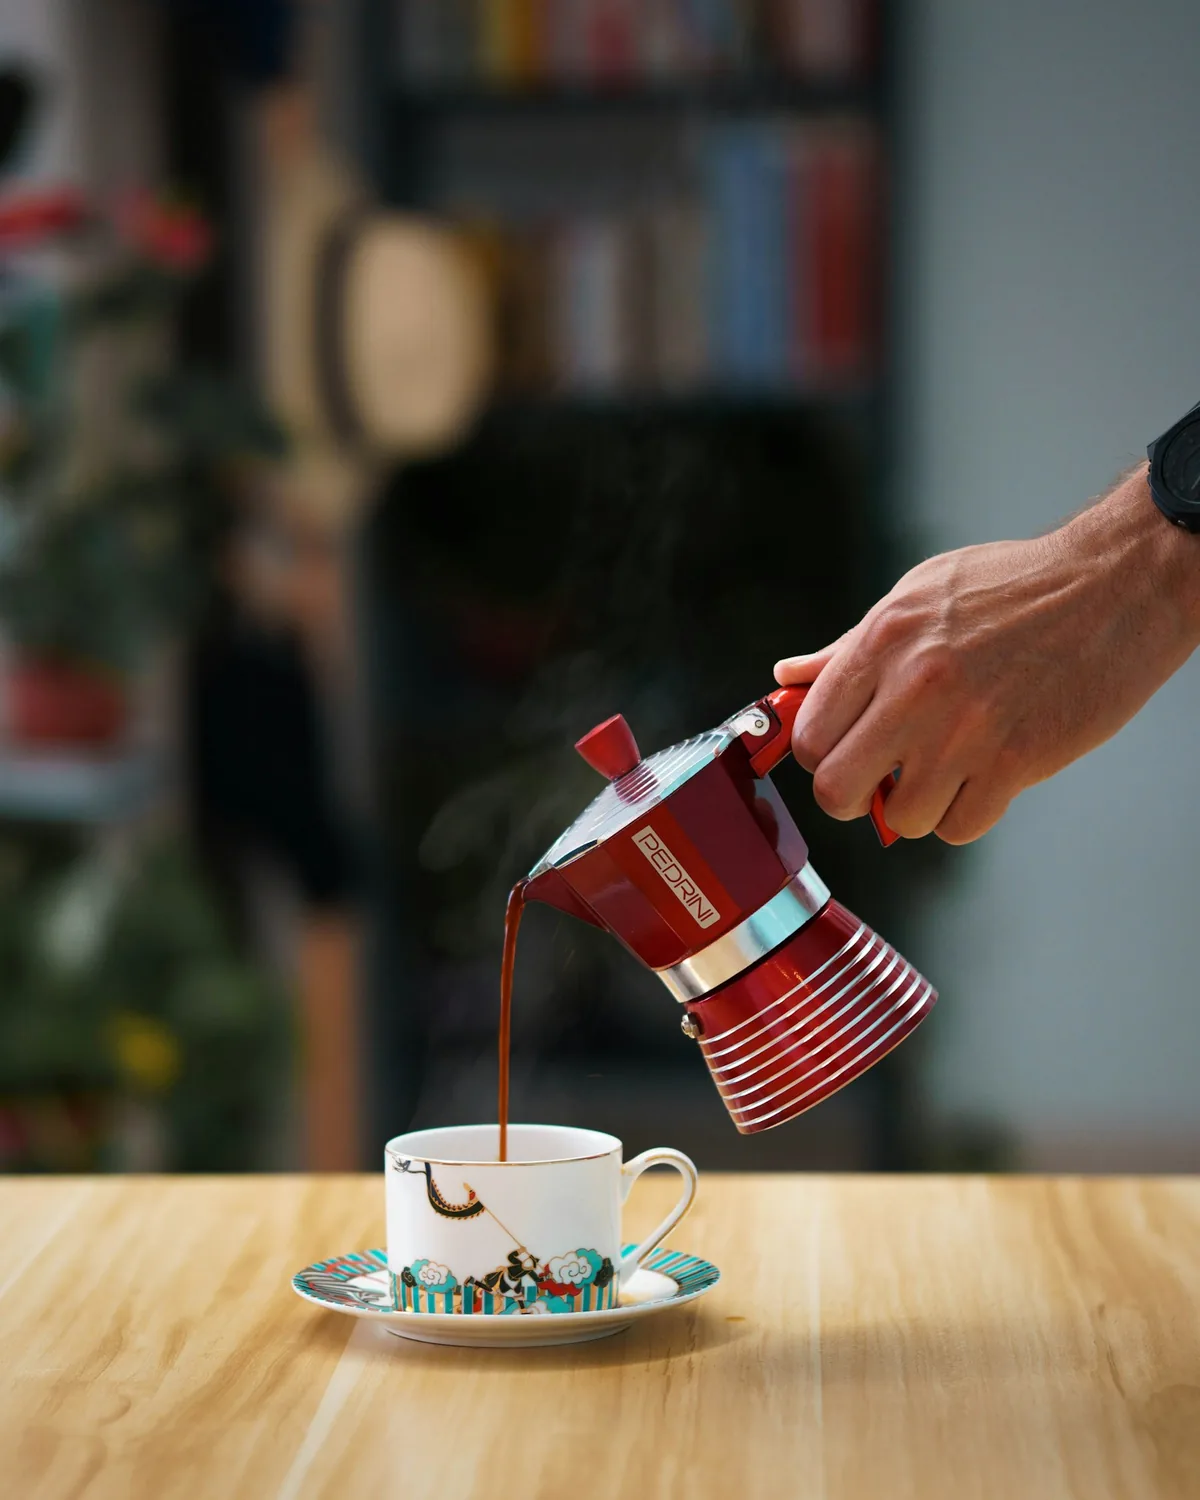
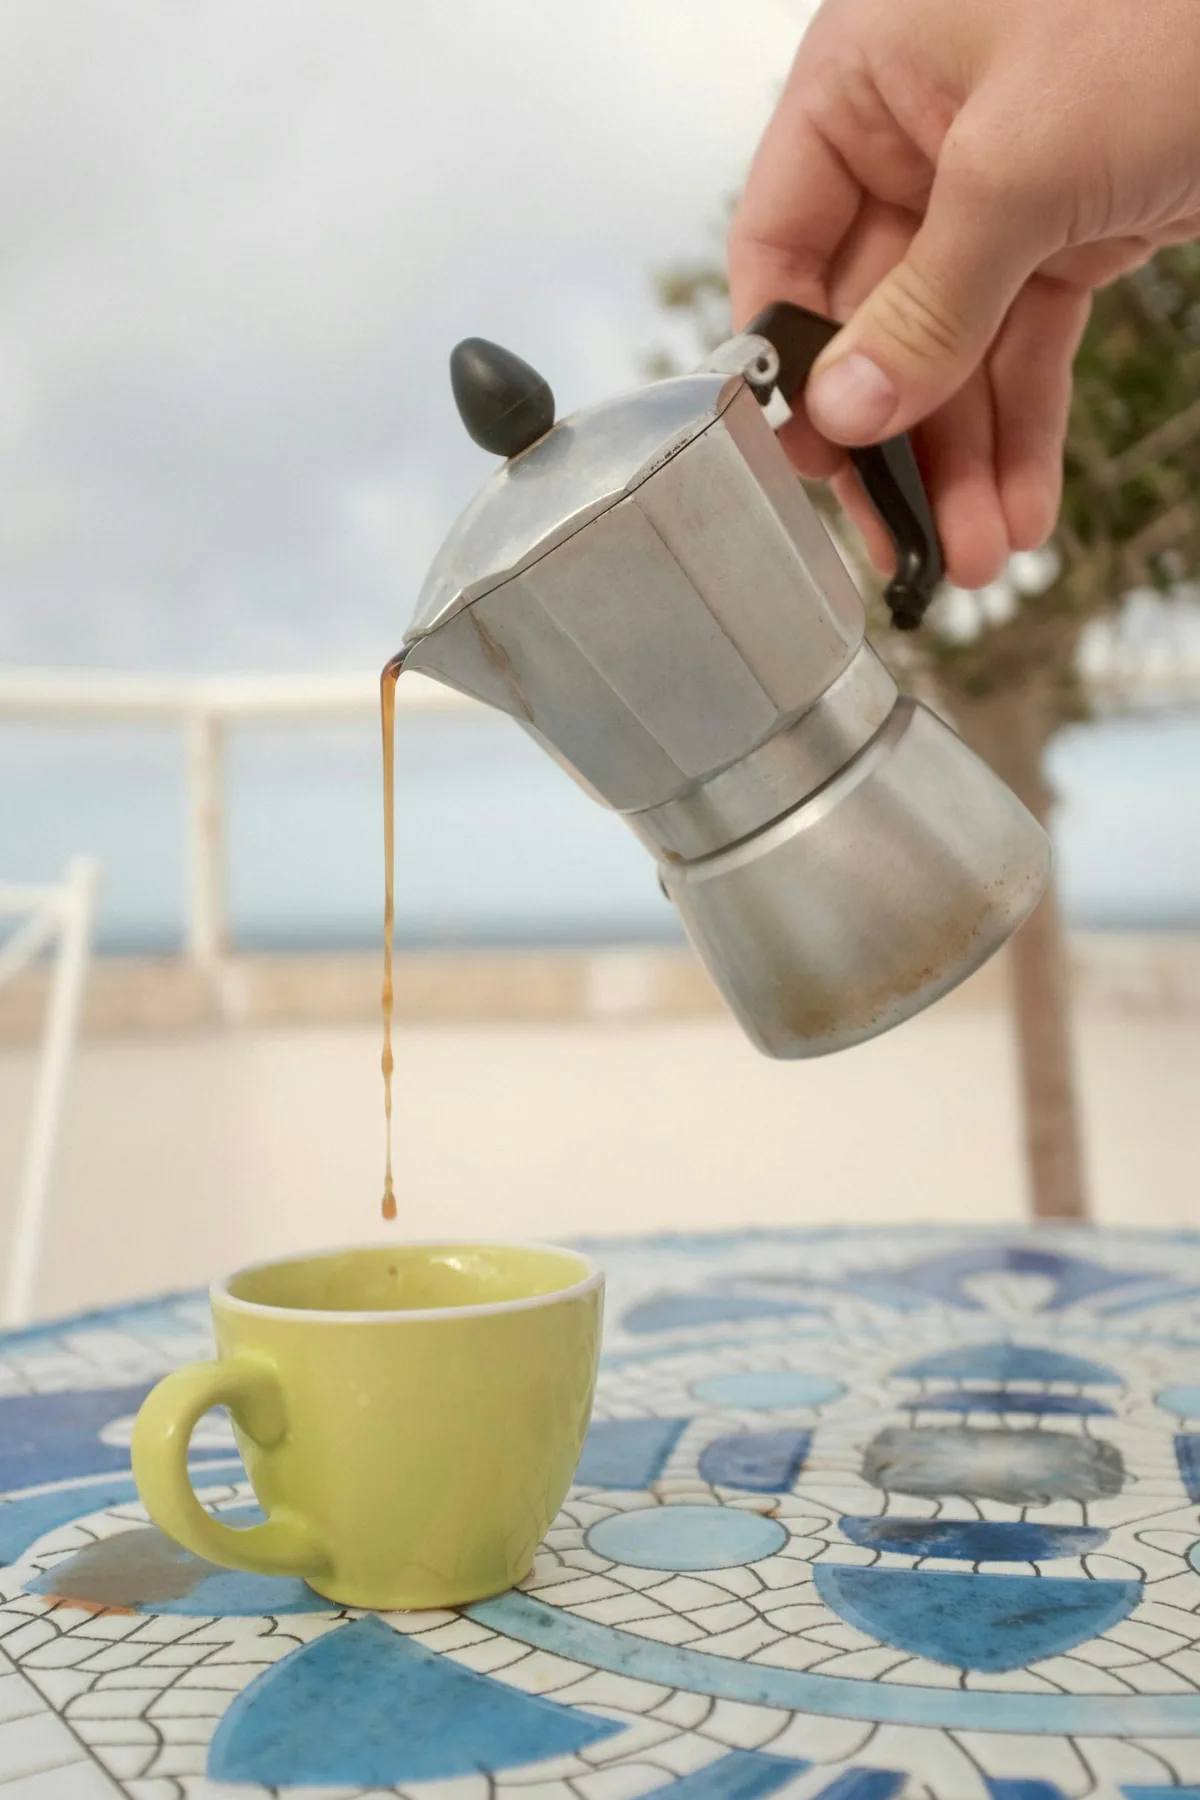
For dark coffee, try a pale background behind the stream and light from the side. A bright reflection on one edge of the liquid can describe its shape. Check the white rim of the cup as well: if it loses all texture, move the light or reduce exposure slightly. Turning a cup can also send a distracting reflection away from the camera.
Fix the plane before the pour
Put a spoon handle where the stream will meet the cup, focus there, then remove it. Keep the camera and cup stationary. If the spout will be much nearer the camera than the landing point, decide which end needs to be sharp. A side view can bring both closer to the same plane. Rehearse with cool water before handling a hot drink around lights or camera gear.
Compare texture at two shutter speeds
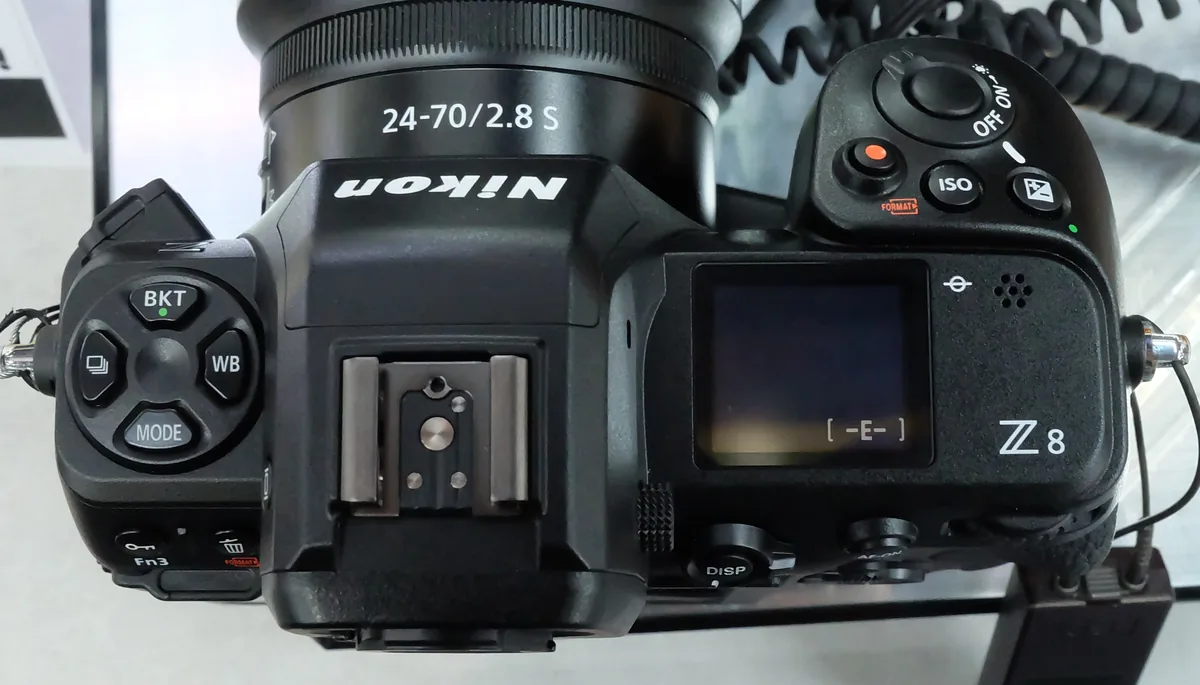
For a starting comparison, try 1/125 second and 1/1000 second with the same framing. Keep the aperture fixed and compensate with light or ISO. At the slower speed the stream may form a ribbon; at the faster setting individual beads may separate. Neither setting guarantees a result because the flow, distance and direction of movement all matter.
Choose the frame at the rim
Look closely where liquid meets the cup. A clean separation between the stream, rim and background often matters more than stopping every droplet. If the cup seems empty in the finished image, try a slightly higher viewpoint so the surface is visible. Change that one variable and repeat while the lighting stays in place.