Treat the meter as a starting point
Exposure compensation tells an automatic exposure system to aim brighter or darker than its current metered result. It is not extra light, a new metering mode or a command to recover clipped detail. The useful question is whether the camera’s interpretation matches the photograph you intend. A bright wall can occupy most of a composition while the face you care about remains in shade. Decide which part matters before turning a dial. There is no universal compensation value for every backlit person, pale surface or night street.
Watch a setting move before relying on the control
With a stationary subject in steady light, choose aperture priority, a fixed ISO and a moderate aperture. Make a frame at zero compensation, then request a brighter result and watch the shutter-speed display. Provided no limit is reached, a longer exposure should supply the requested increase. Repeat with a darker target. This small exercise makes the control less abstract and reveals an important cost: the brighter frame may use a shutter speed that cannot freeze your subject. Check the actual recorded settings, not only the apparent brightness of the live display.
Auto ISO changes the experiment
When ISO is automatic, the camera has another variable available. In manual mode with a fixed shutter speed and aperture, supported cameras can respond to compensation by changing ISO. Nikon’s Z6III reference guide explicitly documents this behavior. Do not assume every older body or every shooting mode works identically; consult the manual for the camera in your hand. With shutter speed, aperture and ISO all fixed, compensation generally cannot change the captured ambient-light exposure, although it may shift the meter indication. A changing meter is not proof that the photograph changed.
Try a controlled three-frame comparison
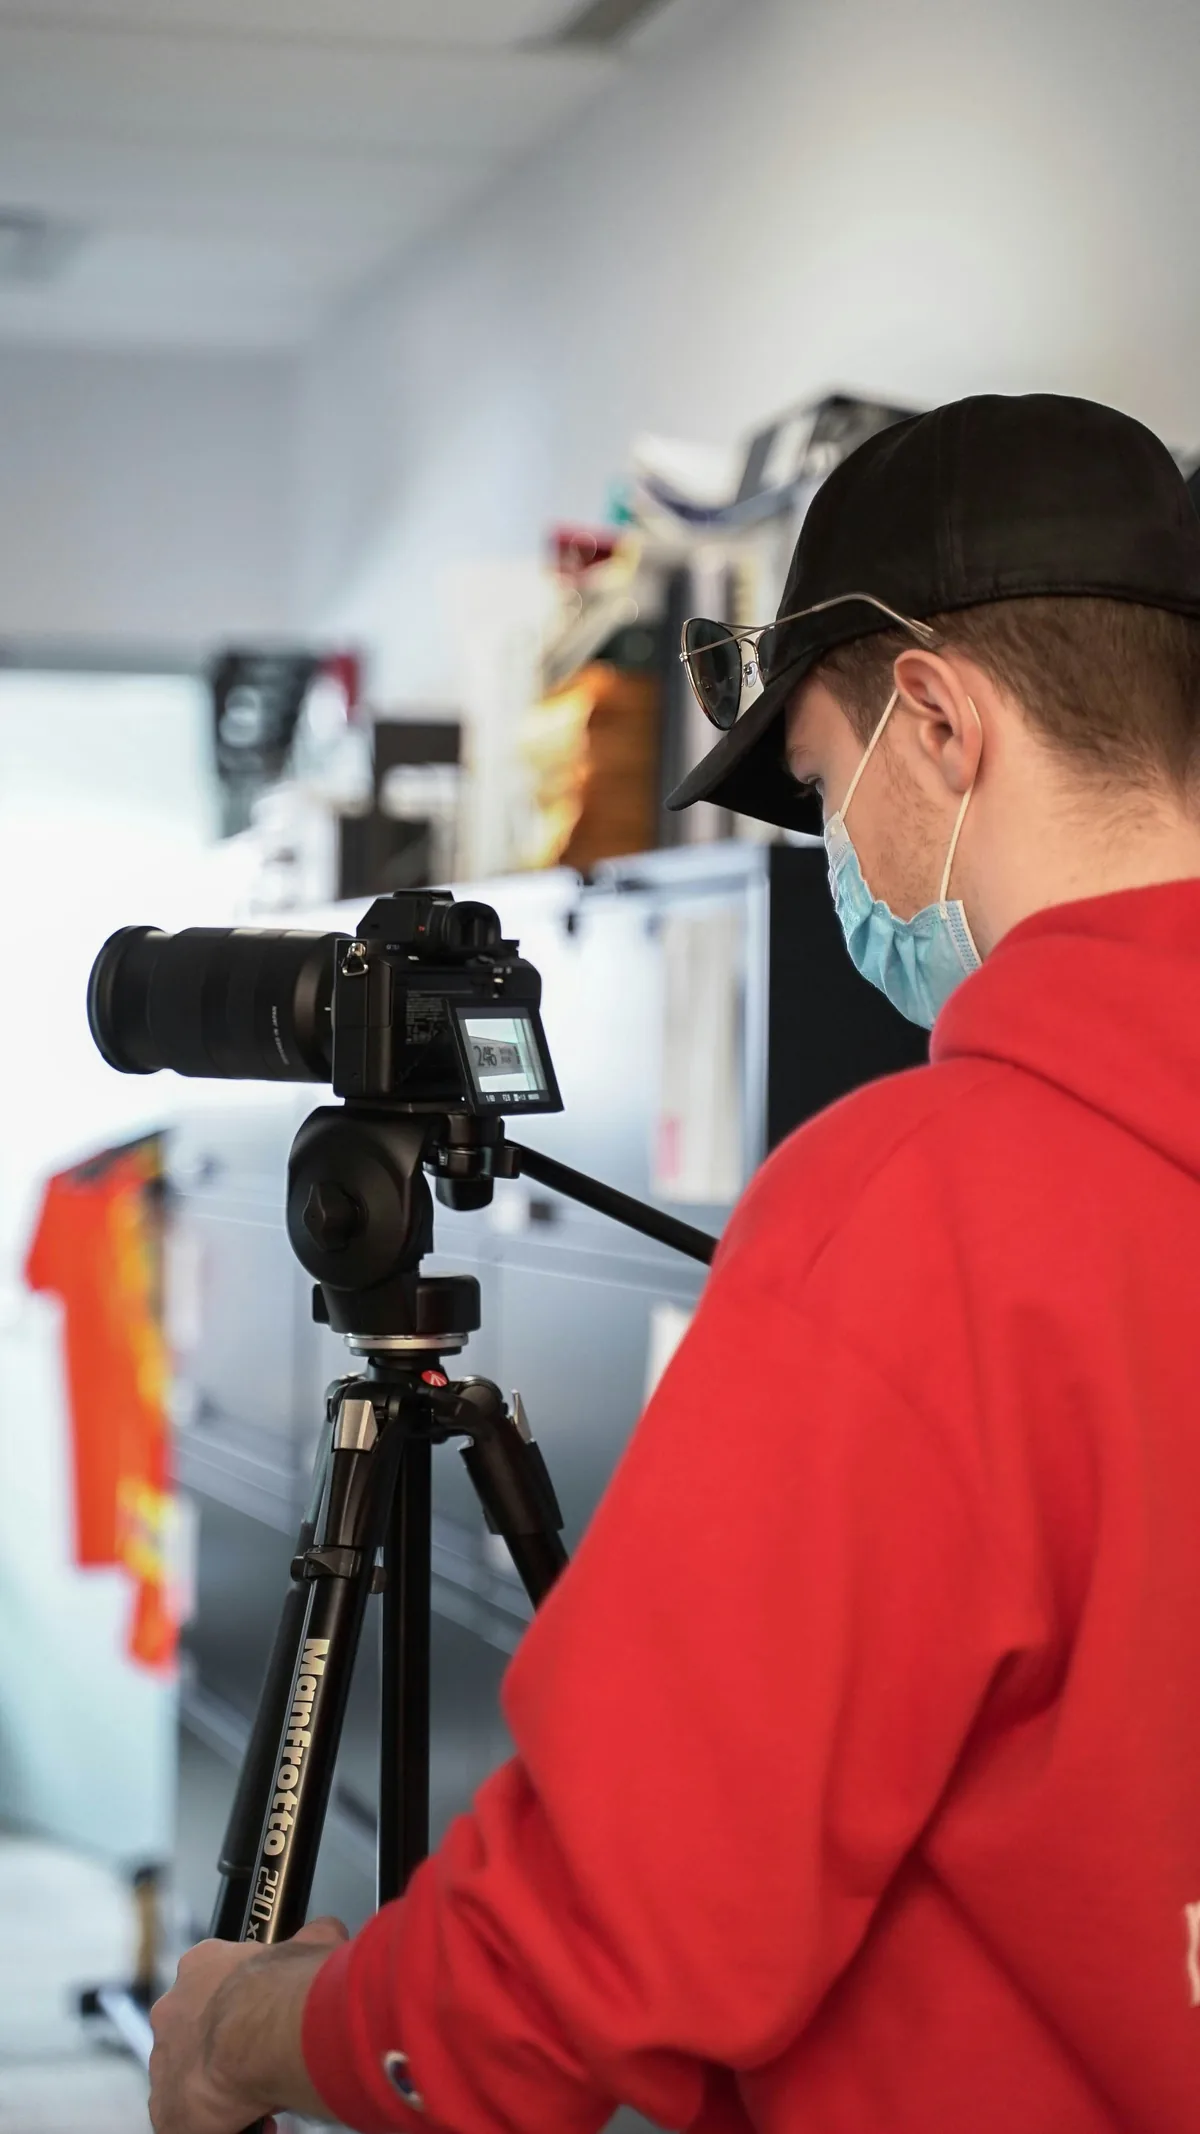
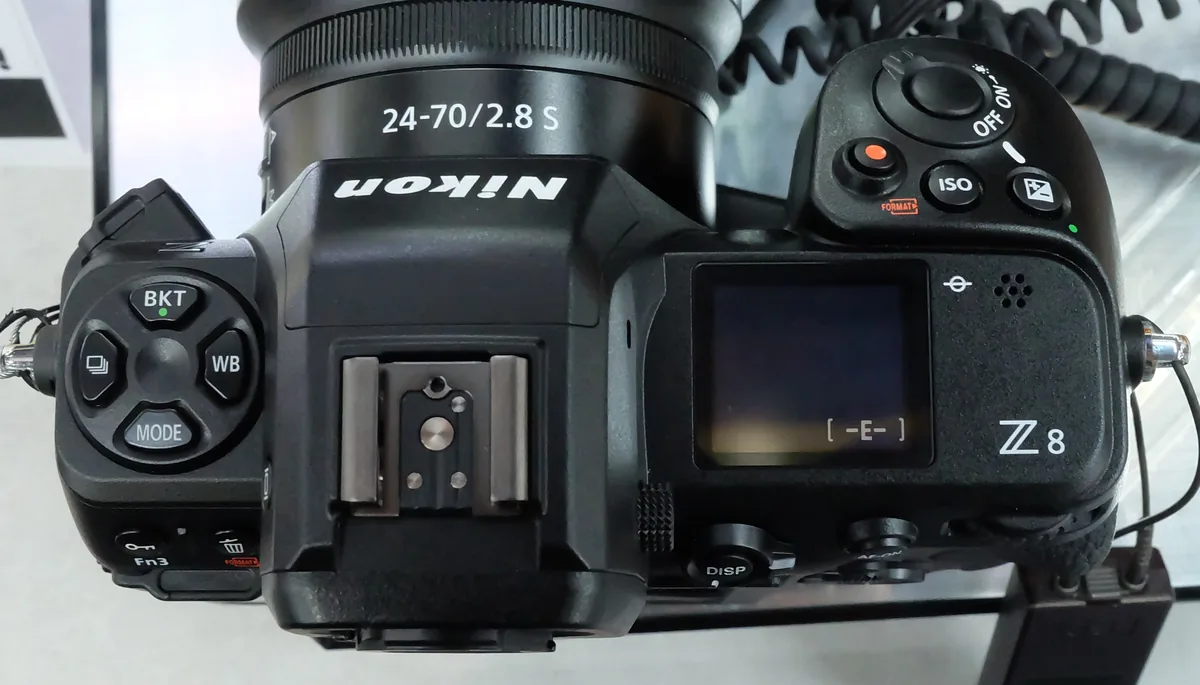
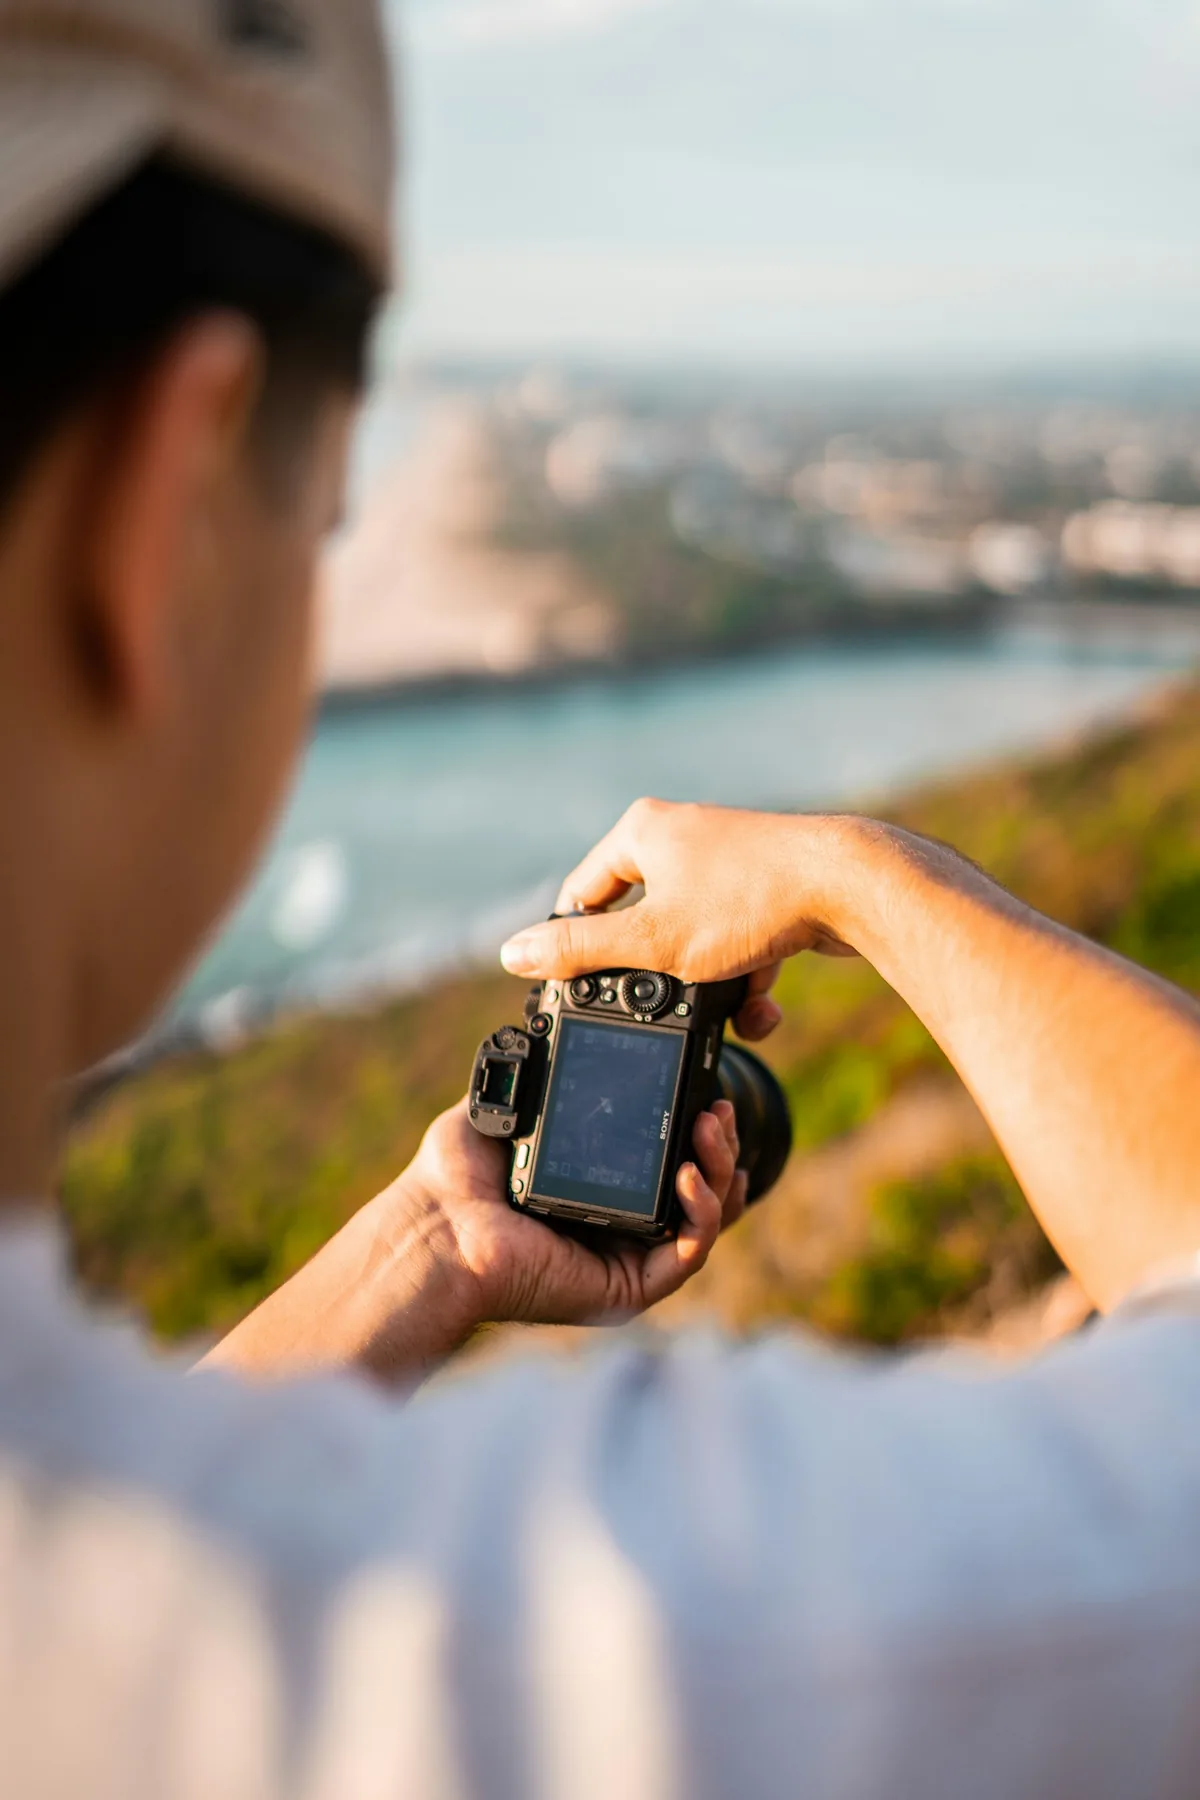
Keep one composition, one metering mode and one light source. Photograph a textured object against a light background at zero, then at a modest positive and negative value. Compare the subject rather than judging the entire frame by how bright it feels. Read the shutter speed, aperture and ISO for each file. Repeat against a darker background without moving the light. This is a learning exercise, not a prescription to use the same settings outdoors. The accompanying camera photographs illustrate controls and review; they are not the results of this experiment.
Choose a priority when highlights and shadows disagree
Compensation moves the automatic target for the whole capture. It cannot independently brighten a face and darken a bright window. If keeping the face readable destroys important window detail, decide whether the window needs to be retained, change the angle, alter the available lighting or choose a different moment. For a static scene, exposure bracketing may be appropriate, but moving subjects complicate a merge. A small specular reflection and a large clipped area containing essential detail are not the same editorial problem. Make the decision from the subject, not from a rule that every warning must disappear.

Recognize a limit instead of turning farther
If the displayed value changes but the image does not, inspect the exposure variables and their limits. Auto ISO may already be at its ceiling or floor; a shutter or aperture limit may prevent the camera from reaching the requested target. An exposure lock can also make a test behave differently from what you expected. Return to a simple, steady scene and change one variable at a time. Do not diagnose the problem while simultaneously switching metering, changing composition and following a moving subject. Flash exposure introduces additional camera-specific behavior and should be tested separately.
Build a review-and-reset habit
After a representative frame, inspect important highlights, subject detail and motion at a useful magnification. A histogram describes the image distribution, not what you meant to emphasize, and its preview can depend on the camera’s rendering settings. Review the resulting file when learning how much latitude your own workflow provides. Finally, decide whether to retain the compensation for the next scene or return to zero. Some cameras preserve it across power cycles. Making that check part of the transition between locations prevents yesterday’s deliberate adjustment from becoming today’s unexplained mistake.