Choose the subject before choosing a third
The horizon divides a landscape into competing areas. Before placing it, describe the photograph in one sentence: perhaps a storm gathering above a coast, or a path crossing a field beneath a quiet sky. That sentence gives the space a purpose. A low horizon can give clouds room; a high one can emphasize the ground. A central division may make sense when reflection or balance is the subject. None of those placements works automatically. The useful question is which area adds information and which merely occupies the frame.
Make three deliberate alternatives
From a safe, fixed position, keep the same focal length and make three photographs: one with the horizon low, one near the middle and one high. Tilt the camera to change the allocation of space, recognizing that this also changes what enters the frame. Keep exposure and white balance consistent where practical so a brighter preview does not unfairly favor one version. Avoid making this a speed exercise. Check what disappeared at the bottom and what entered at the top each time. These are proposed practice frames, not settings recovered from our licensed illustrations.
Look for useful foreground information
More ground helps only when it contributes something. A shoreline may lead toward a distant feature; repeated stones may establish scale; an indistinct dark strip may add little. Review whether the foreground connects to the main subject or blocks it. If a promising feature is hidden behind another, try a small change in camera height after completing the first comparison. Label that as a second experiment: moving the camera changes relationships between near and far objects, while tilting from the original position changes framing without the same viewpoint shift.
Give the sky a specific job
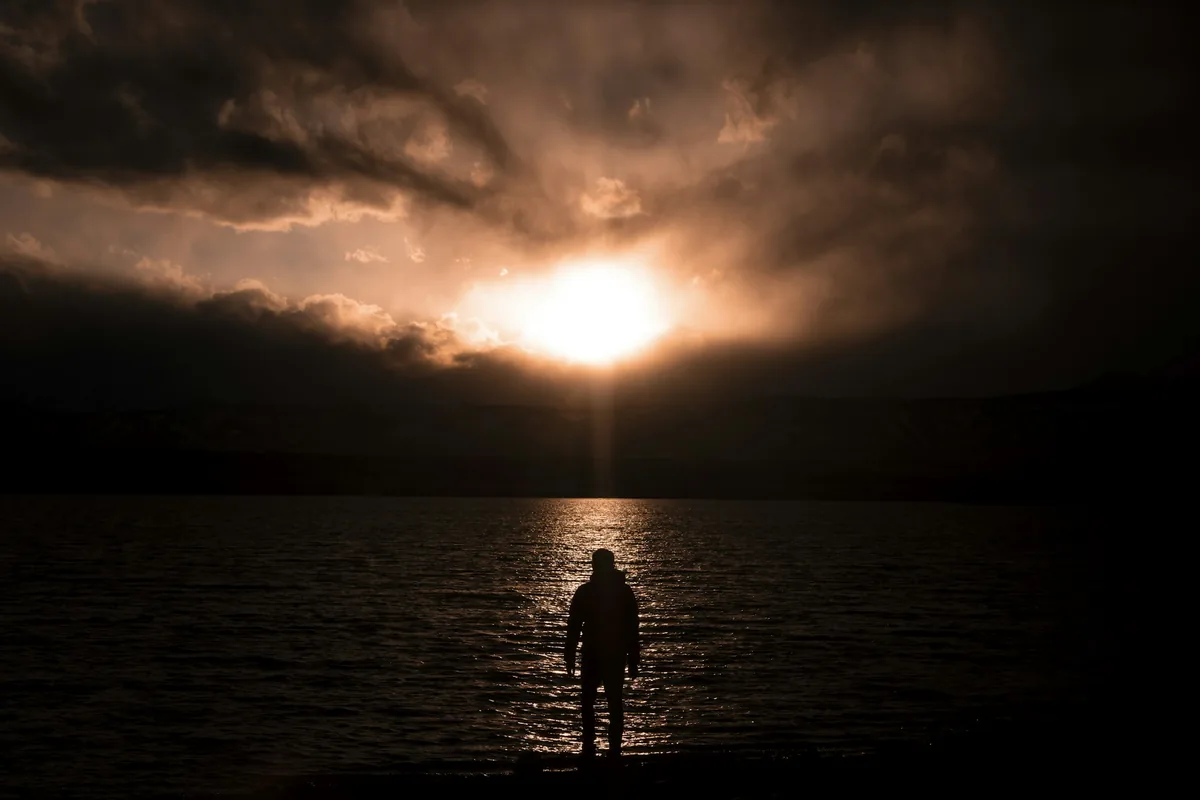
A sky can supply weather, color, direction or breathing room. It can also become the brightest distraction. In the palm-tree example, the cloud shapes and warm gaps occupy much of the image, while the trees create an uneven lower boundary. Ask whether removing some sky would weaken that relationship. At the lake, compare the small person with the bright opening above. For the night skyline, examine how much empty darkness is needed to separate buildings from the upper edge. These are different scenes by different photographers, not a controlled before-and-after sequence.
Level deliberately, then inspect overlaps
A level horizon and a well-placed horizon are separate decisions. Use the camera’s level or grid as a reference, then inspect the visible land or water boundary rather than assuming every sloping ridge should become horizontal. Check where the boundary crosses heads, rooftops or other important shapes. A minor height adjustment may separate an awkward overlap more effectively than a later crop. If you intentionally tilt the frame, make that decision clear in the image instead of leaving a small accidental lean that looks like an oversight.

Choose at the size the image will be seen
Compare the three versions at equal size, first as small previews and then large enough to inspect edge details. Pick the one that communicates your sentence most clearly, not the one that most precisely matches a grid. Check a vertical or wide delivery crop if one is required; a good full-frame composition may lose its key relationship when reshaped. Keep the alternatives until the destination is settled. Record a short reason for your choice, such as “more foreground explains the route.” Repeating this exercise across several scenes builds a more useful habit than memorizing a single horizon position.