Decide whether a stack solves the actual problem
Focus stacking combines the sharp regions of photographs focused at different distances. It can help when a stationary object extends beyond the depth of field available in one frame. It does not recover detail that is absent from every source image, and it is not the same as exposure bracketing. Before committing to a stack, try a single frame with a more suitable camera angle and aperture. Moving the important surfaces closer to one focus plane may produce a simpler and more convincing photograph than a complicated merge.
Choose a subject that will stay put
Start indoors with a textured, nonreflective object on a firm surface. Leave moving plants, insects and flowing fabric for later: a change in shape creates a different problem from a change in focus. Avoid a fan or a table that vibrates when you touch the camera. Arrange the composition with some spare space around the edges, because alignment can leave an irregular boundary that needs cropping. Decide which details must be sharp and which can remain soft. A successful photograph does not require every background surface to compete equally for attention.
Lock the variables that should not change
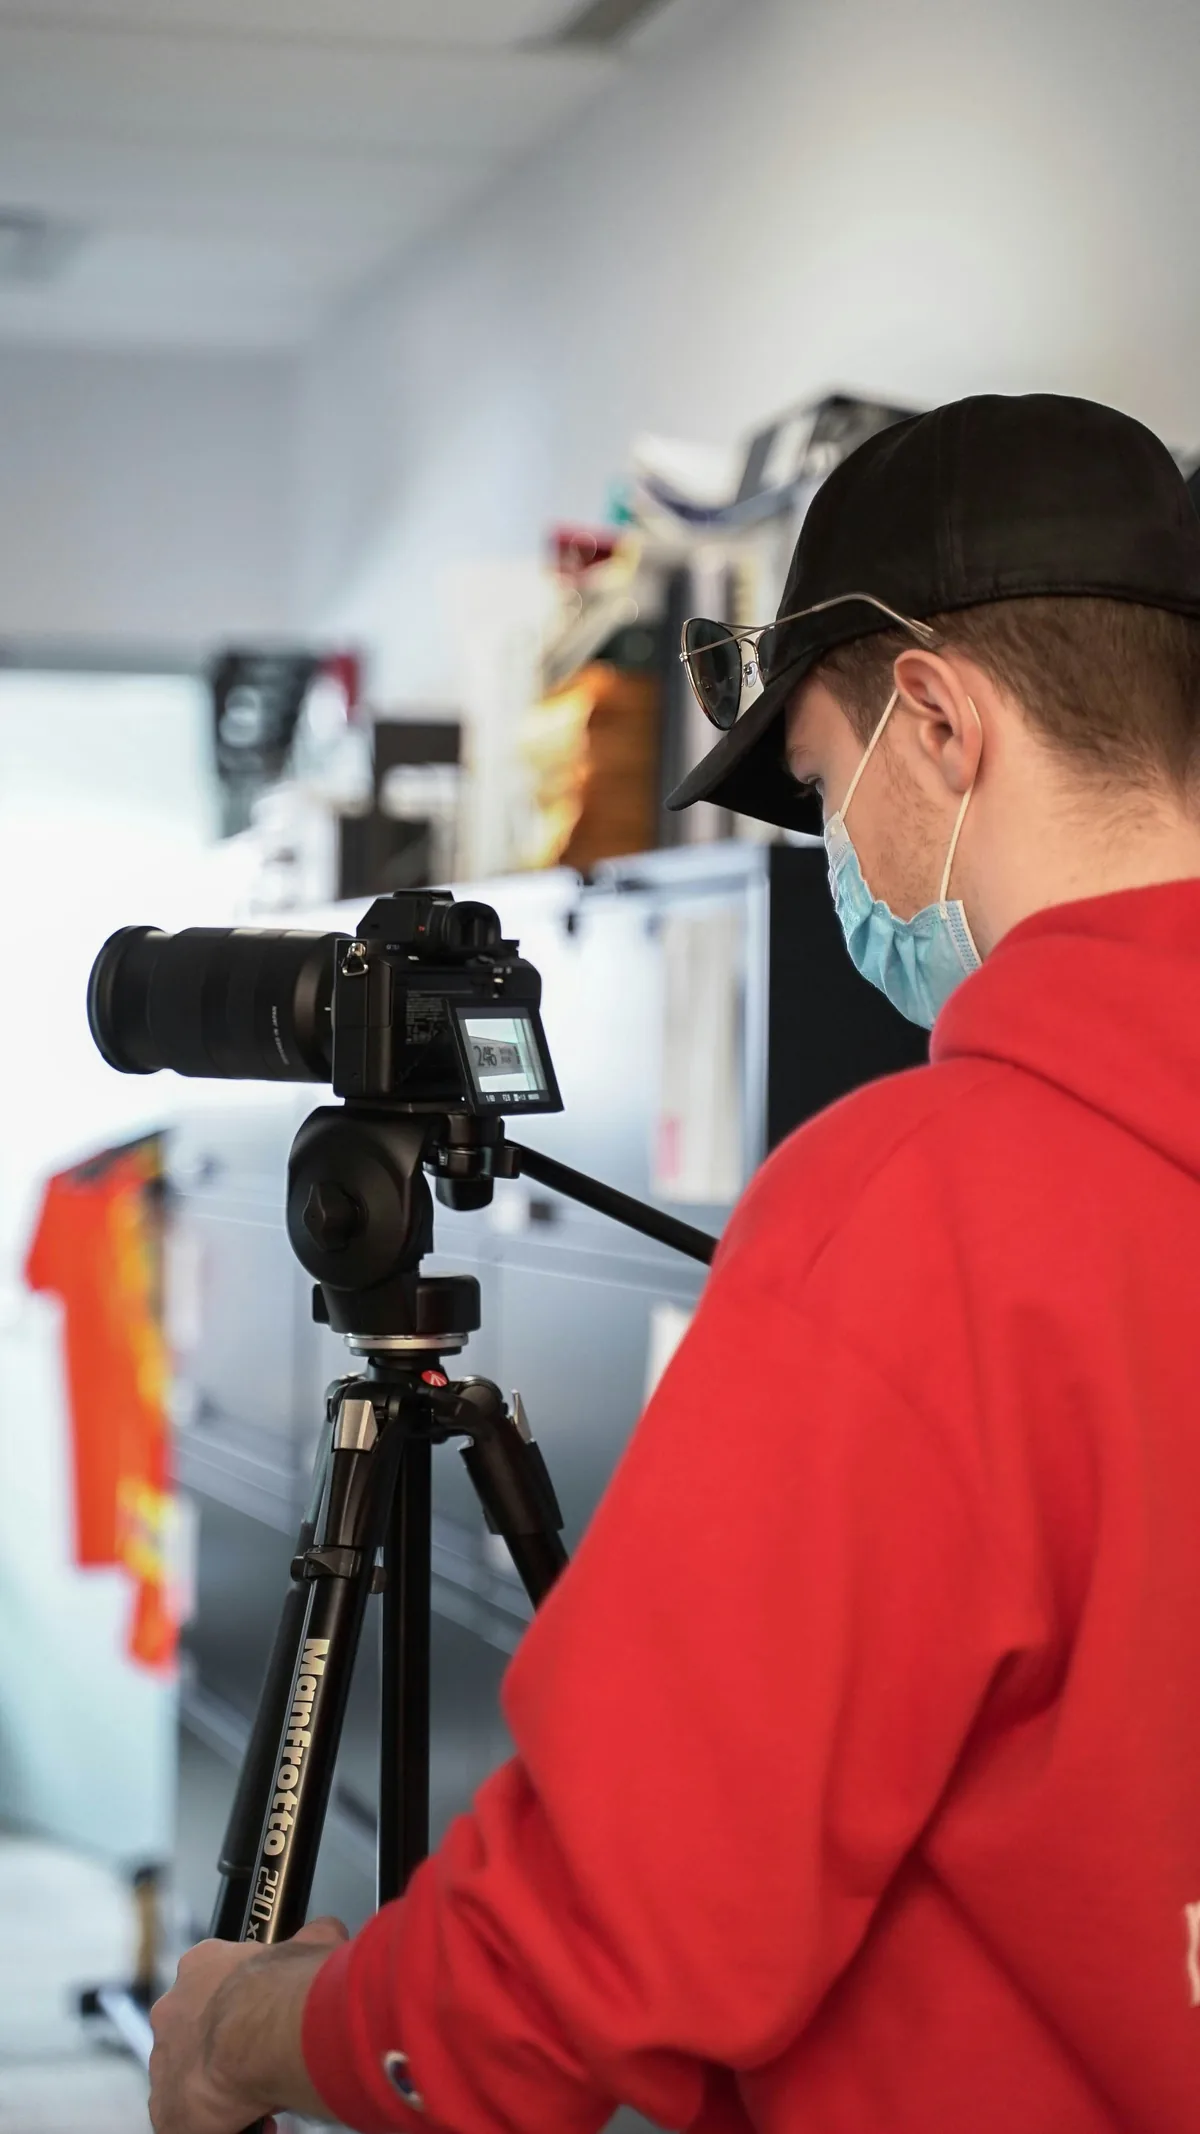
Secure the camera and keep focal length, aperture, ISO, white balance and lighting consistent. With stable continuous light, use a repeatable manual exposure and check for clipped important highlights. If using flash, allow it to recycle completely and confirm exposure consistency before the real sequence. Do not let autofocus jump to a new subject between frames. Use the camera’s documented focus-bracketing feature when available, or adjust focus carefully by hand. The meaning of a focus-step setting varies between systems; a number that worked on another camera is not a universal distance.
Work from a visible near point toward the far detail
Make an initial frame with the nearest required detail sharp. Advance focus in small increments until you pass the farthest required detail. The adjacent sharp zones need to overlap: if a narrow band is soft in every photograph, blending cannot make it genuinely resolved. Inspect an early trial at high magnification before collecting a large series. As magnification increases, a seemingly modest focus adjustment can skip important detail. Use the fewest frames that adequately cover the subject, not an arbitrary fixed count copied from a different setup.
Separate focus movement from framing movement
Changing focus can slightly change the apparent framing, a behavior often called focus breathing. Alignment software can compensate for some differences, but complex overlaps and major perspective changes are harder. Avoid nudging the tripod or changing zoom during the sequence. A focusing rail introduces its own geometry changes because it moves the camera; do not mix rail movement and lens refocusing casually in the same first experiment. Keep a note of which method you used so a failed merge has a traceable cause rather than several unknown variables.
Blend on copies and keep the originals
Adobe’s documented Photoshop workflow loads the images as layers, aligns the selected layers, then uses Auto-Blend Layers with Stack Images selected. Panorama is a different blending choice. Apply a consistent raw conversion before comparing the sources, and preserve the original files and a layered working document. Software names and menus are useful references, but the core test is independent of the application: the final file should carry real sharp detail from the captured sequence without inventing a different edge or erasing a fine feature.
Inspect the places where a merge is most likely to fail
Examine thin edges, overlapping foreground details, shiny boundaries and transitions into the background. Look for halos, doubled outlines, abruptly soft patches and texture that changes character. Compare the composite with the individual frames at those exact locations. Repair a mask only when a source frame actually supplies the missing detail. If none does, reshoot with smaller focus steps, steadier light or a more cooperative composition. Also judge the image at its intended delivery size: a technically busy stack can look less natural than a well-chosen single exposure.
Package the result honestly
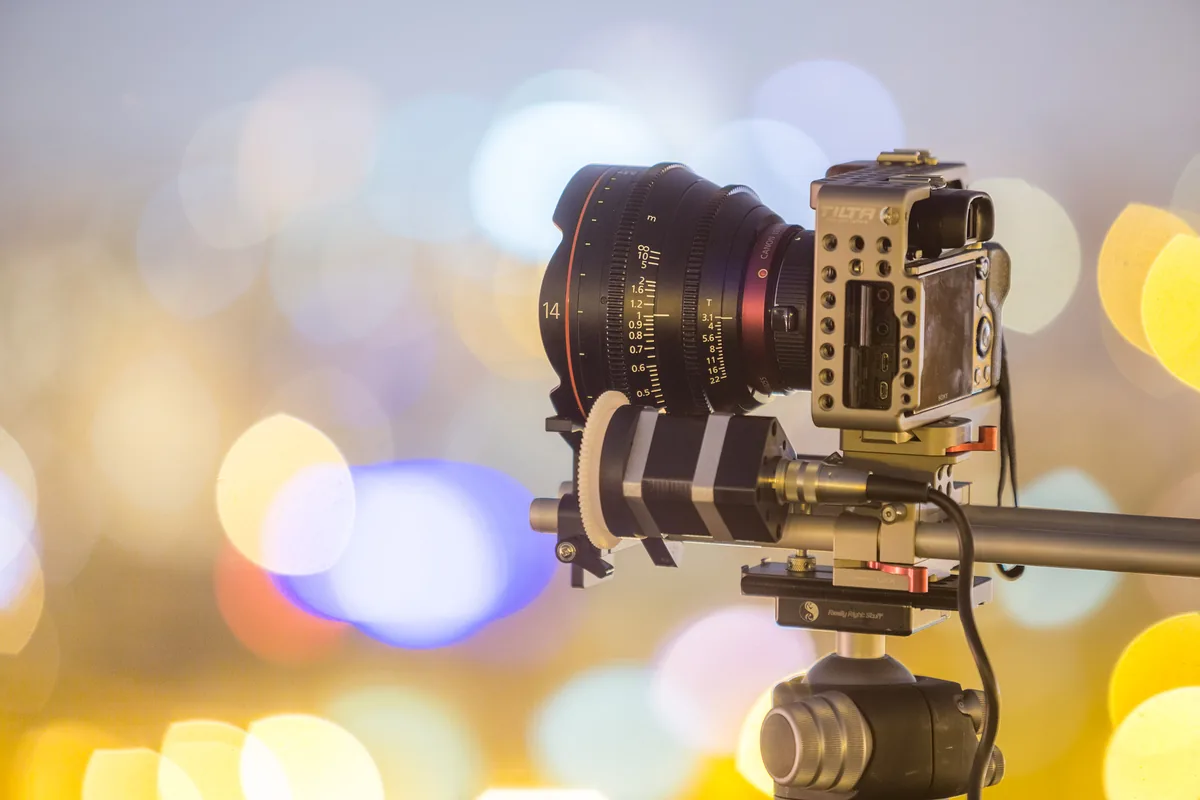
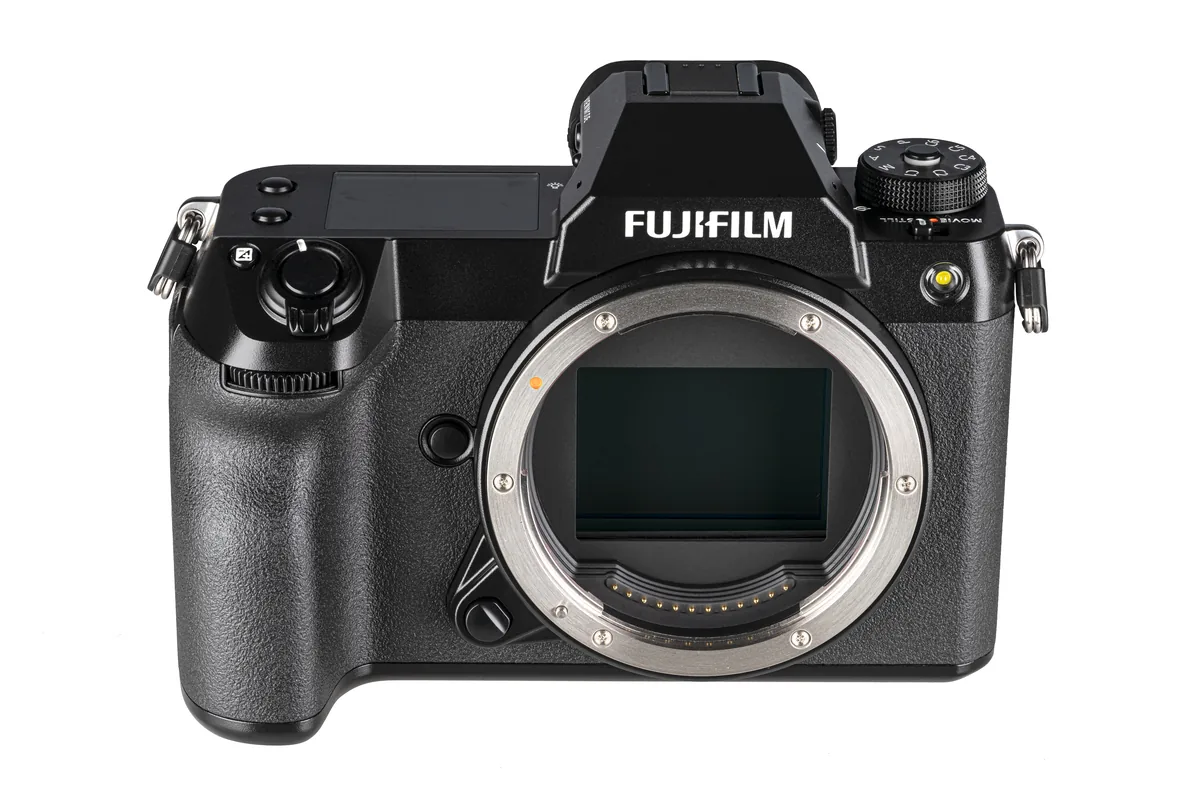
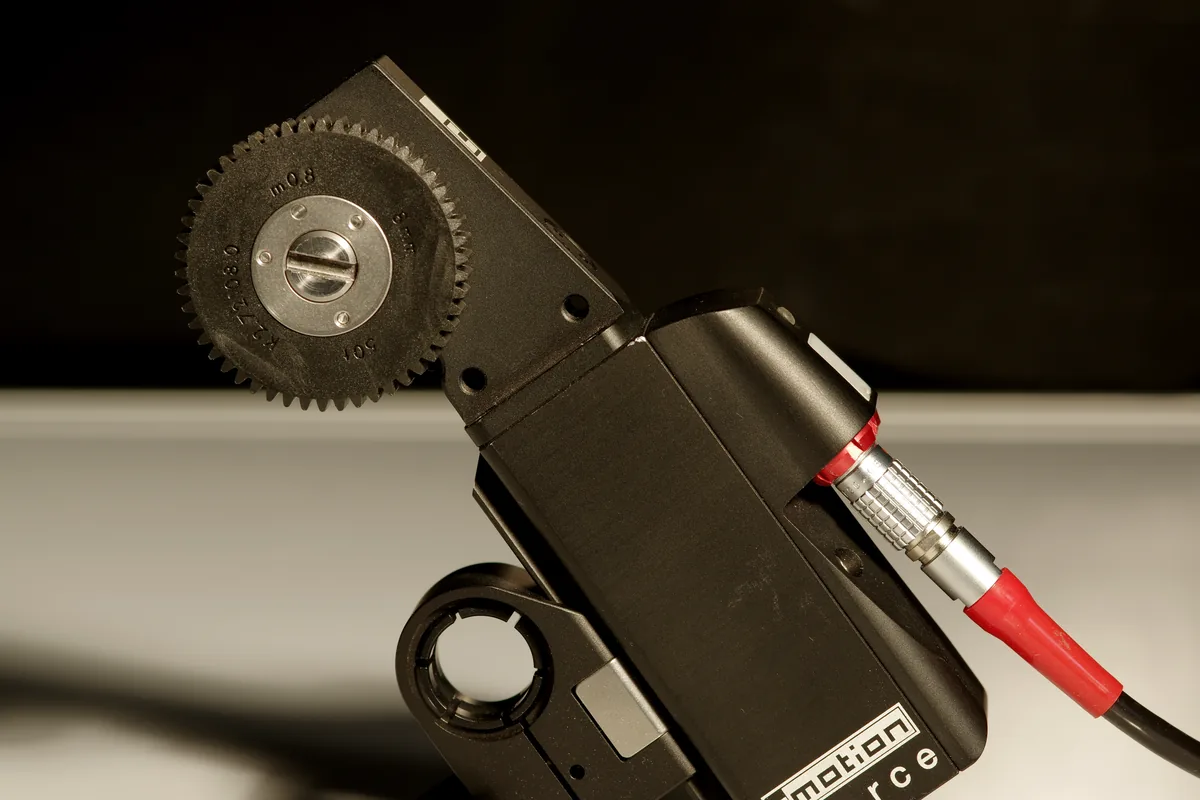
Export a copy in the required dimensions and color space, keeping the working stack separate. Label a composite when the publishing context requires it, and never present a constructed depth-of-field result as untouched documentary evidence. Record the capture method, approximate number of frames and any manual repairs for your own reference. The equipment illustrations accompanying this guide are not a matched test sequence, and they do not demonstrate the performance of a particular stacking application. The useful deliverable is a clean photograph plus a reproducible method, not merely a large pile of source files.