Start with a file you can evaluate
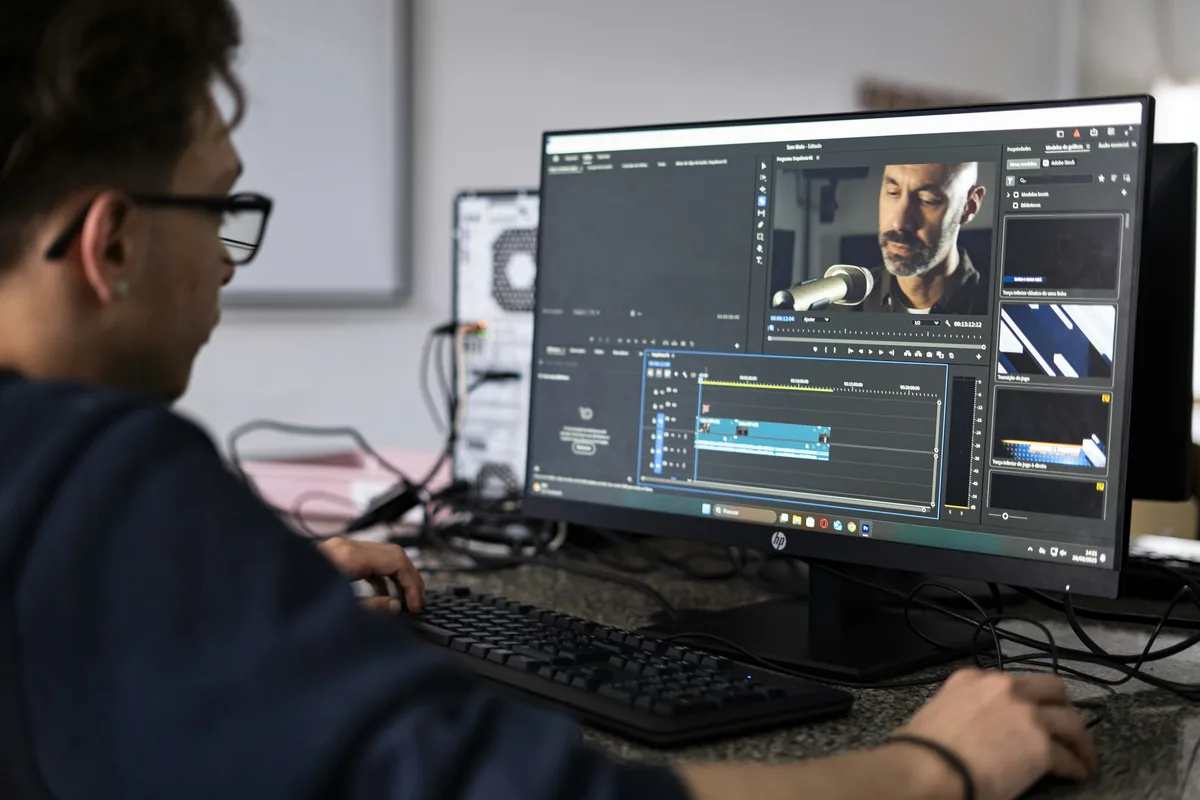
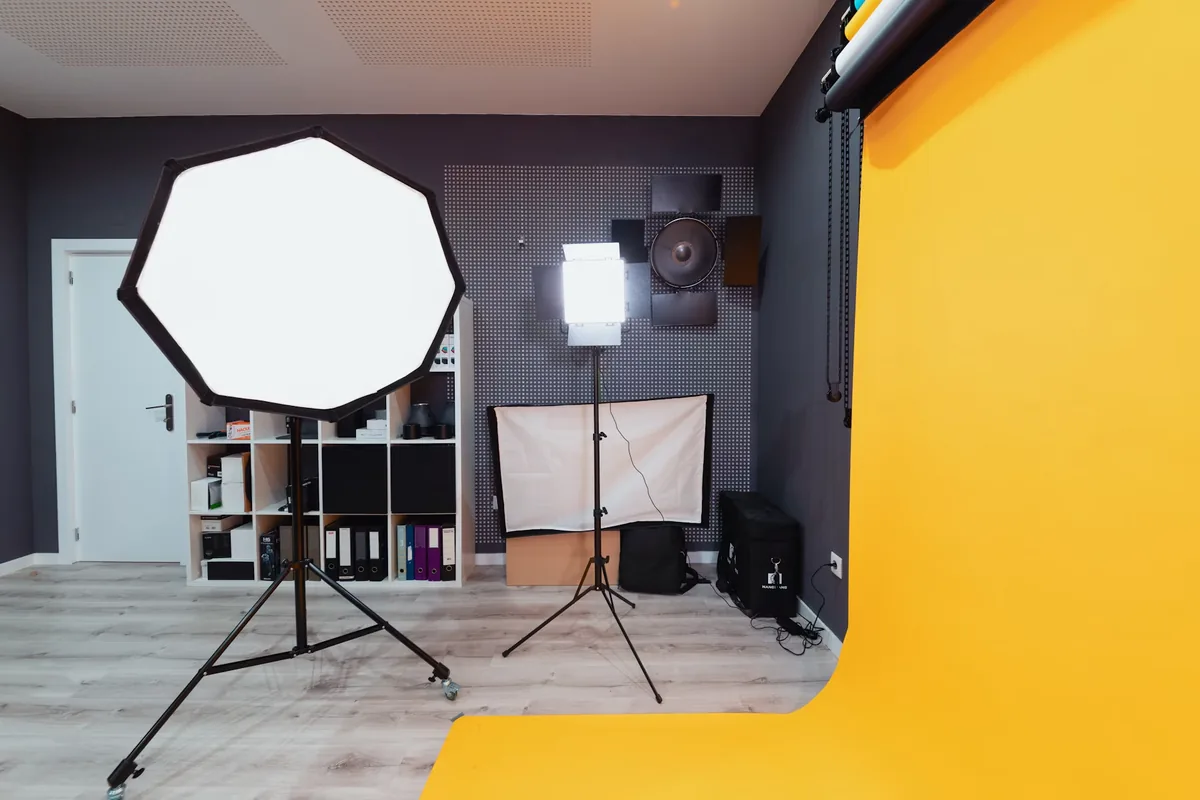
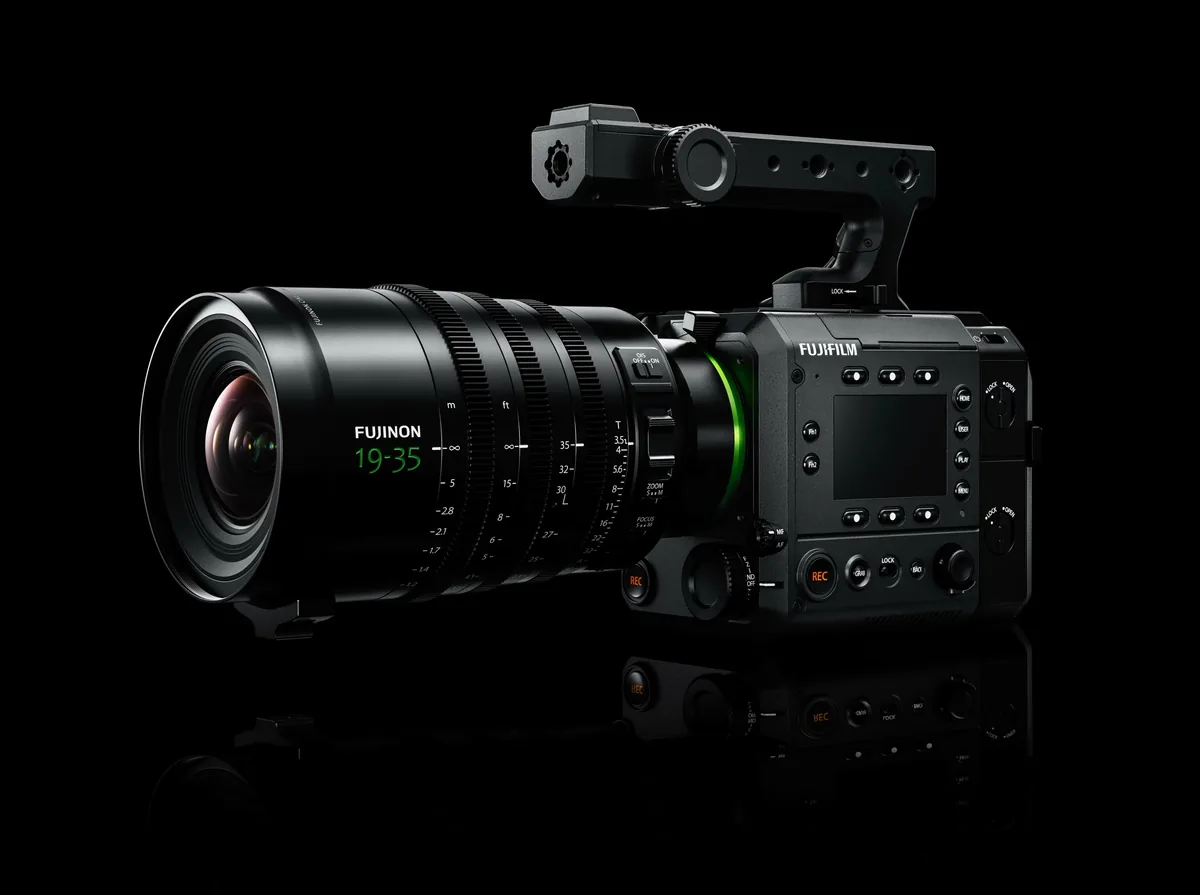
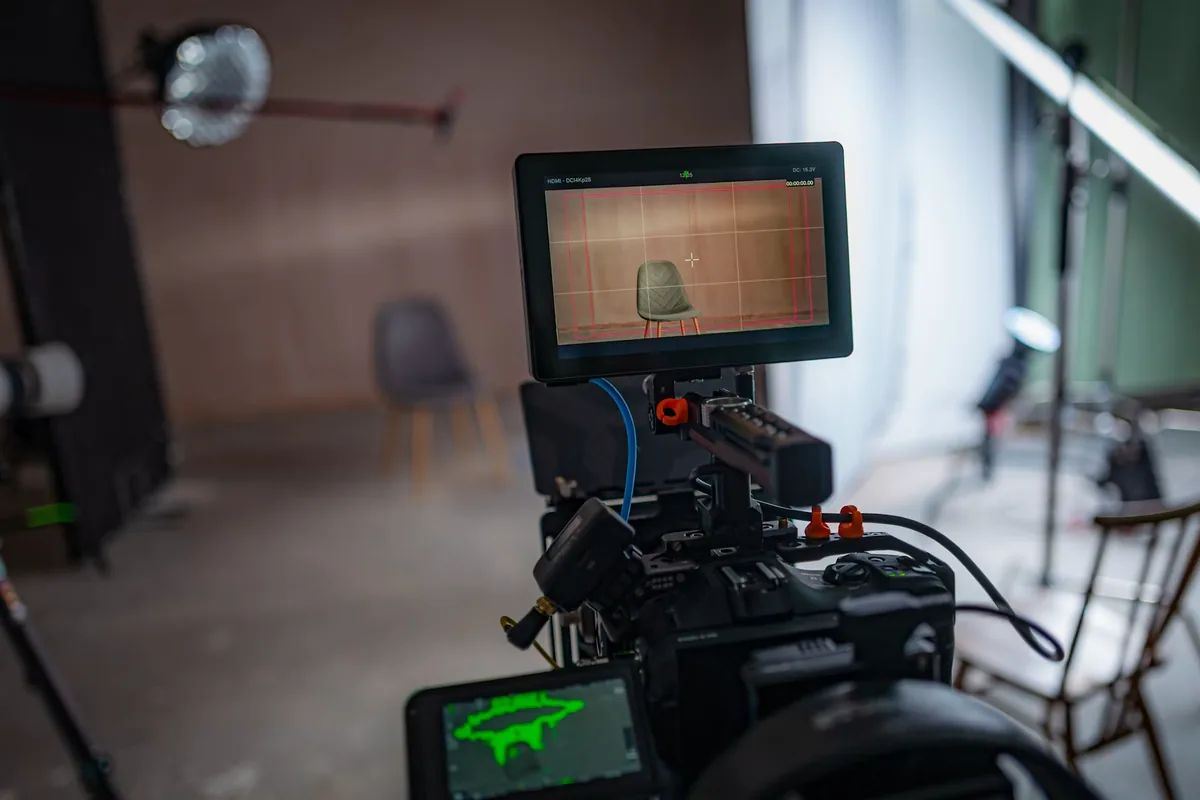
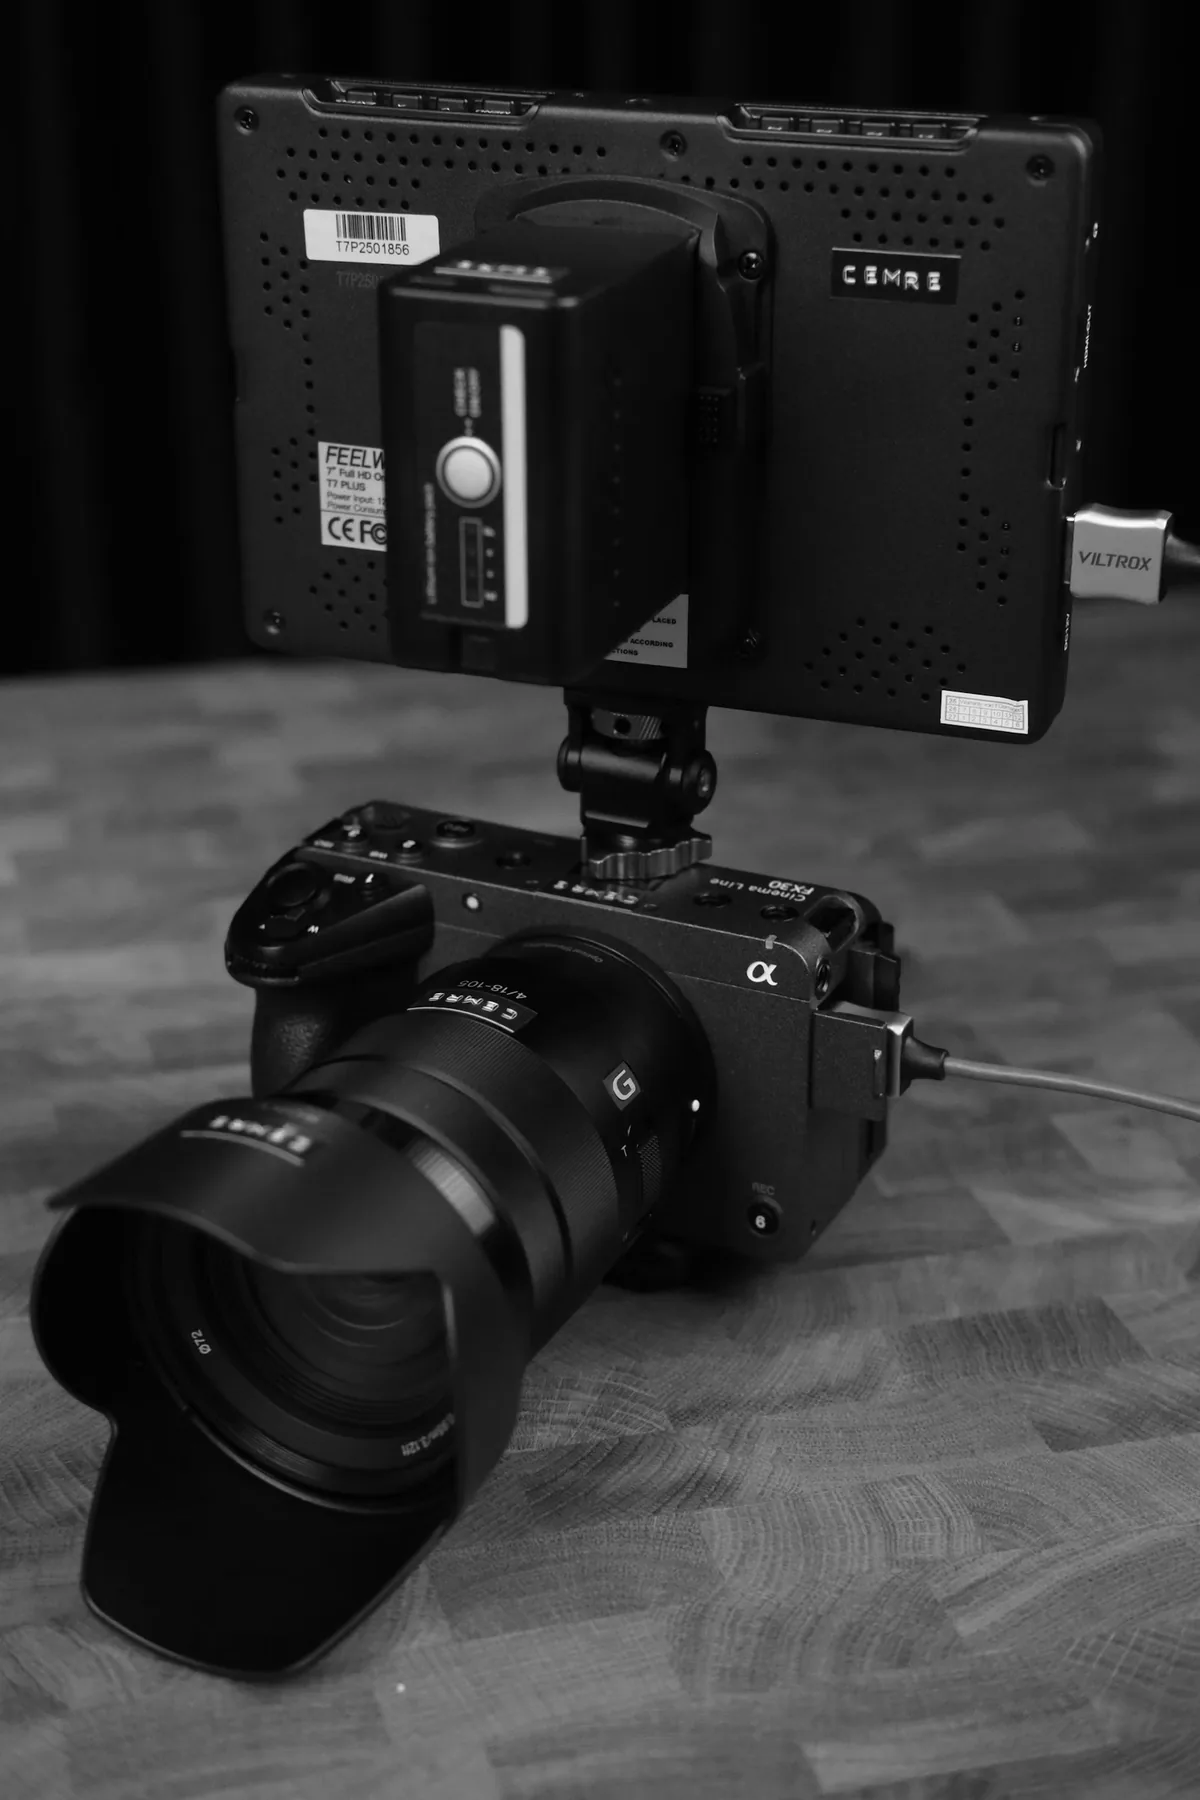
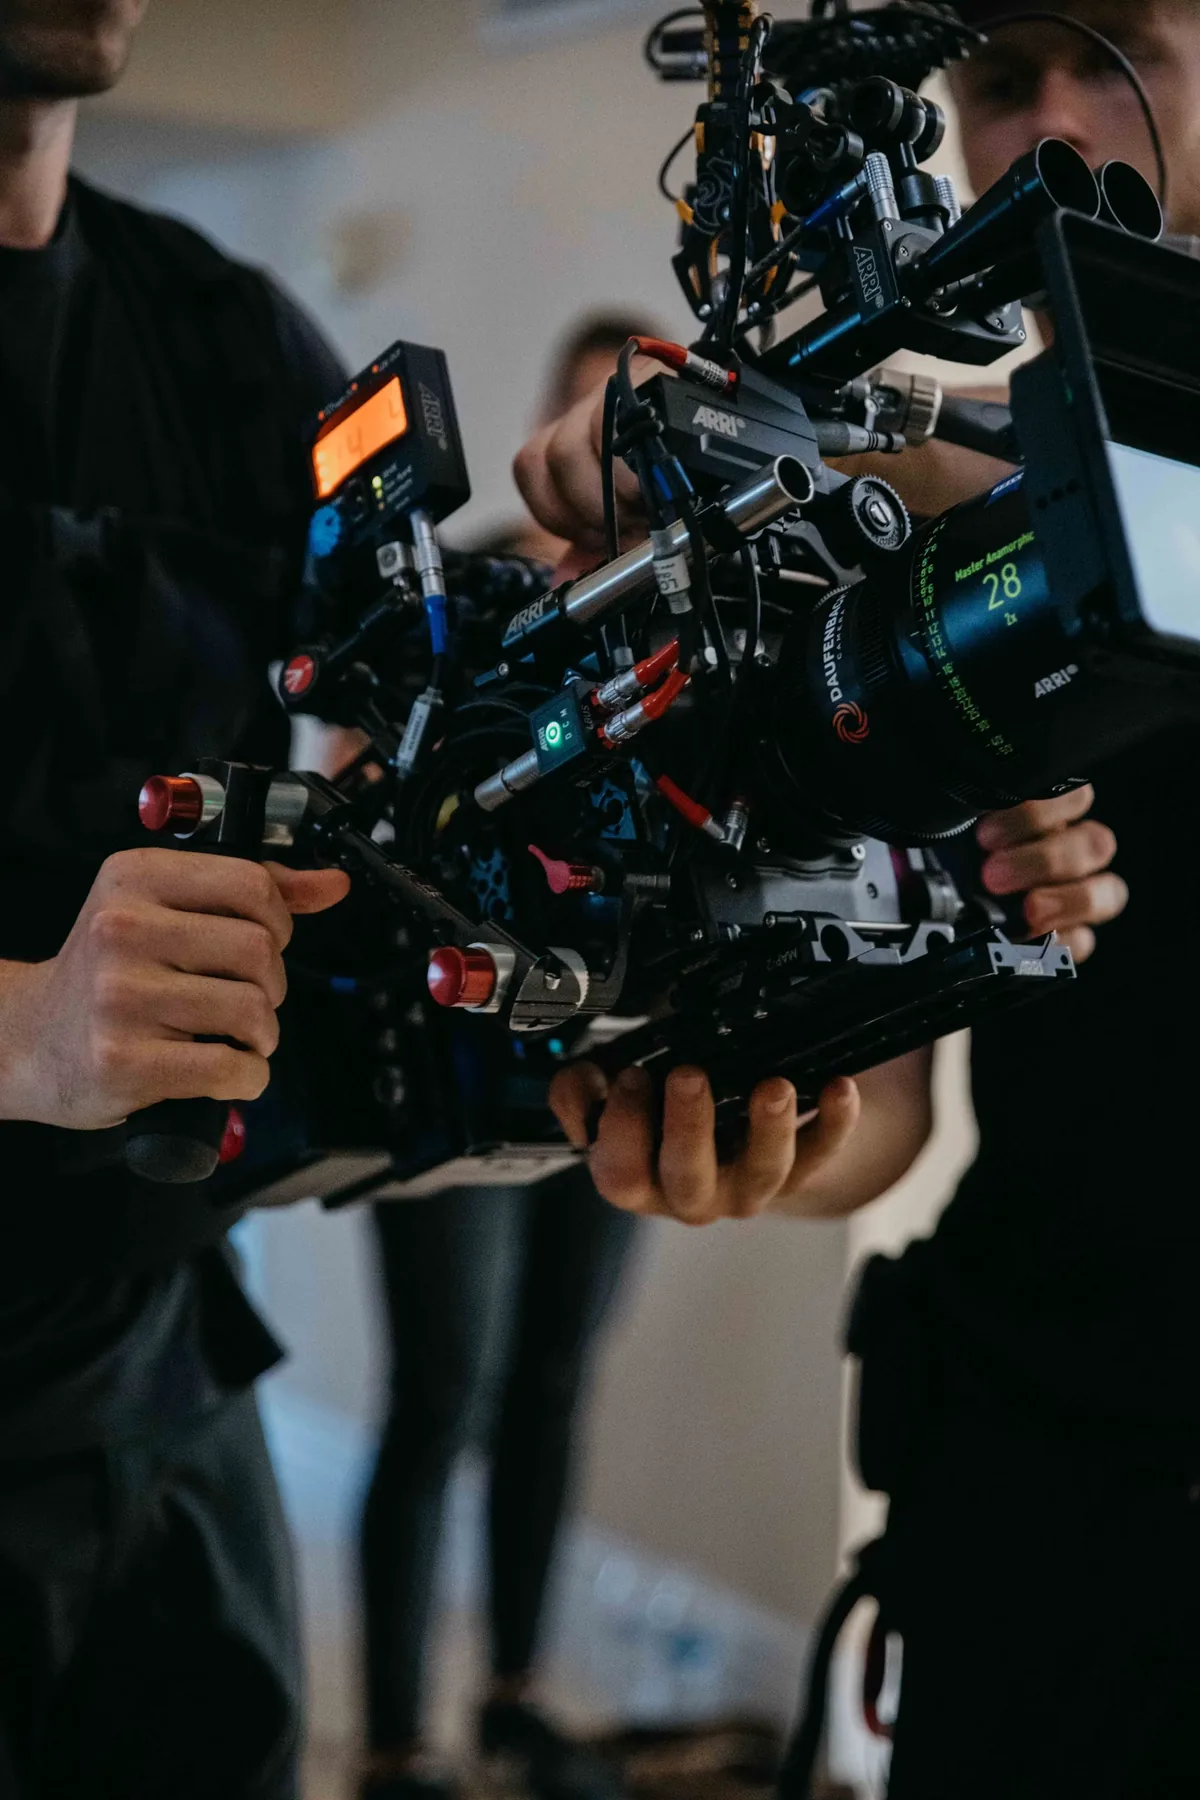
The safest starting point for Log exposure is a short, repeatable recording made with the camera mode you actually intend to use. A flat-looking preview is not a reliable verdict on exposure, and a familiar meter offset is not a substitute for a reference. Before a job, write down the camera, firmware, recording format, Log curve, color gamut, frame rate and shutter setting. If the camera offers different ISO or exposure-index modes, record the chosen mode too. The photographs here illustrate production equipment; they are not frames from an exposure test performed for this guide.
Establish a reference under the subject light
Place a suitable neutral reference card at the subject position, under the same useful light, avoiding glare and your own shadow. Read the manufacturer guidance for the exact curve and mode. As a specific example, Sony’s linked S-Log3 guide places middle gray at 41% and a white reference at 61% when measuring the Log signal. Those numbers must not be transferred blindly to a different Log curve or to a display-transformed signal. Keep the reference large enough to identify on your measuring tool, then remove it without changing the lighting or camera settings.
Make deliberate variations, not random adjustments
Record a baseline and a small series of labeled exposure variations. Change one exposure control at a time so you know what produced the difference; changing aperture, lighting and gain simultaneously makes the comparison difficult to interpret. Preserve the shutter setting required by the shot’s motion and lighting conditions. Include something bright whose detail you need and something dark whose texture matters. The objective is not to save every glint or make every shadow bright. It is to find a repeatable compromise for the actual subject and delivery, with the intended depth of field and movement intact.
Check highlights before adopting a brighter offset
A blanket instruction to overexpose all Log footage by a fixed amount ignores the scene. In your test, watch the brightest important material as you increase exposure: a pale costume, a face near a window or a colored sign may matter more than a tiny reflected lamp. Inspect the recording with the correct interpretation in your editor, not only the camera preview. If a detail disappears, compare the original and the display transform before deciding where the loss occurred. A creative look can conceal detail even when the recording retains it; genuinely clipped capture cannot be restored by turning down a grading control.
Normalize the comparison in post
Bring each test into the same intended viewing transform and compare at a similar final brightness. Otherwise the brightest version may seem preferable merely because it is brighter. Inspect both still frames and moving footage at the expected delivery size. Look for shadow noise, abrupt highlight transitions and unwanted color shifts, and note which differences remain visible after export. Keep the original files and your interpretation settings alongside the result. Do not apply a camera LUT twice through a combination of automatic color management and an additional manual transform. If the files look unexpectedly harsh, check that chain before blaming exposure.
Turn the result into a field note
A useful note is short: mode, reference target, monitoring path, tested adjustment and the highlights that limit it. Repeat the test when a meaningful part of the workflow changes, rather than treating a number learned on one camera as a universal rule. Before the real take, record a brief check, play it back and confirm focus, exposure and sound. For a scene that changes faster than you can measure it, decide which information has priority in advance. Our companion guide explains how to identify what a waveform, zebra pattern or false-color display is actually measuring.