Test a system, not a specification
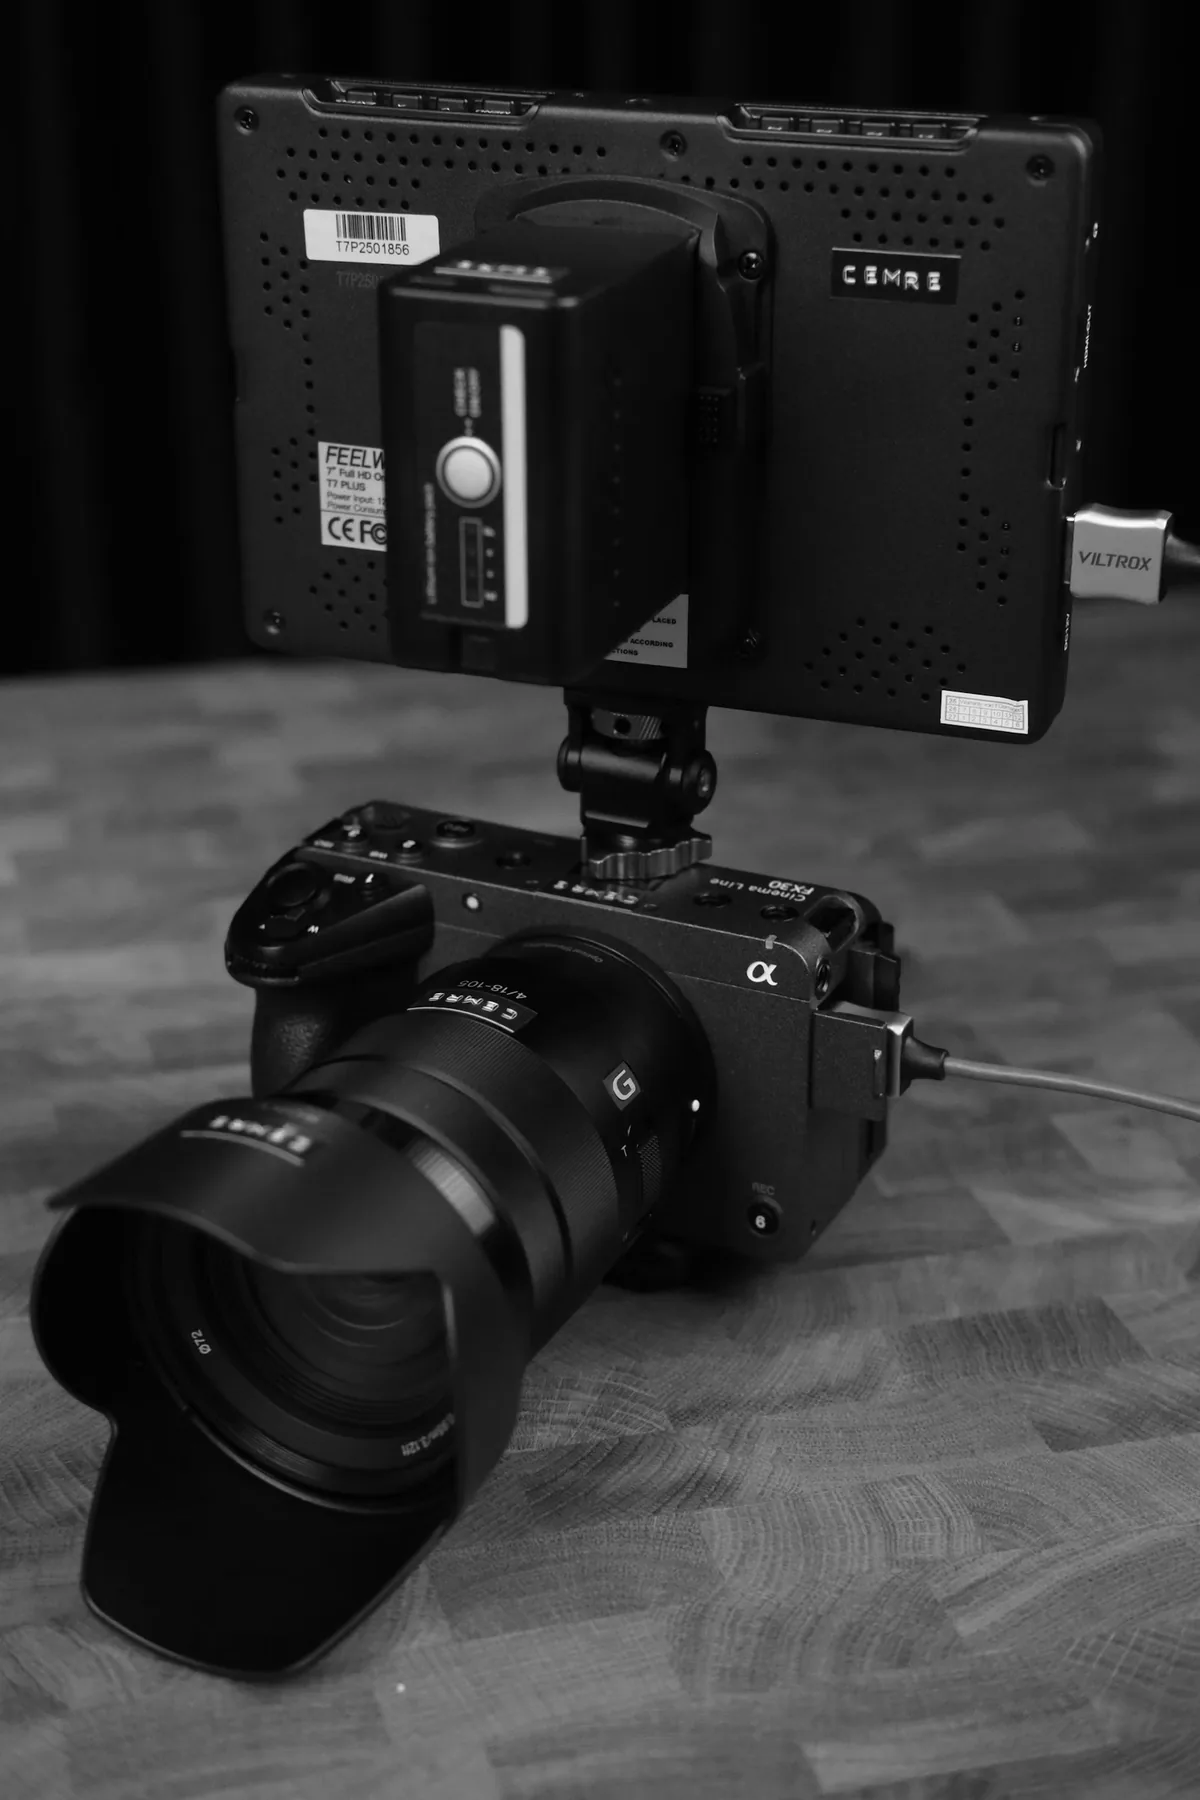
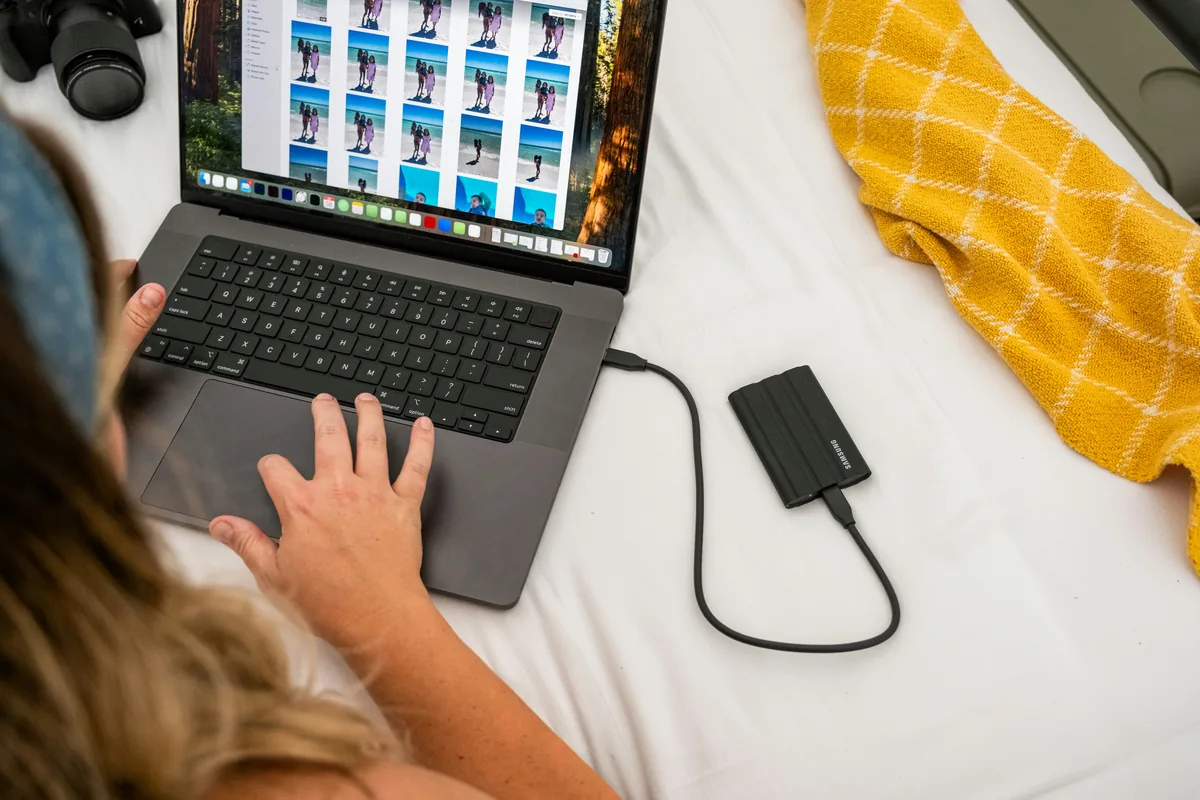
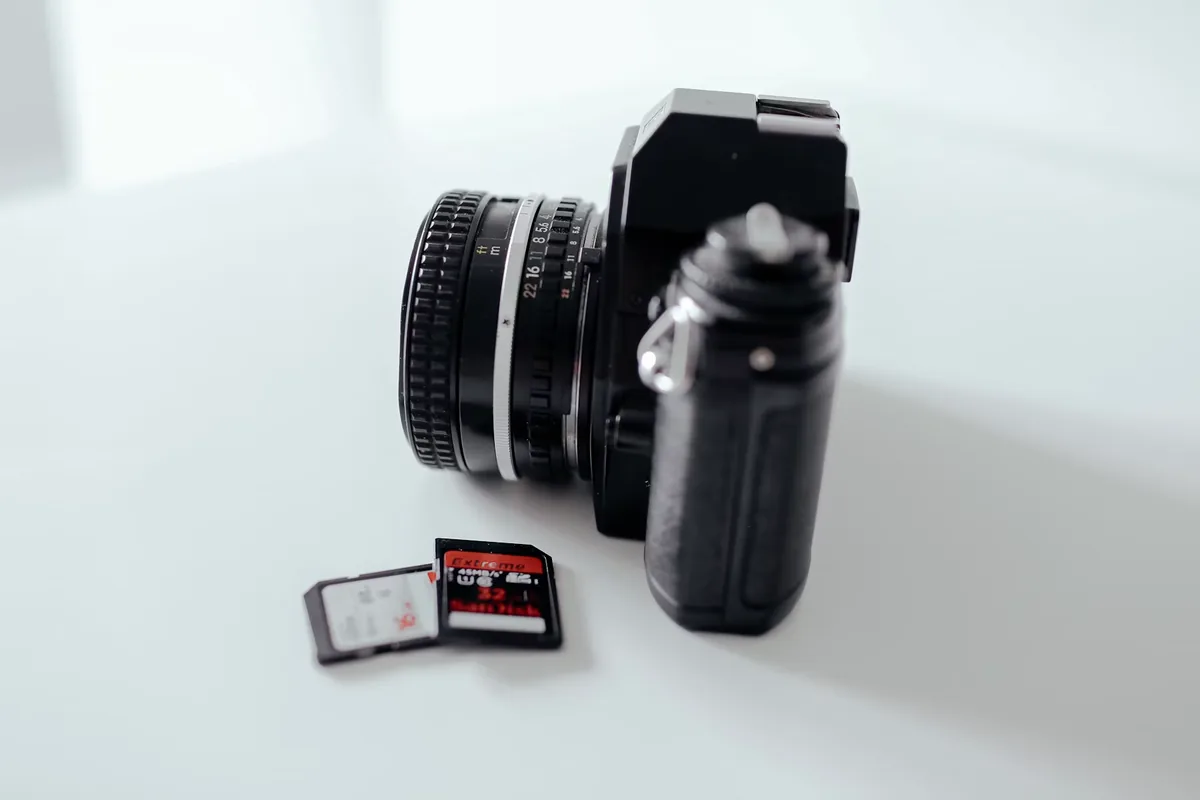
A camera may offer the resolution you need while the particular combination of media, power and accessories still creates a problem during a long take. Before an important interview, assemble the actual kit and rehearse a realistic recording. This guide is a suggested preparation workflow, not a laboratory endurance test or a guarantee for a particular model. The accompanying photographs illustrate cameras, storage and editing. They do not document a measured runtime, identify an approved card for your camera or prove that the pictured equipment supports your recording settings.
Write down the configuration
Record the camera model and firmware, recording resolution, frame rate, codec, audio setup and media identifier. Include the battery or supported external supply, connected monitor and any accessories that will remain powered. Consult the camera manual for compatible media and operating limits. A test made with a lightweight codec cannot validate a more demanding mode selected just before the interview. Likewise, removing an accessory after a failed trial may help isolate a cause, but the changed arrangement must be tested again before it becomes the working setup.
Make the rehearsal long enough to answer the question
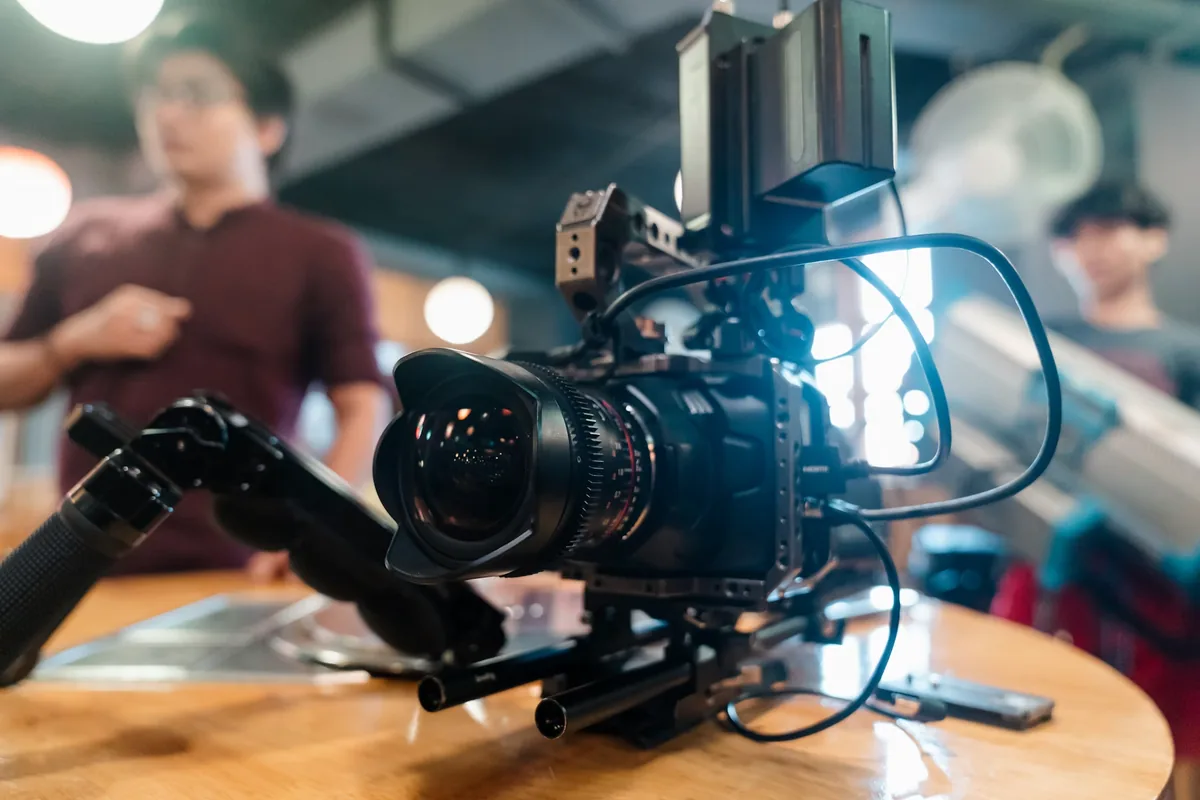
Estimate the longest uninterrupted answer or session you need, then rehearse that duration with reasonable additional margin within the manufacturer’s operating guidance. Record a clock or another changing subject so that missing intervals are easier to notice. Monitor the camera while it runs; do not leave equipment unattended in direct sun or obstruct ventilation. If a temperature warning appears, follow the manual and stop when instructed. A successful trial in a cool room is evidence about that setup and environment, not proof of the same endurance outdoors in hotter conditions.
Include sound from the beginning
Connect the intended microphone, receiver or recorder and listen with headphones where monitoring is supported. Record speech at a realistic level, then include silence so background noise is audible. Check cable movement without straining connectors. Watch for a receiver or external recorder whose battery can expire before the camera’s. When separate sound is part of the plan, confirm that it is actually recording and make an identifiable synchronization reference. A camera’s moving level meter is useful feedback, but the saved audio file is the evidence that the words were captured.
Read capacity and power indications cautiously
Note the remaining recording-time and battery estimates before and after the rehearsal. Treat them as estimates rather than a promise of exact minutes. Use media that meets the camera’s requirements for the selected mode and preserve any existing files before formatting. Do not swap in a different card simply because it has the same printed capacity. For external power, check the specified connection and supply requirements. A connector that fits does not establish that the camera receives adequate power under load, and a camera may still rely on an installed battery in some arrangements.
Inspect the copied recording
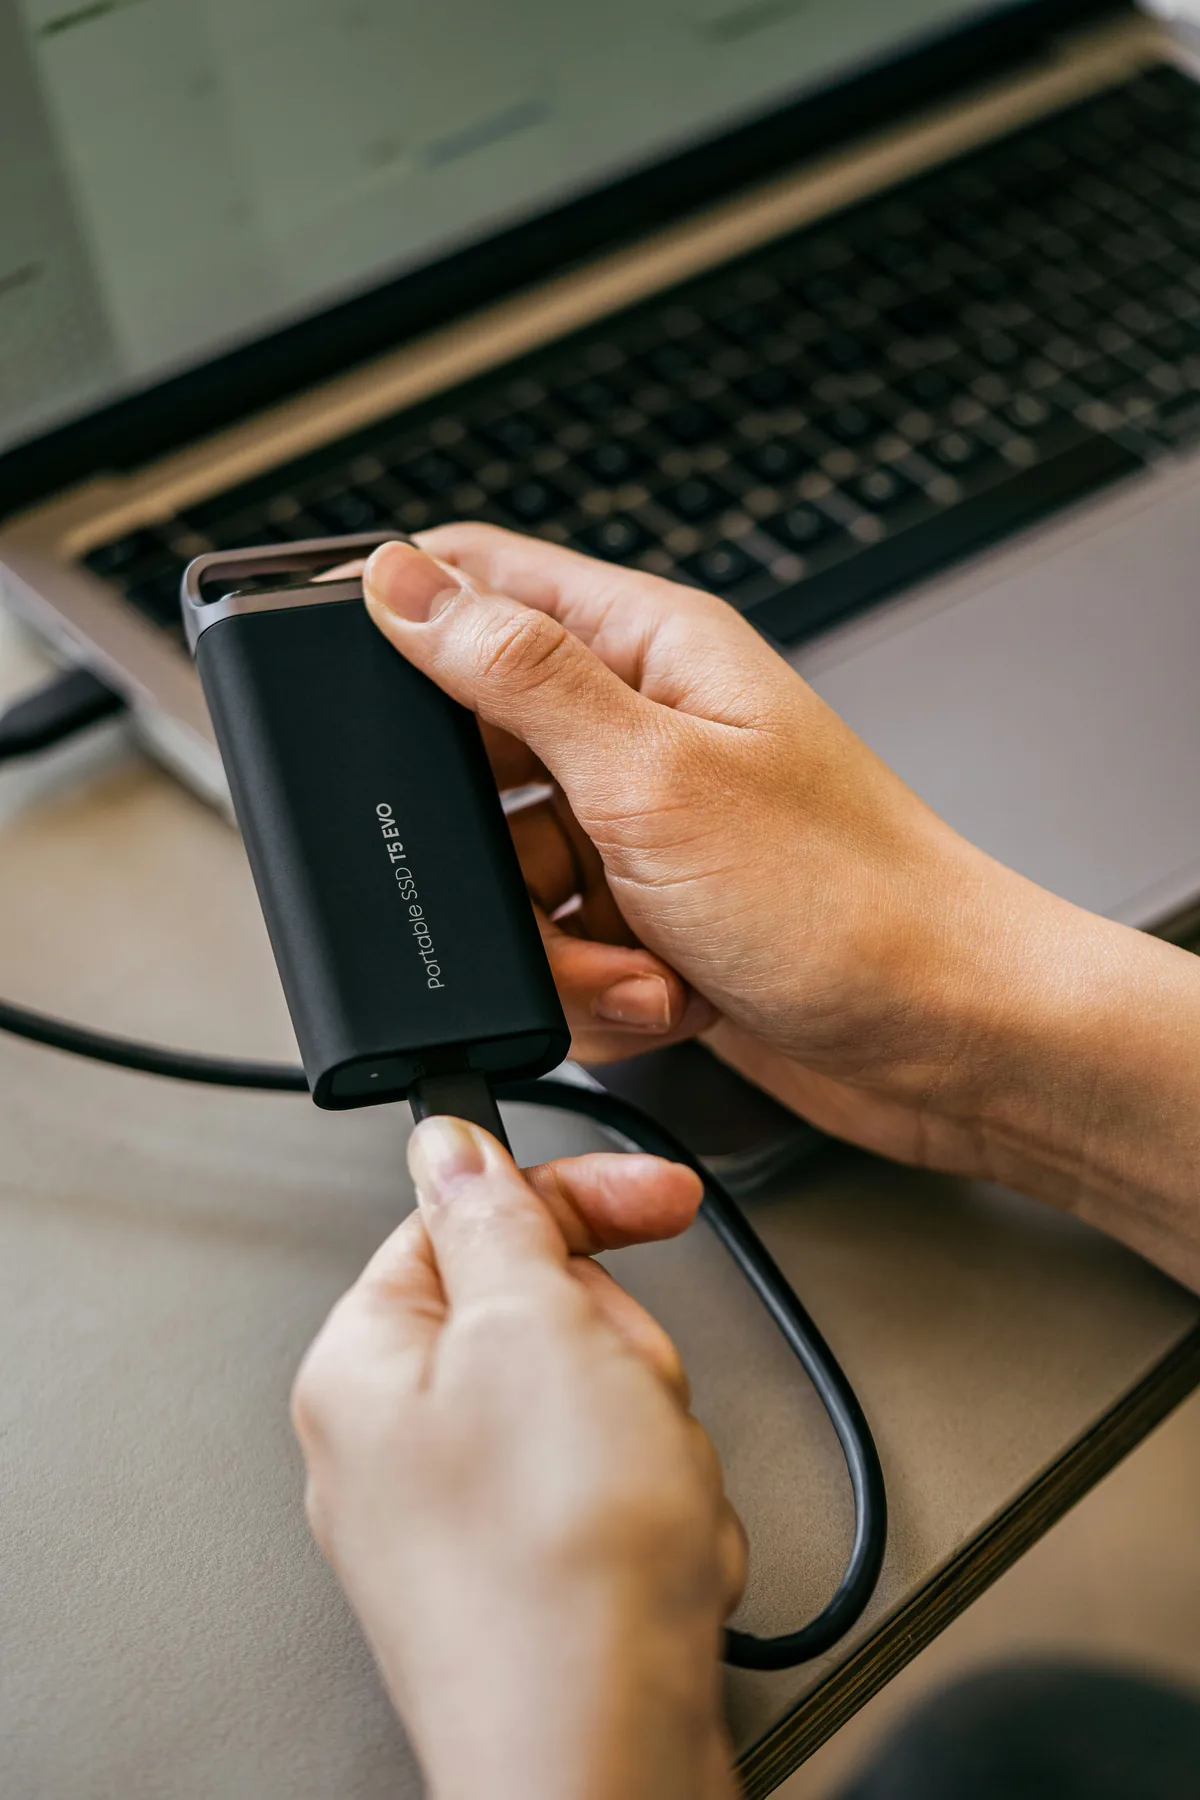
Stop normally, wait for writing to finish and copy the files using the supported workflow. Open the recording in the editor you will use for the assignment. Check the beginning, middle and end, with special attention to file boundaries if the camera divides a long recording. Confirm continuous picture, expected sound channels and synchronization across the duration. Play the complete rehearsal when the assignment warrants it. A file size and duration reported by the operating system are useful clues, but neither confirms that every important second is usable.
Turn the result into a working plan
Keep a brief record of the conditions, duration, remaining capacity and any interruption. If something fails, change one clear cause and repeat the relevant trial; do not declare success merely because the camera restarted. Establish a practical break point for changing batteries or cards and agree how the interviewer will pause. Where the session cannot be repeated, arrange a tested backup recording method appropriate to the assignment. The rehearsal should leave you with a known configuration, a realistic limit and a recovery plan that the crew understands before the subject arrives.