Choose the relationship before the settings
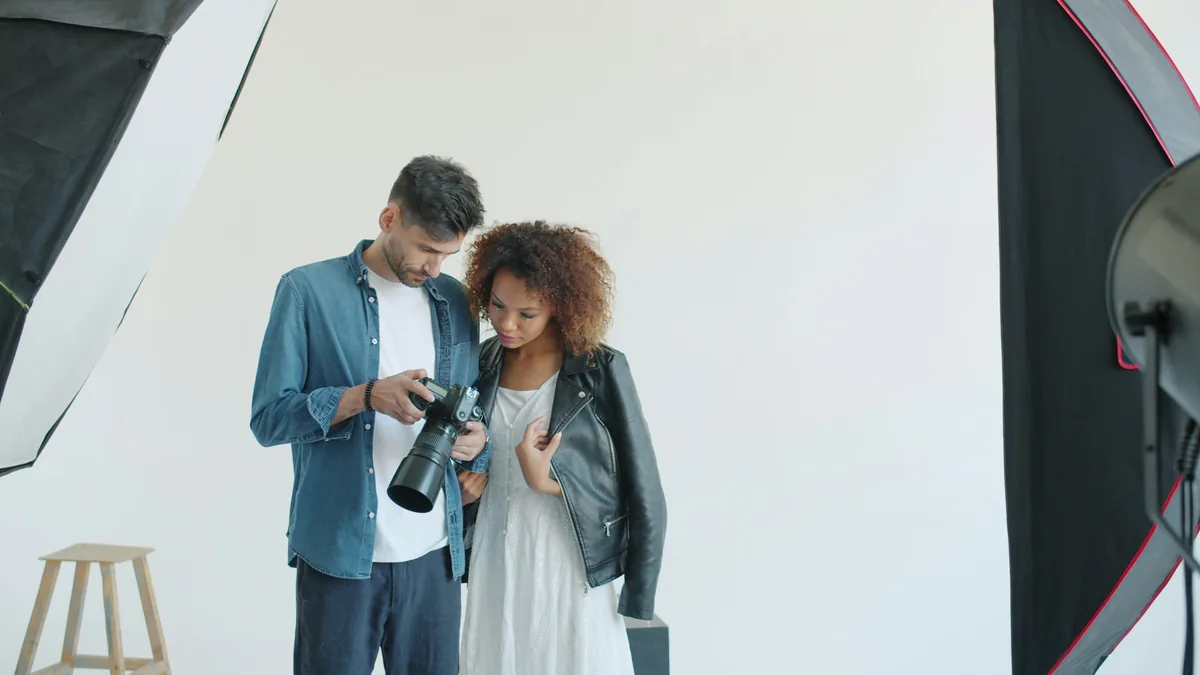
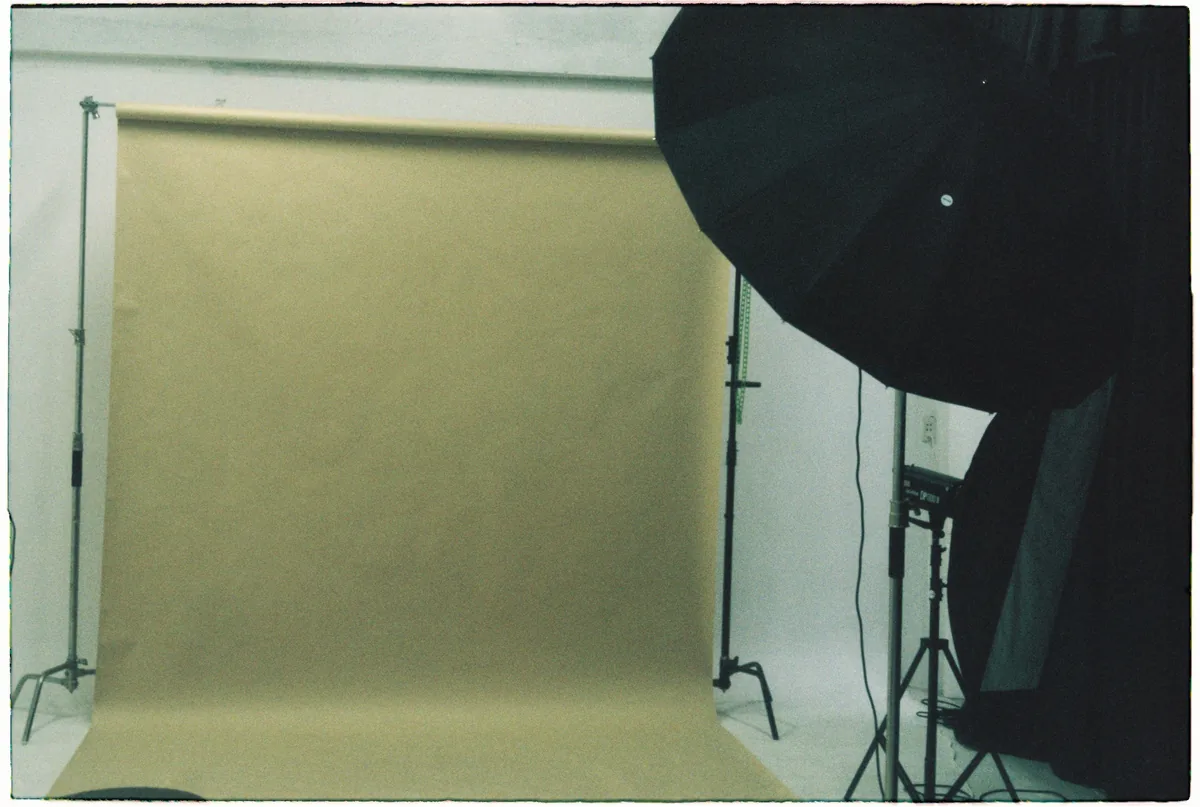
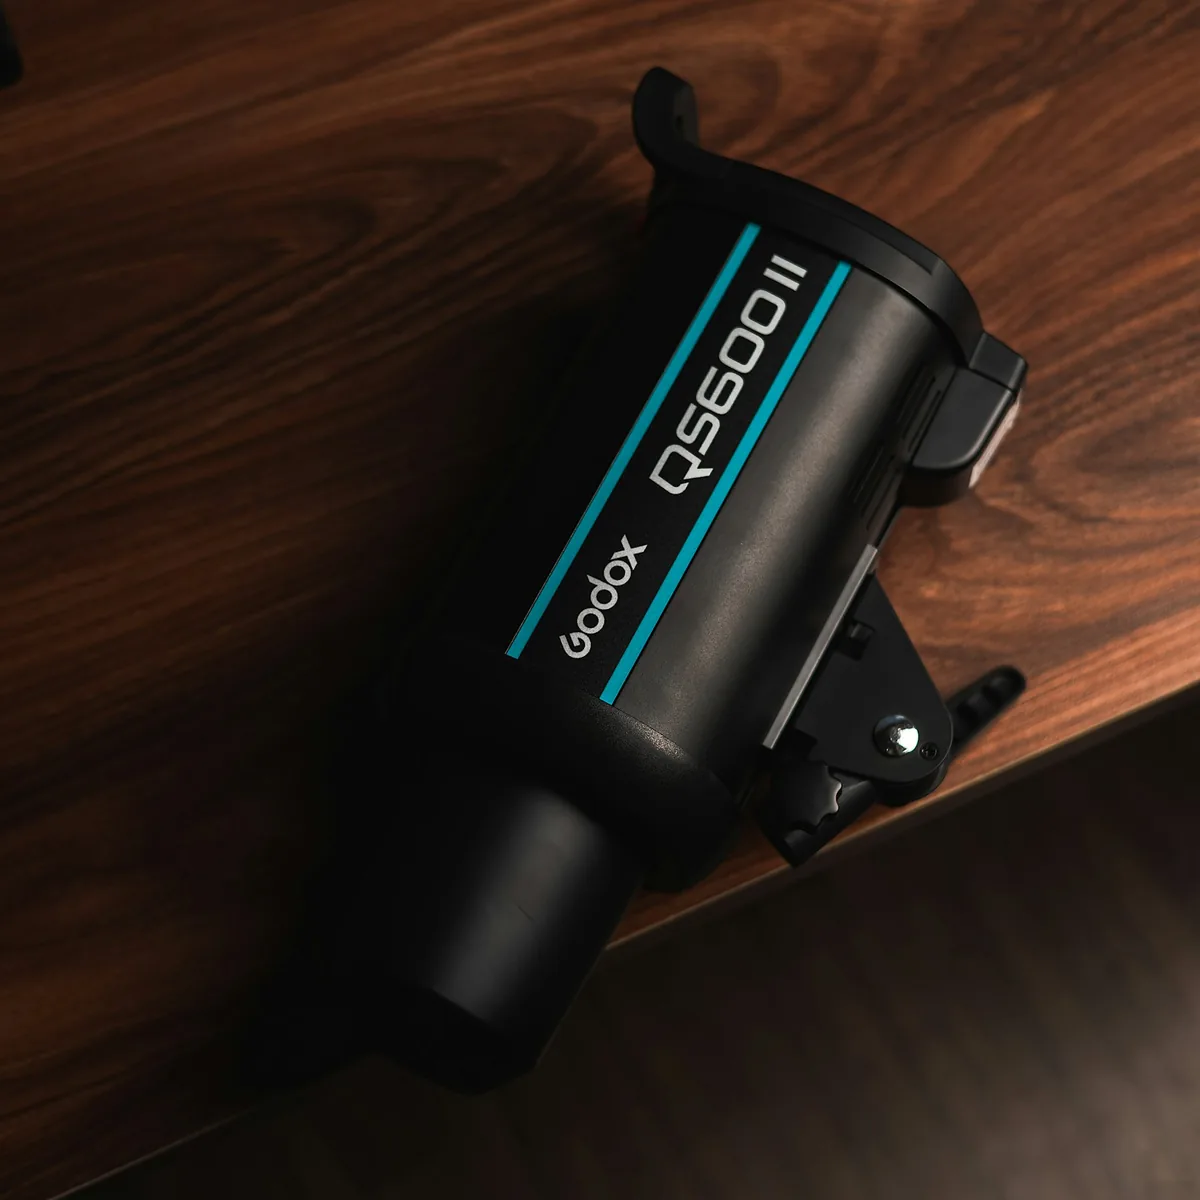
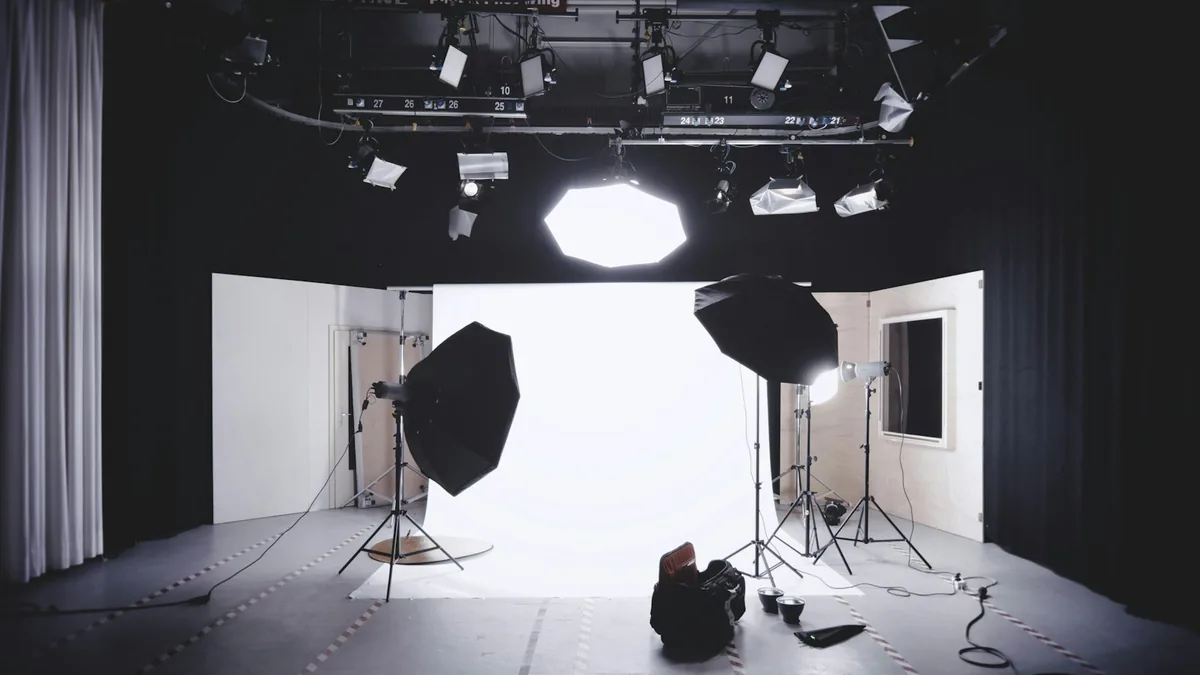
A portrait can preserve a room’s atmosphere, make the room quieter or largely suppress it. None is automatically the correct look. Decide what the background should contribute and how much brighter the person should appear before adjusting flash power. For a first exercise, use a willing stationary subject or an object, a stable camera position and one compatible flash. Keep the session comfortable: warn people before firing, avoid repeated close flashes at their eyes and secure stands and cables. The studio photographs here illustrate equipment and space, not a measured comparison.
Frame one: establish the ambient exposure
Switch the flash off. Set manual exposure, a fixed ISO and an aperture that gives the depth of field you need. Choose a shutter speed that is within the supported synchronization range of your camera, shutter mode and flash combination. Make a reference photograph and inspect it. Is a window too bright? Does the room retain the detail you want? Is the subject already correctly exposed by available light? This reference tells you what the flash will be added to. Do not assume the rear screen’s brightness setting is an exposure meter.
Frame two: add a modest amount of flash
Turn on the flash and make another photograph without changing the camera settings or position. With manual flash, begin conservatively and adjust its output to suit the subject. With TTL, use flash exposure compensation as the deliberate adjustment and recognize that the automatic system can respond to changes in the scene. Compare the face or object with the background. If both become much brighter, your flash is illuminating both; the two contributions are not neatly separated merely because you intended the flash to light only the subject.
Frame three: change the ambient contribution
For an ordinary short flash pulse fully captured within the synchronization window, a slower shutter admits more ambient light without making that pulse longer. Keep aperture, ISO, flash output and geometry fixed, then try a modestly slower shutter and compare. This is a conditional test, not a universal rule for high-speed sync, unusually long flash durations or automatic exposure changes. If the room brightens while the flash-lit subject stays similar, you have a useful control over the balance. If it does not, investigate the mode and where the light falls before changing several settings at once.
Aperture and ISO affect more than the background
Closing the aperture or lowering ISO reduces the recorded contribution of both sources unless an automatic system compensates. Changing either may therefore require a corresponding flash adjustment. Moving a light also changes its distance, angle and apparent size relative to the subject, so it is not simply another brightness dial. When learning, preserve the geometry for the three comparison frames. After the exposure relationship works, move or modify the light to shape shadows. Evaluate catchlights, reflections and skin highlights rather than judging illumination only by overall brightness.
Watch for motion and synchronization limits
A slow shutter can record ambient motion blur around a sharply flash-lit subject. A tripod stabilizes the camera, not a moving person. If ghosting is unwanted, reduce the ambient contribution, use a faster supported shutter speed or ask for a steadier pose. Do not exceed the normal sync limit without a supported high-speed-sync mode. Nikon’s explanation notes that high-speed sync uses repeated pulses and reduces working distance; the simple short-pulse comparison no longer applies in the same way. Confirm your equipment’s instructions instead of assuming every flash supports every shutter mode.
Save a usable recipe, not a magic setting
Keep the three reference images with notes on exposure, flash mode, output or compensation, light position and subject distance. Include a short description of the room light, since a recipe made beside a window may change as daylight fades. Check the final image for highlight clipping, color differences and unwanted reflections. Repeat one frame after a short pause to confirm consistent recycling before an important sequence. The goal is a repeatable way of separating causes: ambient first, added light second, then one controlled change—not a single exposure setting expected to work everywhere.