Decide what the upward view should communicate
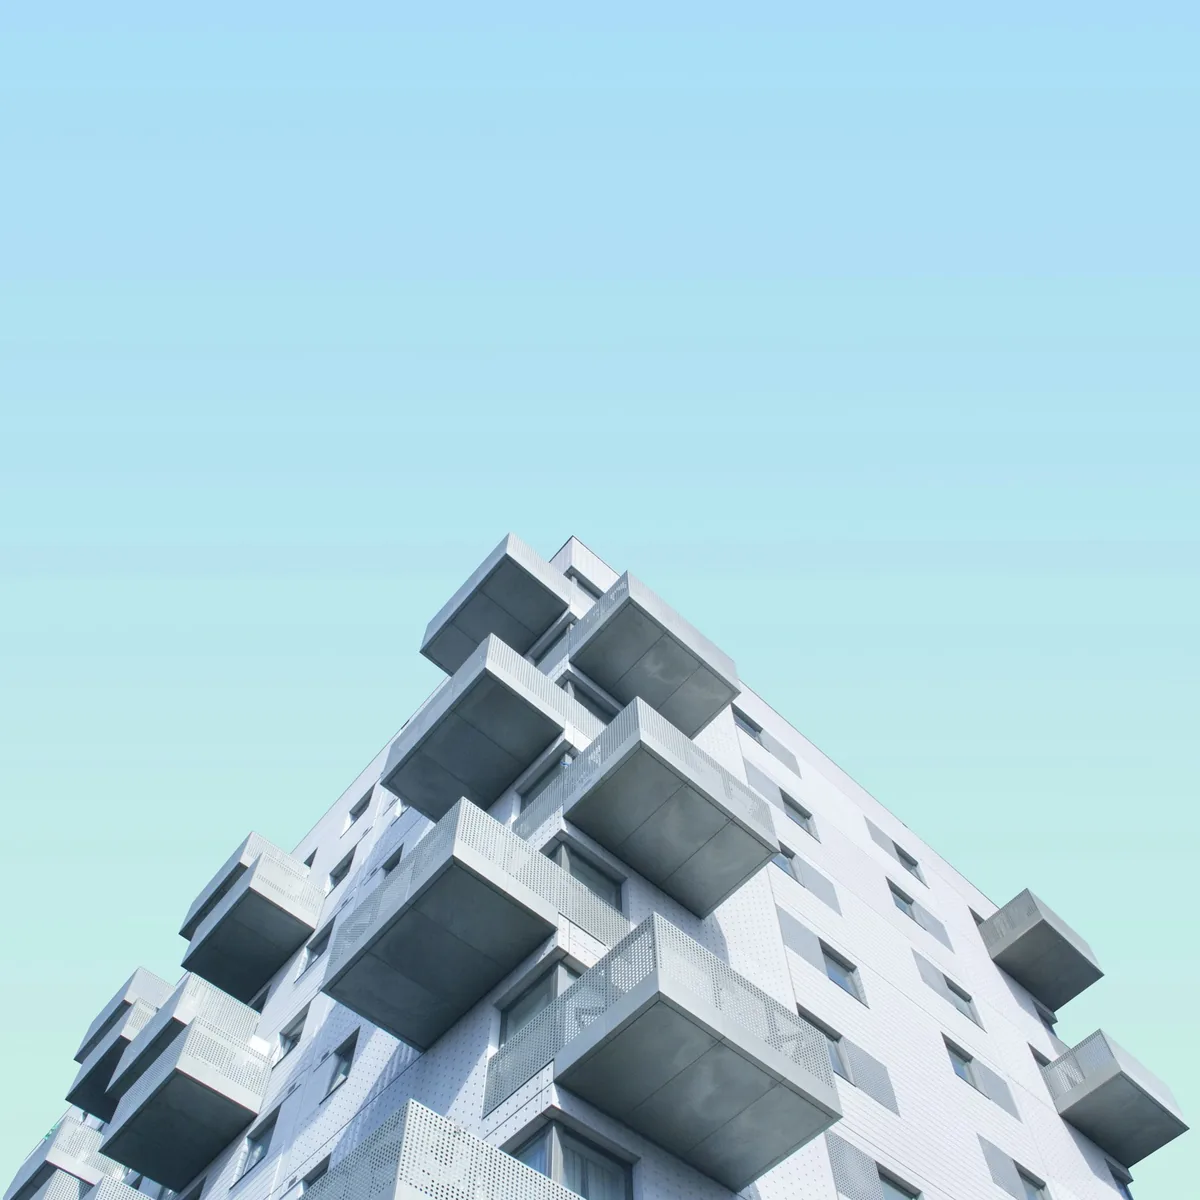
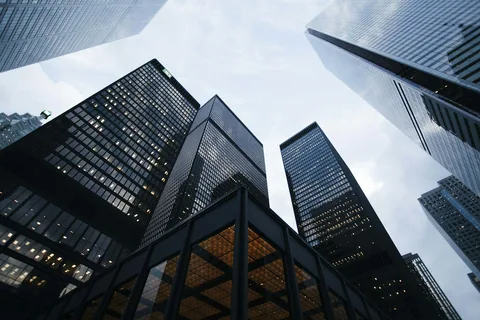
Looking up from a pavement can turn several buildings into a frame around a patch of sky. Parallel vertical edges appear to approach one another as they rise in the image when the camera points upward. You can use that convergence to suggest height and enclosure. Before composing, choose whether your picture should emphasize that sensation or describe the facade with straighter-looking edges. That decision gives you a reason to keep or adjust the geometry when editing.
Choose an anchor before filling the frame
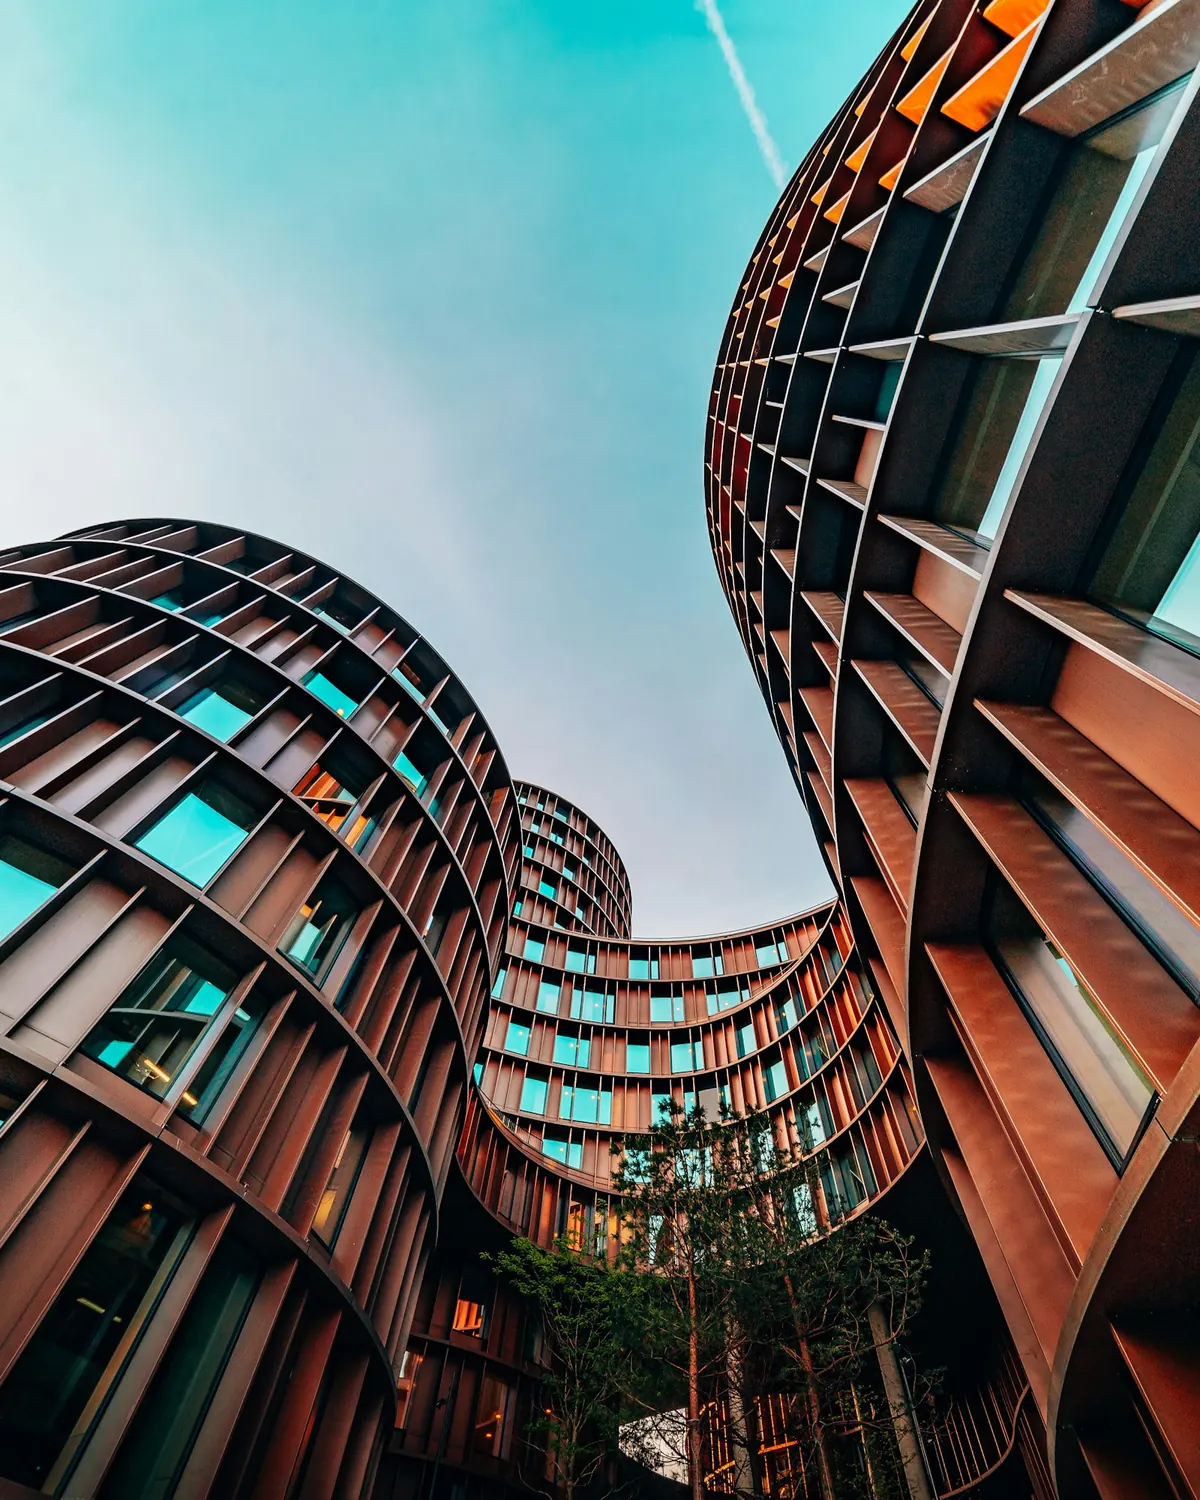
Find one clear feature: a central corner, a doorway or a gap between towers. Put it in a deliberate position and inspect the other edges around it. In the lead photograph, multiple facades surround a bright opening. The sky is part of the composition, not simply leftover space. For your own scene, try framing the opening first and letting the buildings define its outline. Check whether a small step sideways brings a distracting corner into alignment or removes an unwanted overlap.
Make three frames from one safe position
Choose a place clear of traffic and entrances. Make the first photograph with the camera approximately level, accepting that the roof may be outside the frame. For the second, tilt upward only enough to include the top and a little space above it. For the third, point farther up and deliberately make the converging edges a prominent part of the picture. Keep the same focal length and position for this comparison. You are testing the effect of tilt, rather than changing several variables at once.
Check sideways lean separately
An upward view and a camera rolled to one side produce different decisions for the eye. Look at your chosen anchor: does it lean sideways accidentally, or does its diagonal contribute to the design? Straighten an unintended roll before deciding whether to reduce the upward convergence. A centered view can look orderly even when its edges converge strongly. An off-center view may need a more deliberate balance between the building and the sky. Neither composition requires every visible edge to be vertical.
Reserve space for the final treatment
Perspective correction can move corners outside the rectangular crop, costing part of the roof or foreground. If you expect a straighter rendering, capture some extra space around the building and inspect the corrected crop before committing to it. Adobe documents Guided Upright controls for setting perspective guides in Lightroom Classic; other editors have comparable geometry controls. Compare the corrected and uncorrected versions at delivery size. Keep the version that serves the original purpose, and check that windows and nearby objects still have believable proportions. The photographs here are separate examples by credited photographers, not a before-and-after test.