Night is a set of contrasts
A night scene may contain a black street, a bright sign, moving headlights, reflective rain and a face lit by a phone—all within one frame. The challenge is rarely a simple lack of light. It is deciding which highlights must hold detail, which shadows may fall quiet and what source defines the subject. Begin by identifying the brightest important area and the darkest area that still needs information. That decision gives exposure a hierarchy and prevents the edit from trying to make every part of the night equally visible.
Choose support from subject movement
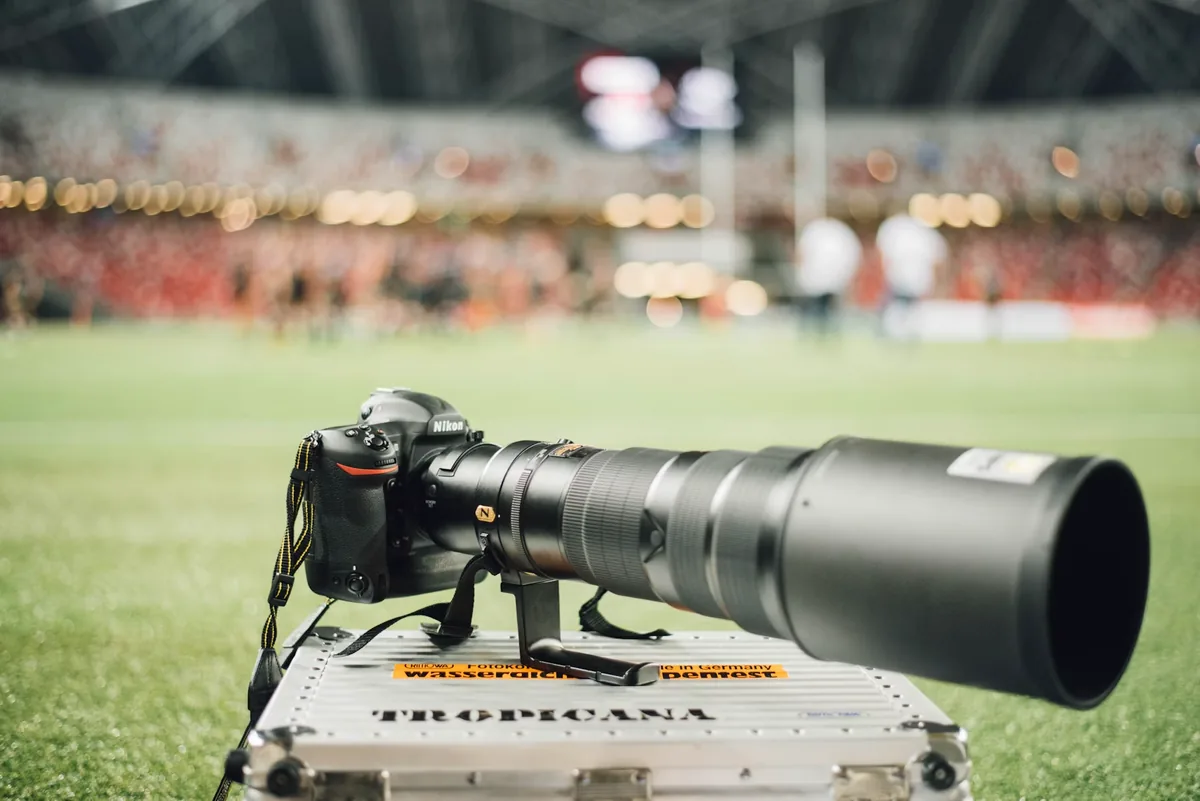
A tripod is essential when the environment is the subject and long shutter speeds are part of the idea. It is less useful when people, performance or fast street movement must remain sharp. For handheld work, choose a shutter speed from the subject first, open the aperture as needed and let ISO complete the exposure. Modern stabilization can steady static architecture but cannot stop a moving hand or face. Make the equipment serve the scene rather than forcing every night photograph into the same long-exposure method.
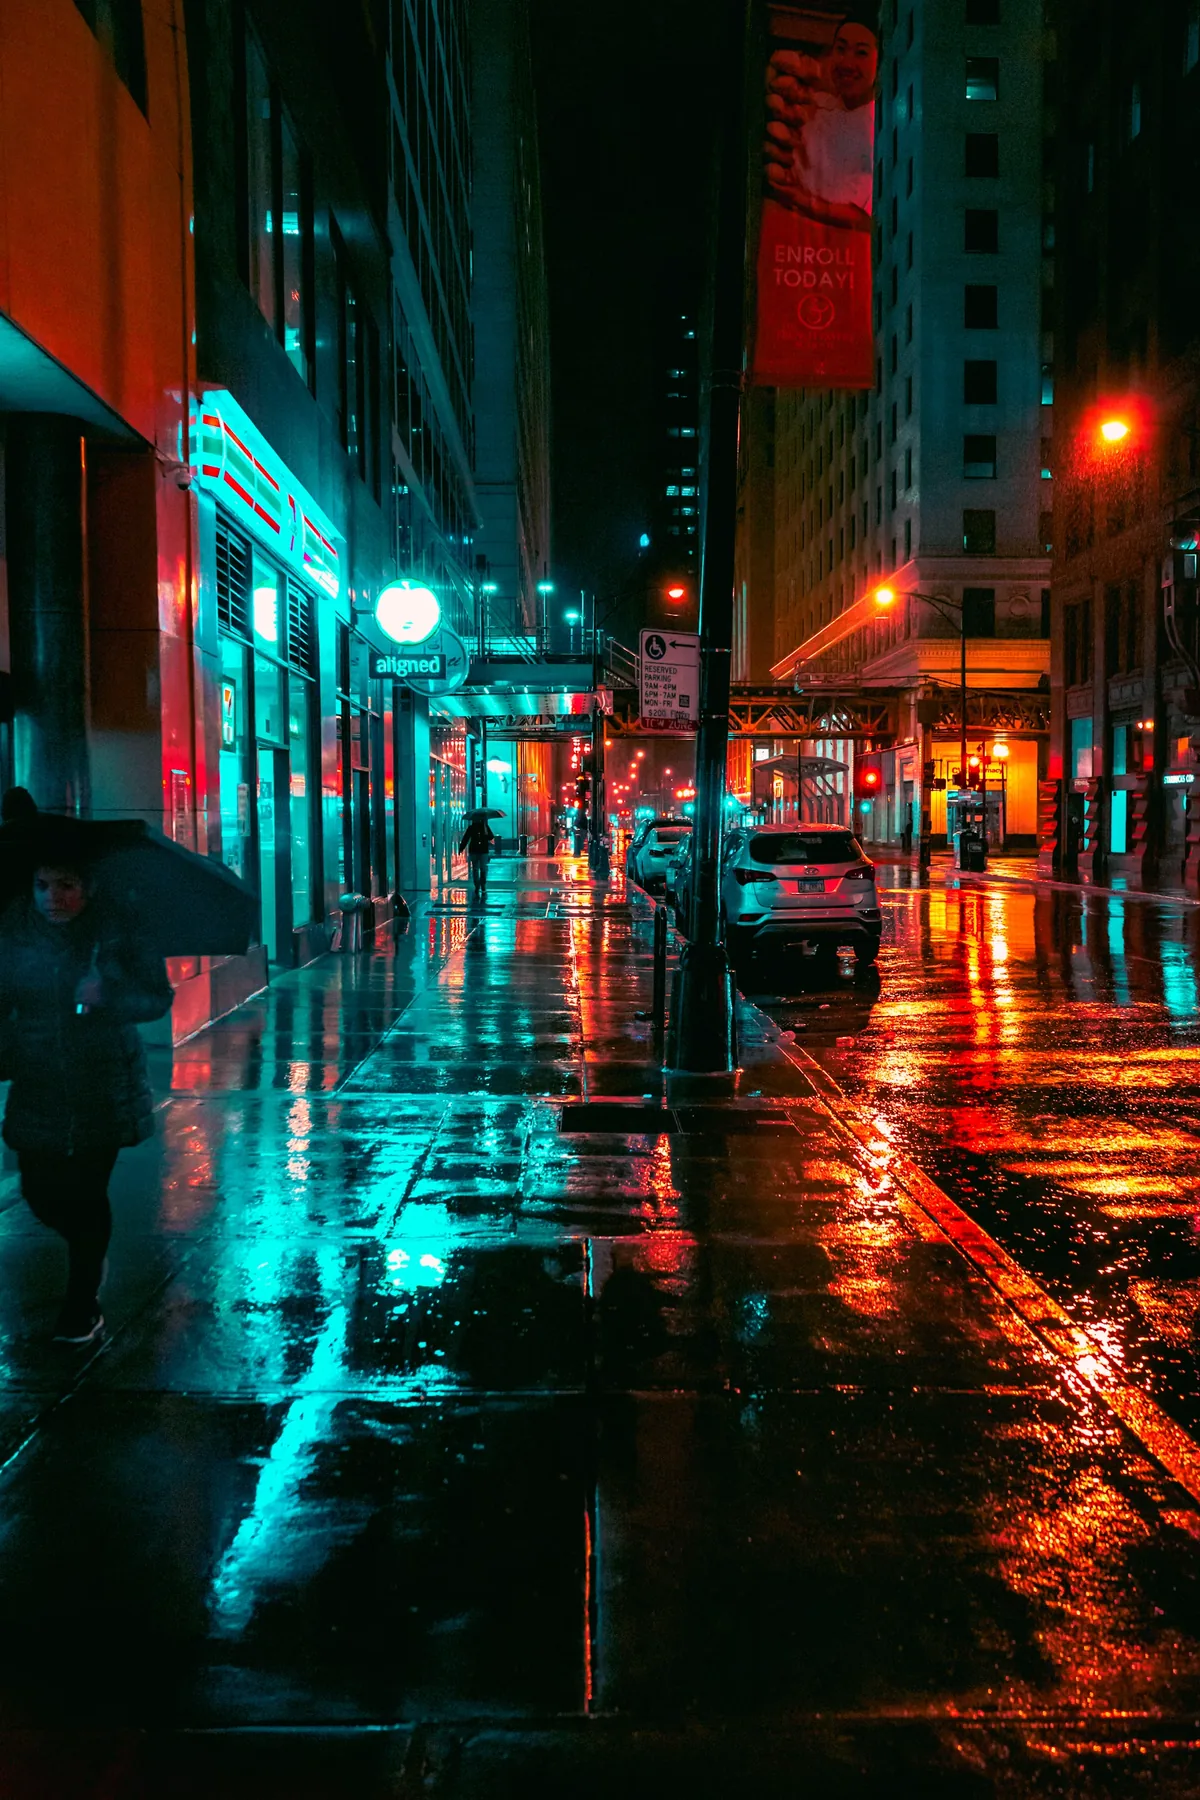
Focus when autofocus cannot see
Low contrast, backlight and flare can make autofocus jump between distant lights. Use a small focus area on a high-contrast edge at the same distance as the subject, then lock or switch to manual focus. Magnified live view is effective for static scenes; pre-focused zones work well for people entering a known patch of light. Do not trust an infinity mark without testing, especially with temperature changes or focus-by-wire lenses. Review fine detail at full magnification while there is still time to correct it.
Protect the color channels
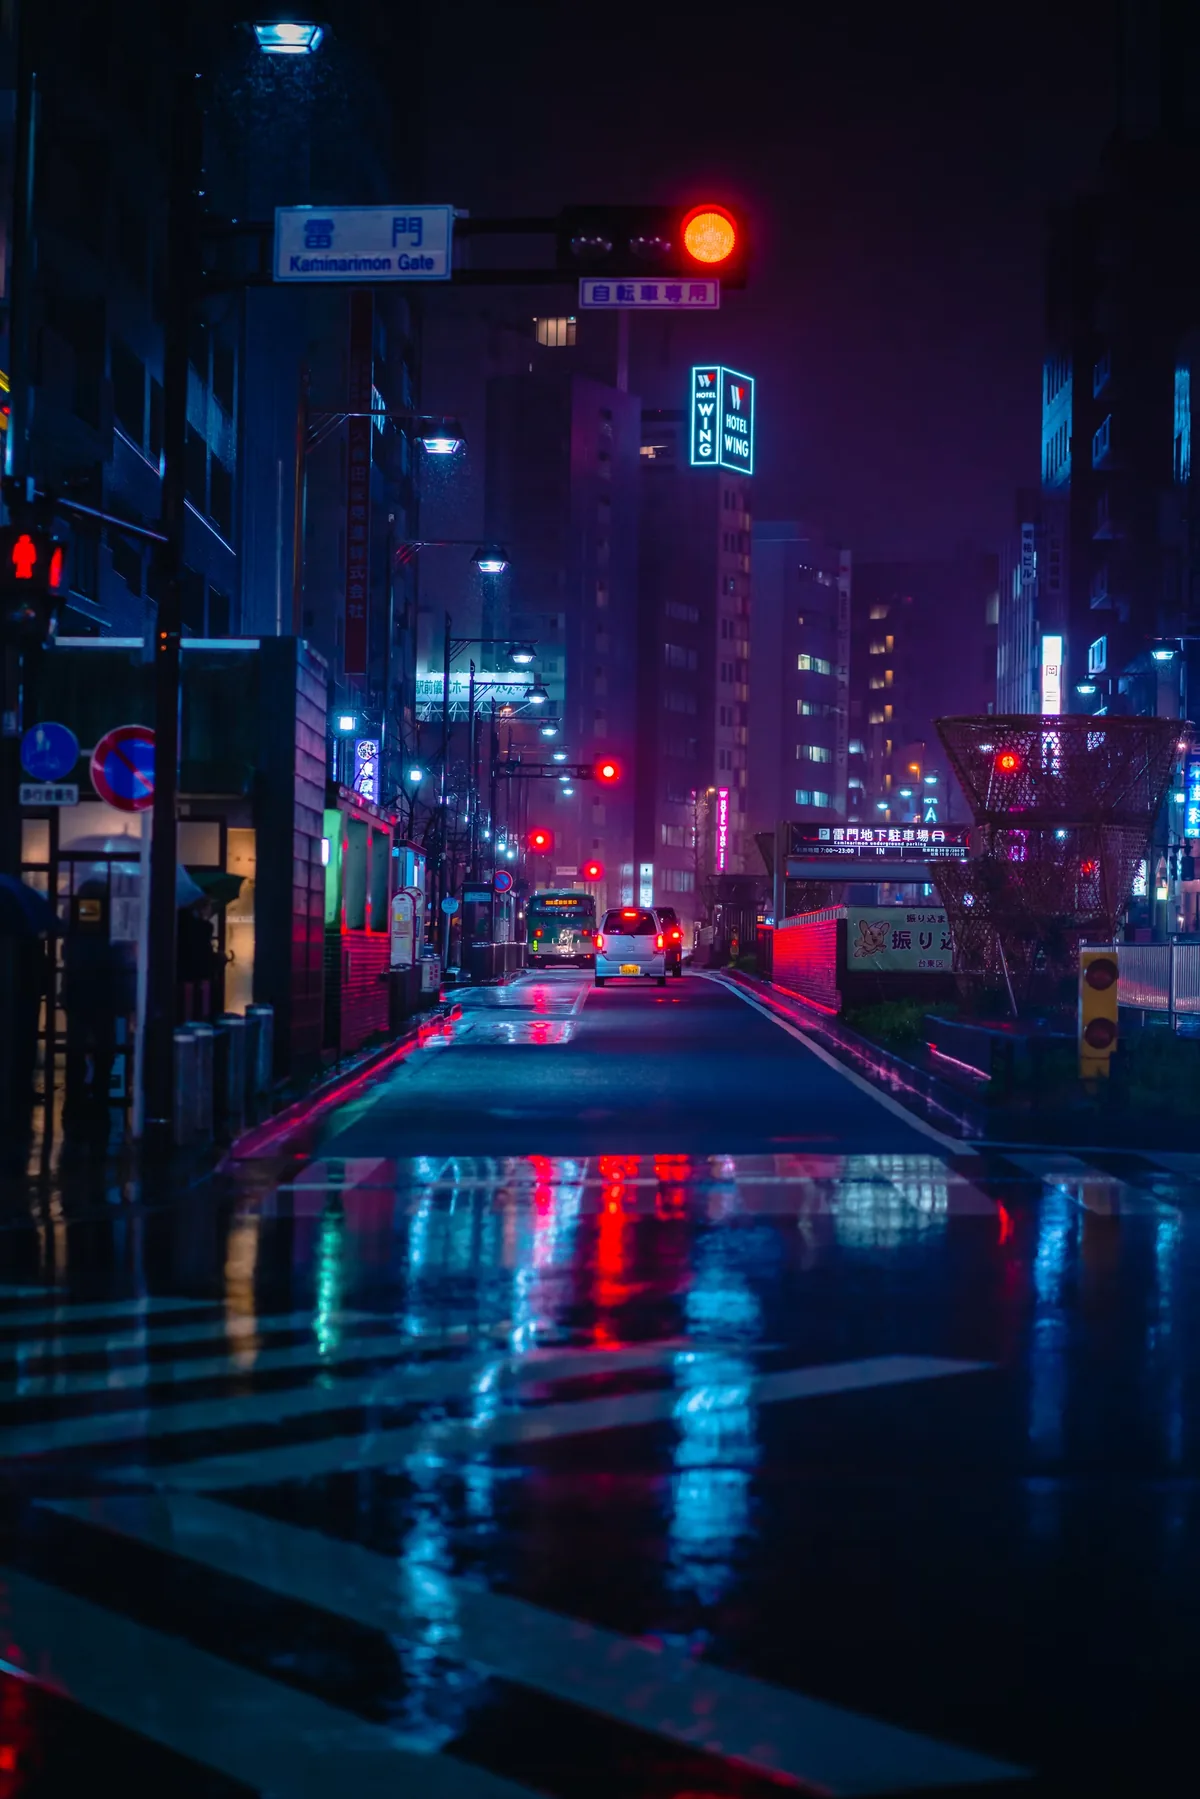
A red neon sign can clip the red channel even when the overall histogram looks safe. Enable RGB histograms or highlight warnings when the camera provides them and make a darker frame for intense sources. RAW files offer white-balance and highlight flexibility, but a saturated channel contains no hidden texture to recover. If the sign is important, expose it carefully and add light to the subject rather than raising the entire frame. The darkness around a color source is often what gives that color its force.
White balance with mixed light
Streetlights, LEDs, shop windows and vehicle lamps may all produce different color. Automatic white balance can neutralize the scene one frame at a time, making a sequence difficult to match. Set a Kelvin value that gives the dominant source a believable character and let secondary sources remain different. A gray card helps in controlled portraits, but it does not dictate the final mood. For documentary consistency, record the chosen value and avoid changing it unless the location’s lighting genuinely changes.
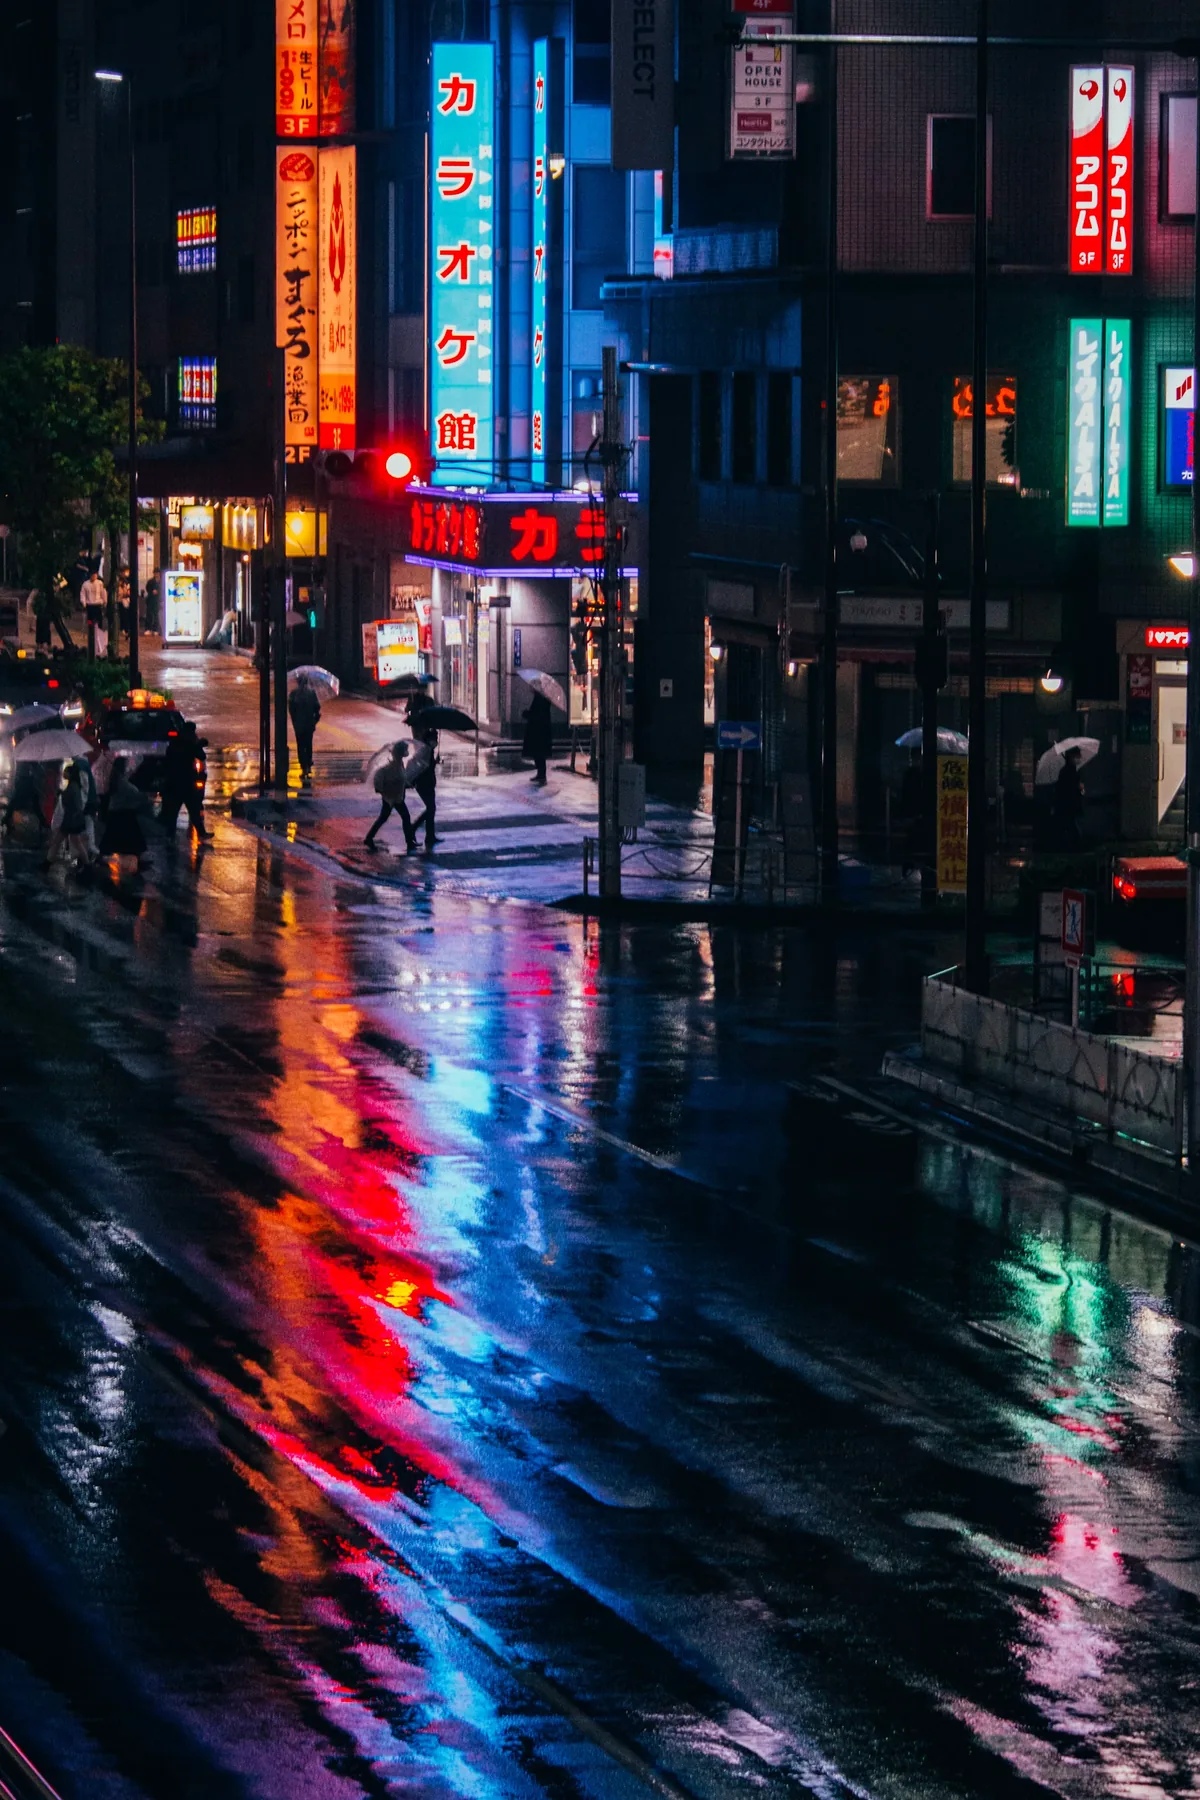
Rain, reflection and flare
Wet pavement doubles the available visual information by reflecting signs, traffic and windows. Lower the camera until the reflected shape becomes part of the composition, then protect the direct source from clipping. Keep the front element dry and clean because small droplets turn every highlight into flare. A lens hood helps even when there is no sun. Use flare deliberately: move a bright source near the edge and watch how the pattern changes. If it hides the subject or lowers all blacks, change angle before reaching for contrast in post.
Noise is not the only failure
A slightly noisy sharp photograph is often stronger than a clean frame blurred by subject movement. Set the shutter and aperture the image needs, then raise ISO responsibly. Underexposure lifted later can reveal more chroma noise and banding than a brighter in-camera exposure at a higher nominal ISO. Test the camera’s files rather than relying on general rules. Apply noise reduction selectively and preserve useful texture. Plastic skin and smeared shadow detail can damage credibility more than a fine, consistent grain pattern.
Build depth with pools of light
Night scenes become dimensional when separate light sources create foreground, subject and background layers. Look for a bright edge near the camera, a readable figure in a middle-distance pool and smaller points receding into the frame. Wait for gestures to enter the light instead of trying to rescue people from unlit areas. A small LED or bounced flash can help in a portrait, but it should have a direction and intensity that belong to the location rather than flattening the entire scene.
Edit while keeping night
Set a stable white balance, correct lens flaws and establish the brightest important highlight before opening shadows. Use local adjustments to guide attention rather than raising black levels globally. Color noise may need more treatment than luminance noise. Compare adjacent images so a series does not alternate between orange, blue and neutral without a narrative reason. Most importantly, let some areas remain unreadable. Darkness is not missing information to be repaired; it is one of the visual materials that makes a night photograph feel like night.