Learn what the camera cannot change
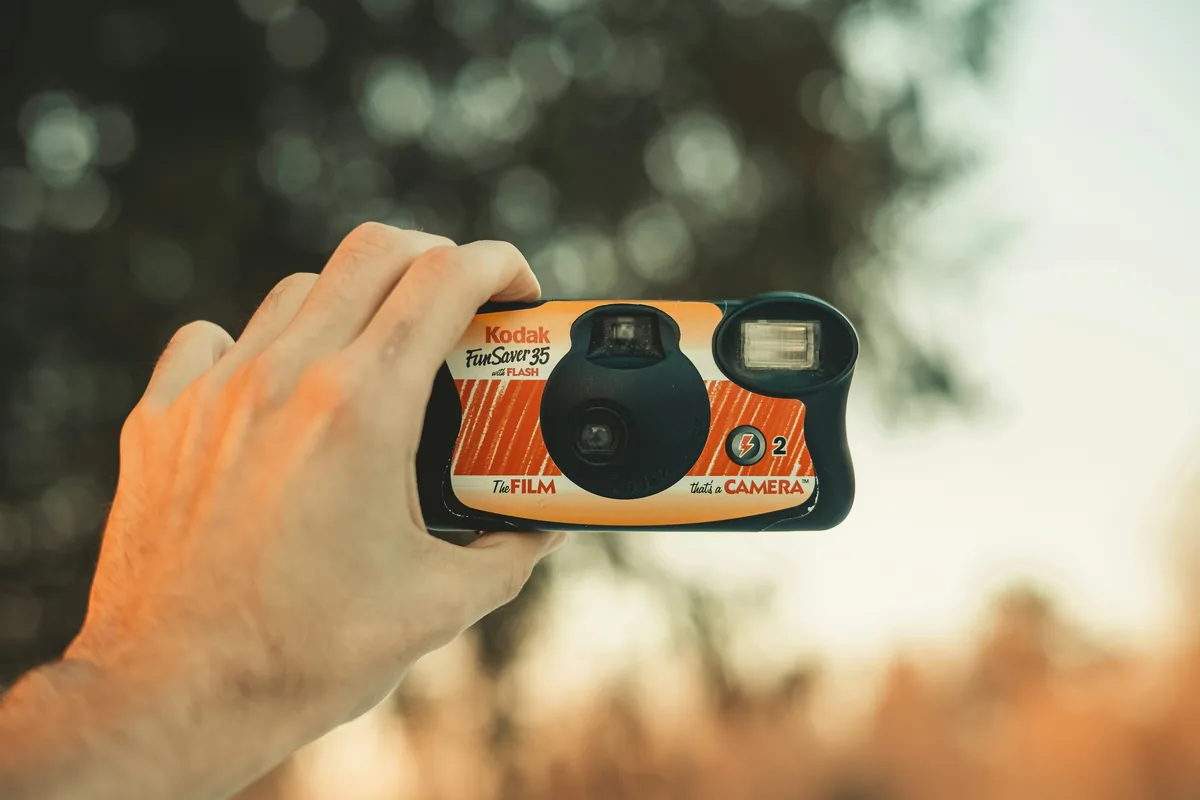
A disposable camera normally fixes focus, aperture and shutter speed, leaving the photographer with composition, distance, light and flash as the meaningful controls. That limitation is useful once it is accepted. Instead of searching for a setting, look at the scene and ask whether the available light can reach the film. Small plastic lenses and modest shutters are forgiving in bright conditions but quickly lose shadow detail indoors or near dusk. Read the instructions printed on the specific camera because film speed, flash range, minimum focus and waterproof limits vary. A general guide can improve judgment, but the label on the body remains the operating manual for the roll in your hand.
Choose light before choosing a subject
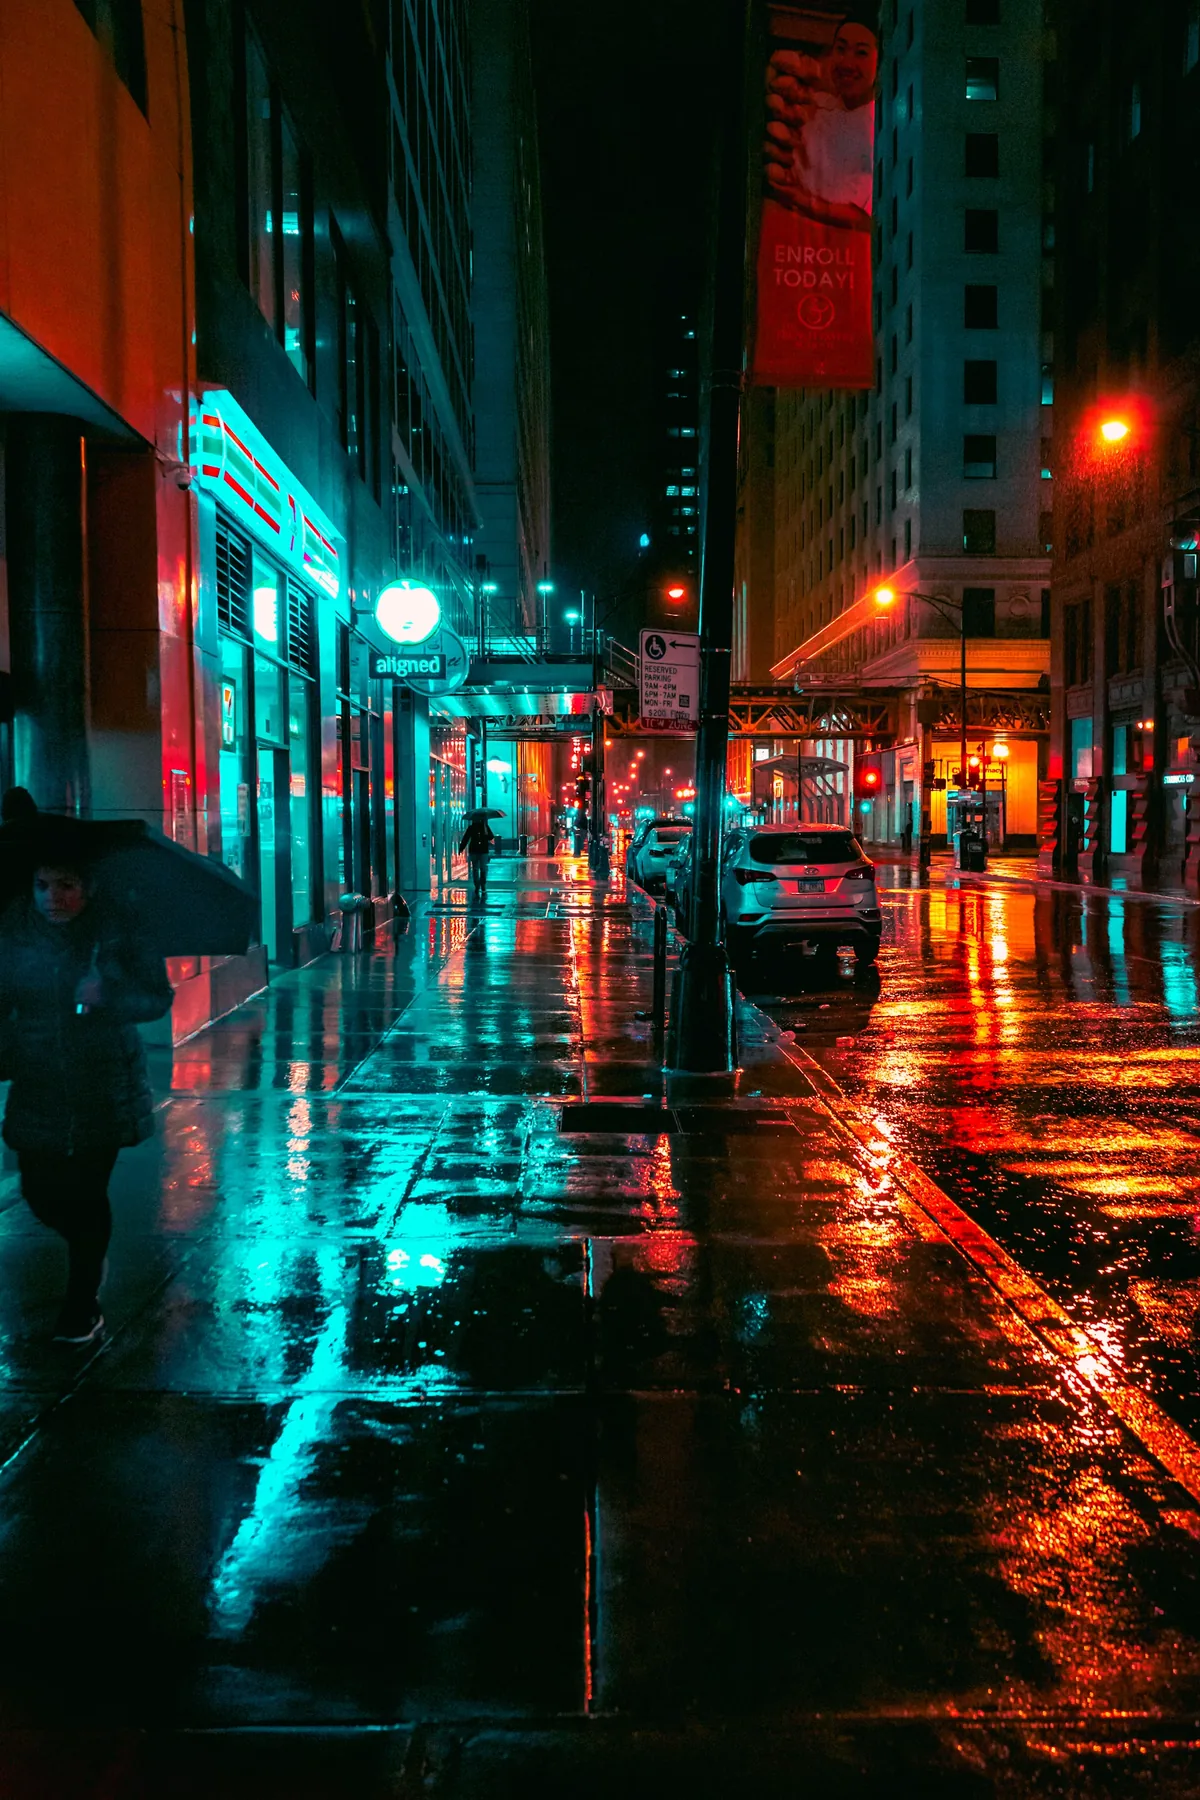
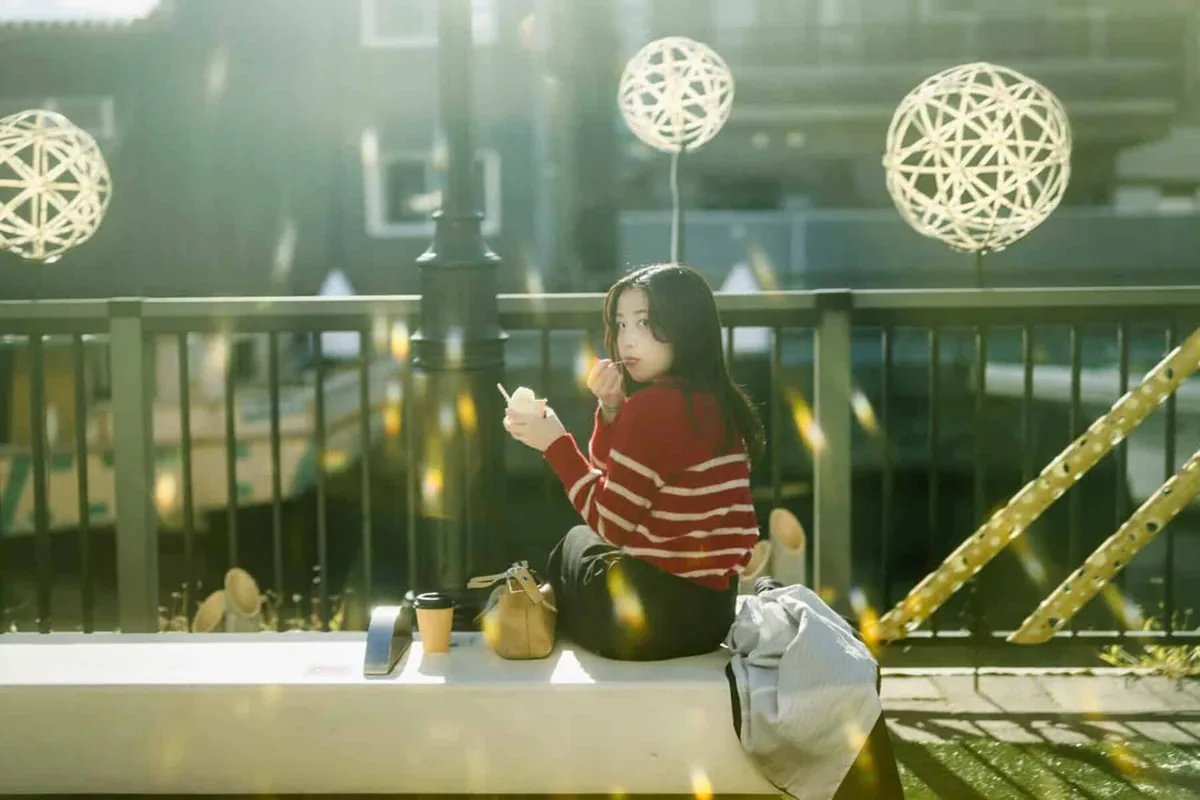
The safest light is bright daylight or open shade with the subject facing a broad source. Midday sun creates enough exposure but can carve deep shadows into eyes and faces, so move a portrait under the edge of a building or tree while keeping the background from becoming much brighter. Indoors, window light can work if the subject stands close to the window and remains still, but the built-in flash is often more dependable. Avoid assuming that a bright-looking room is bright to film; human vision adapts far more than a fixed camera does. If you cannot see clear directional light, prepare to use flash and shorten the subject distance.
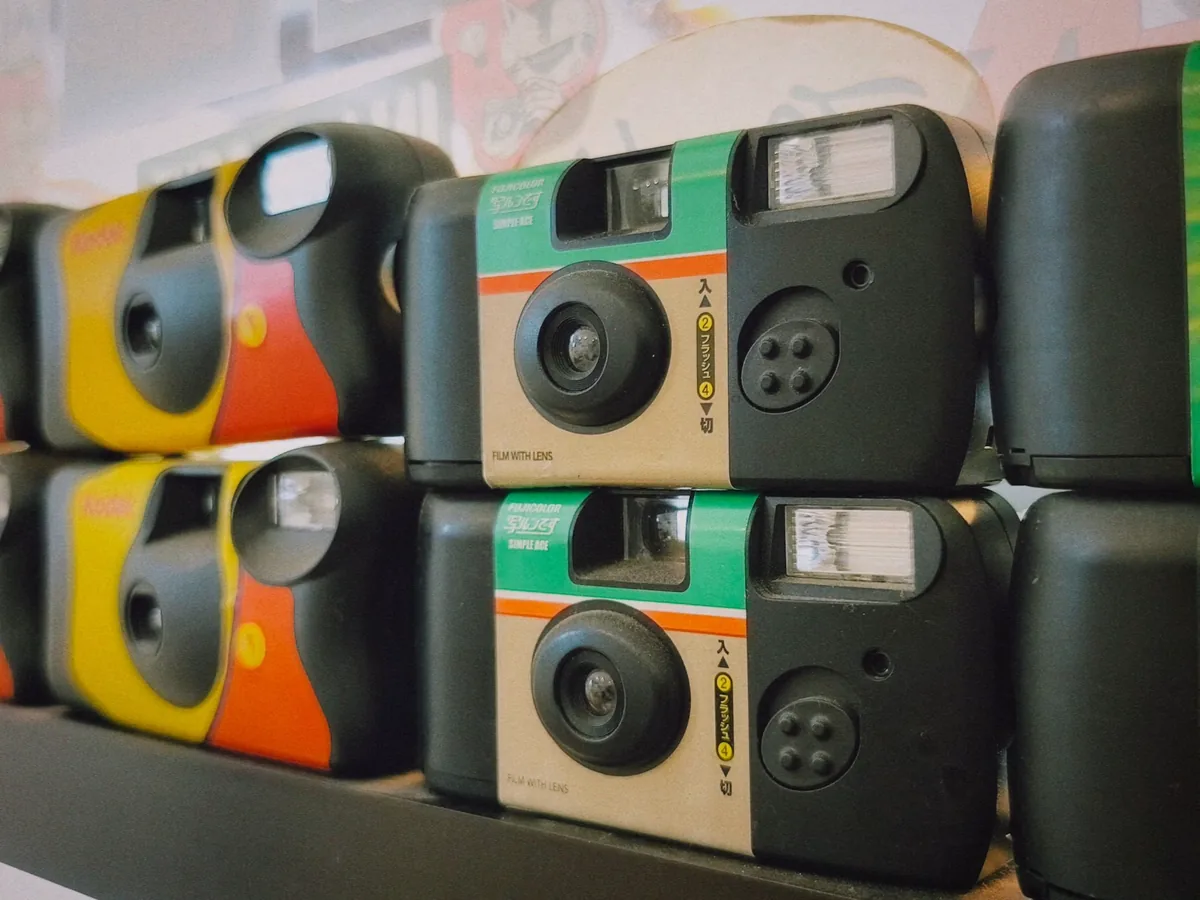
Treat flash as a distance tool
A small flash illuminates nearby people, not an entire venue. Check the camera’s stated range and keep the important subject inside it. On Fujifilm’s announced QuickSnap Black and White, for example, the company specifies approximately 10 feet. At a party, that means moving closer rather than firing from the back of the room. Give the flash time to charge, look for the ready indicator if the model has one, and ask people to pause through the exposure. A subject two feet from the camera can be harshly lit while the background disappears; stepping back slightly and including a reflective wall can produce a more balanced frame. Never cover the flash with a finger.
Protect the lens and compose beyond the finder
The lens sits close to where many people naturally grip the body. Before every exposure, check that a finger, strap or piece of packaging is not crossing it. The simple optical finder may not show exactly what the film records, especially at close distance, so leave a little space around heads, hands and feet. Keep the horizon intentional and inspect the frame’s edges for poles, bright signs and half-cut people. Disposable-camera photographs feel spontaneous because the equipment is quick, but a half-second spent cleaning the edges can separate a lively frame from a careless one. For group pictures, arrange people on roughly the same plane so fixed focus has an easier task.
Respect minimum distance and motion
Fixed-focus cameras are designed around a useful middle distance, not close-up detail. A flower, plate or face held inches from the lens is likely to be soft even in bright light. Follow the minimum-distance guidance printed on the camera and step back when uncertain. Shutter speed is also fixed on most models, so subject movement and camera shake become visible in lower light. Hold the camera with both hands, tuck elbows toward the body and press the shutter smoothly. For moving subjects, photograph where the movement briefly pauses: the top of a jump, the turn of a head or the instant a runner changes direction. Bright light provides more margin, but timing still matters.
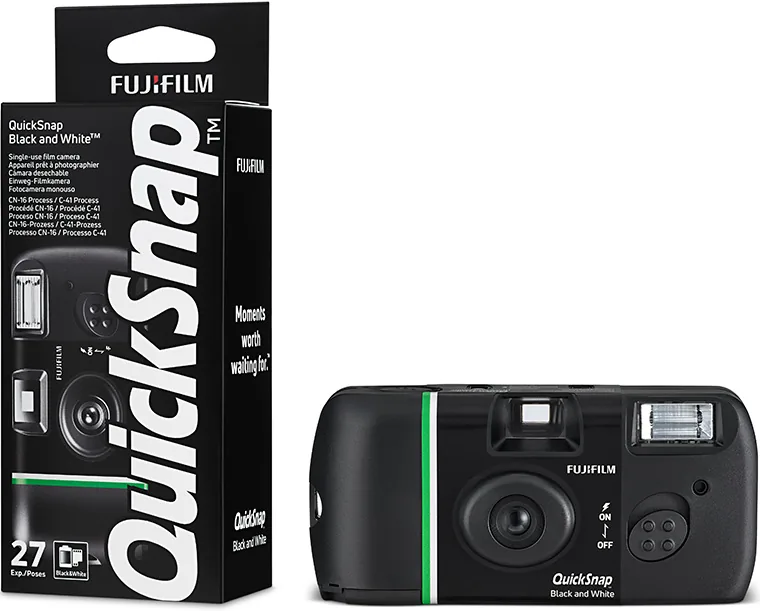
Use all 27 frames as a sequence
The roll becomes stronger when it describes an experience rather than repeating one pose. Begin with an establishing frame that shows the place, then make medium views of relationships and close details within the camera’s focusing limit. Look for transitions: arriving, waiting, preparing, reacting and leaving. Do not spend half the roll on ten versions of the same group picture. A useful rhythm might include one wide frame, two people, one gesture, one object and one quiet ending. Write a few notes after shooting because there is no digital metadata beyond what the lab may add. Dates, names and locations turn inexpensive photographs into a durable personal or documentary record.
Waterproof models need different expectations
A waterproof disposable camera is valuable because it can go where a phone or conventional camera should not, but water changes color, contrast, distance and visibility. Stay within the manufacturer’s depth rating and avoid opening the housing. Work close to the subject because suspended particles reduce clarity over distance. Sunlight entering from above or behind the photographer usually gives more color than pointing into deep water. Bubbles, surface reflections and the transition between water and air can create the most distinctive frames. After use, rinse exterior salt or sand according to the maker’s instructions and let the housing dry before handing it to a lab. The protective shell is not permission to ignore its limits.
Choose a lab before the final exposure
Processing quality can matter as much as the camera. Before dropping off the roll, ask whether the lab processes the film type, returns negatives, supplies full-resolution JPEG or TIFF files, and applies automatic corrections. Requesting negatives is essential because they are the original record and can be rescanned. Avoid evaluating a frame solely through a small social-media download. A basic scan may hide grain structure, clip highlights or apply aggressive sharpening. If one photograph matters, ask the lab about a higher-resolution rescan from that frame. Keep the order of the negatives and match filenames to any notes. A clear archive prevents the 27 exposures from becoming anonymous files.
A practical pre-shutter checklist
Before pressing the shutter, confirm five things: the lens and flash are unobstructed; the film has been wound; the subject is within the useful focus and flash distance; the brightest background will not overwhelm the subject; and the frame edges are clean. After pressing, hold still for a beat and wind only when the moment has passed. Do not open the camera when the counter reaches zero. Label the body with the date and event, then send it to a qualified lab or retailer. This modest routine does not remove the charm of a disposable camera. It protects the spontaneity by preventing the small mechanical mistakes that cannot be corrected after development.