Night city footage begins with clear decisions
The easiest way to make city-night video feel amateur is to let the camera chase every possible idea at once. Neon, wet pavement, traffic, pedestrians and a handheld pan all compete for the viewer’s attention. A single-lens setup helps because it forces a clear set of priorities: what kind of movement matters, what should stay fixed, and what the frame is supposed to reveal. The best night footage often comes from limiting the kit and then using attention as the real production tool.
Choose a lens that will hold a consistent visual language
A fast normal or short telephoto lens is ideal for this kind of work because it is responsive and less likely to carry you into random, distracting compositions. When you are working with one lens, the decision becomes simpler: how much of the city do you want to include, and how much of the subject should remain isolated? A 35mm or 50mm lens often gives a useful balance for street scenes, while a 24mm can be powerful for architecture and movement across a broad space. The point is not the exact focal length. It is the ability to get the same visual logic from one frame to the next.
Start with exposure, not with a LUT
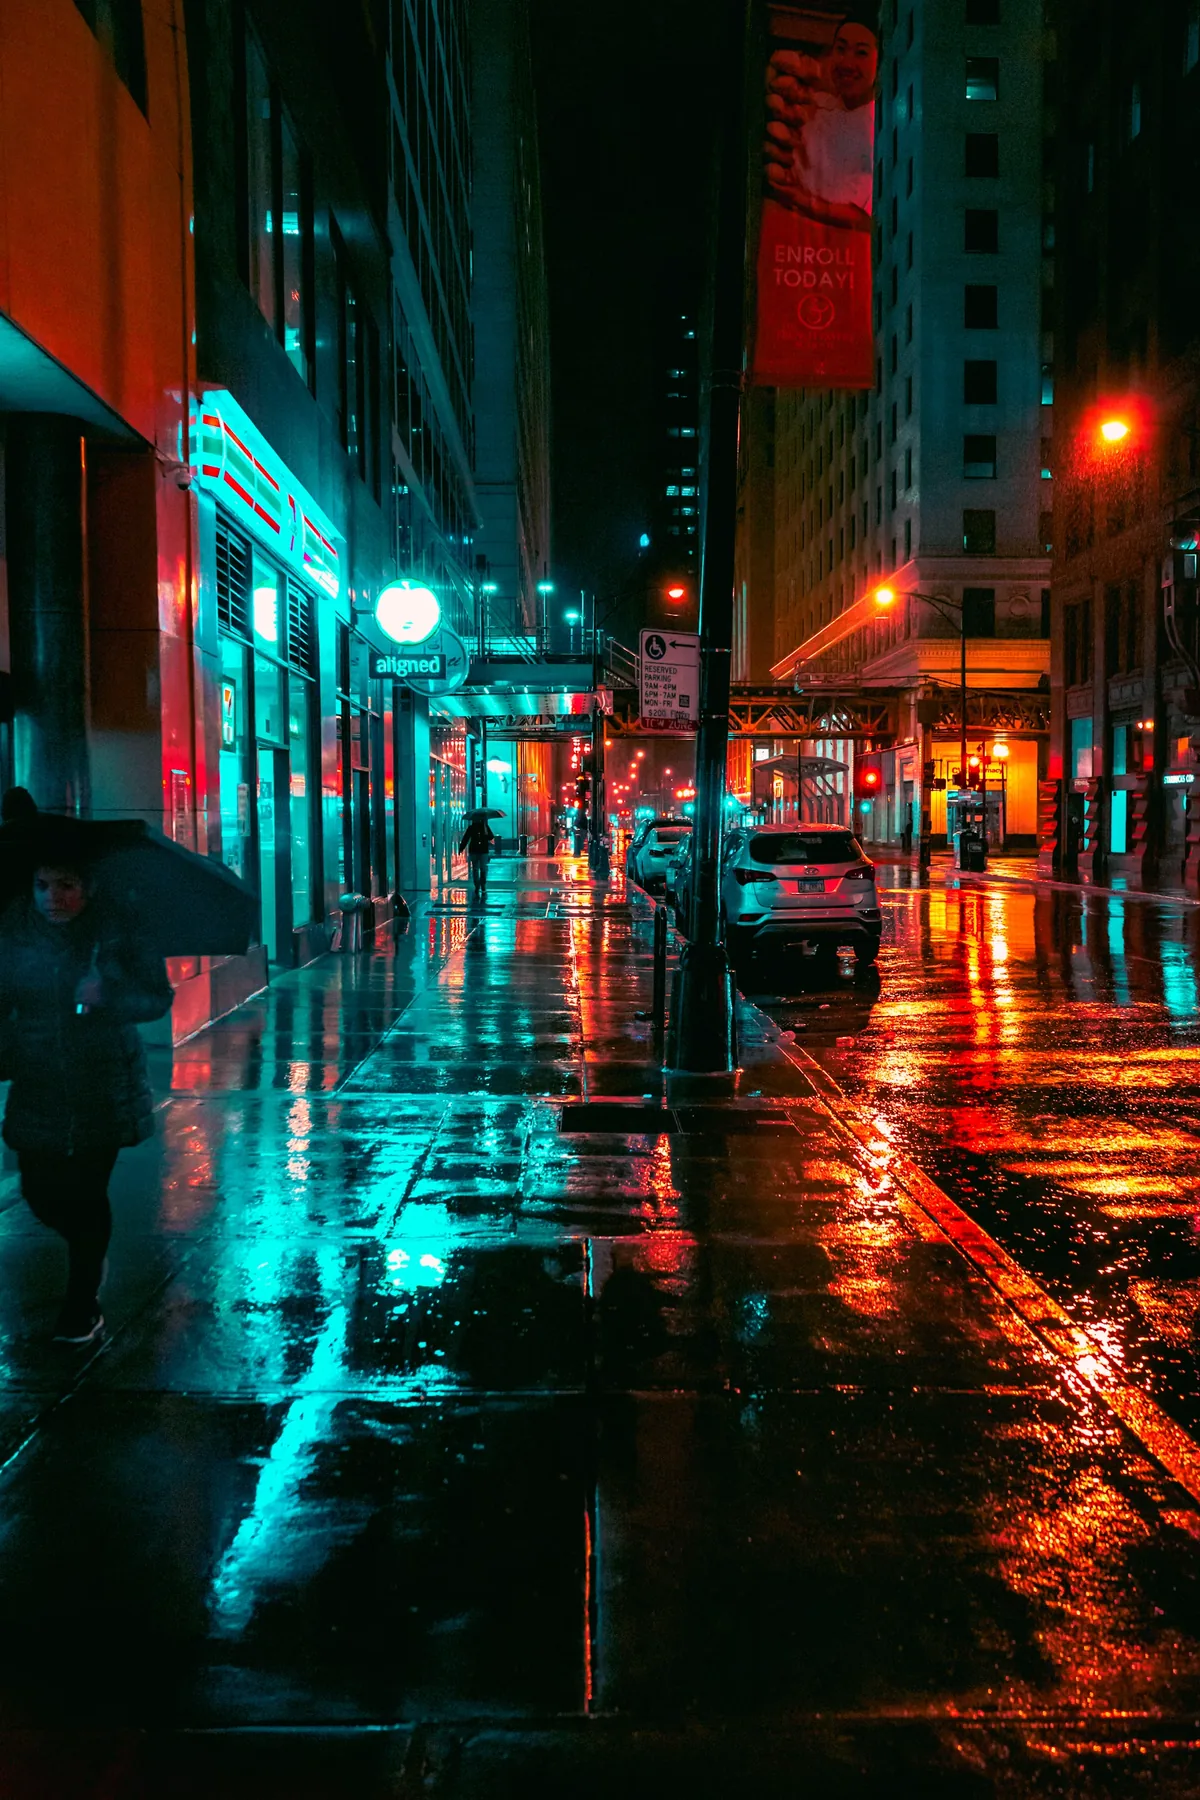
At night, a practical place to begin is to expose for the brightest important light and keep the rest of the scene readable rather than overly dark. A small sign, a storefront or a face can become the anchor of the frame; the rest of the tones can be allowed to fall back. If the whole image feels flat and overexposed, the problem is usually not the available light but the fact that the camera has been allowed to average everything equally. Protect the highlights first, then let the shadows hold structure through contrast and composition.
Use the shutter angle to create rhythm
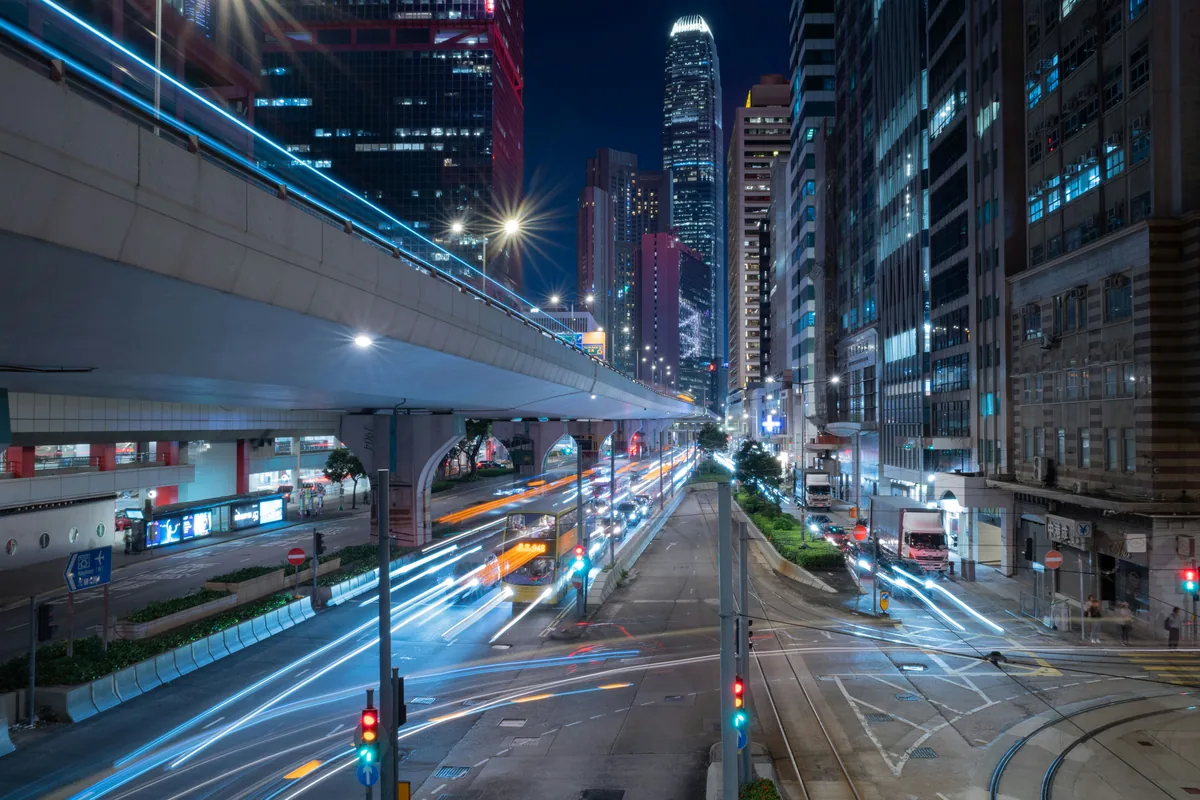
A 180-degree shutter angle is still the best starting point for many city-night scenes because it produces natural-looking motion blur without feeling too mechanical. If the subject is a walking figure or a moving car, you can decide whether the blur should carry the atmosphere or whether the cut needs a cleaner, more deliberate motion. At night this matters even more because the viewer is already reading the scene through darkness, reflections and changing light. Keep your motion consistent: if the camera is smooth and the subject is not, the viewer will understand the city as a moving environment rather than a cluttered one.
Movement matters more than speed
A camera move becomes cinematic only when it reveals something useful. A slow push toward a figure, a gentle tilt across a wet street or a stable pan with a passing bus can feel deliberate if it carries the viewer toward the subject. Handheld work can be excellent when it is planned: move with the subject’s rhythm, not against it. Use a tripod or monopod when the shot demands a stable background and the scene is quiet enough to carry the stillness. A camera move with no clear story will always feel like motion for its own sake.
Sound is not a bonus layer—it is part of the image
Night city footage may look alive, but the sound will decide whether it feels real. Traffic, footsteps, distant sirens and wind along a building all help build the emotional space. If your capture is quiet, the scene can feel sterile, no matter how good the color or exposure is. Keep the microphone close to the subject when possible, use a deadcat or windshield when the weather gets wet and record enough clean ambient sound to edit with confidence. A single-lens film can work beautifully if the sound feels like it belongs to the place.
Use reflections as a second visual layer
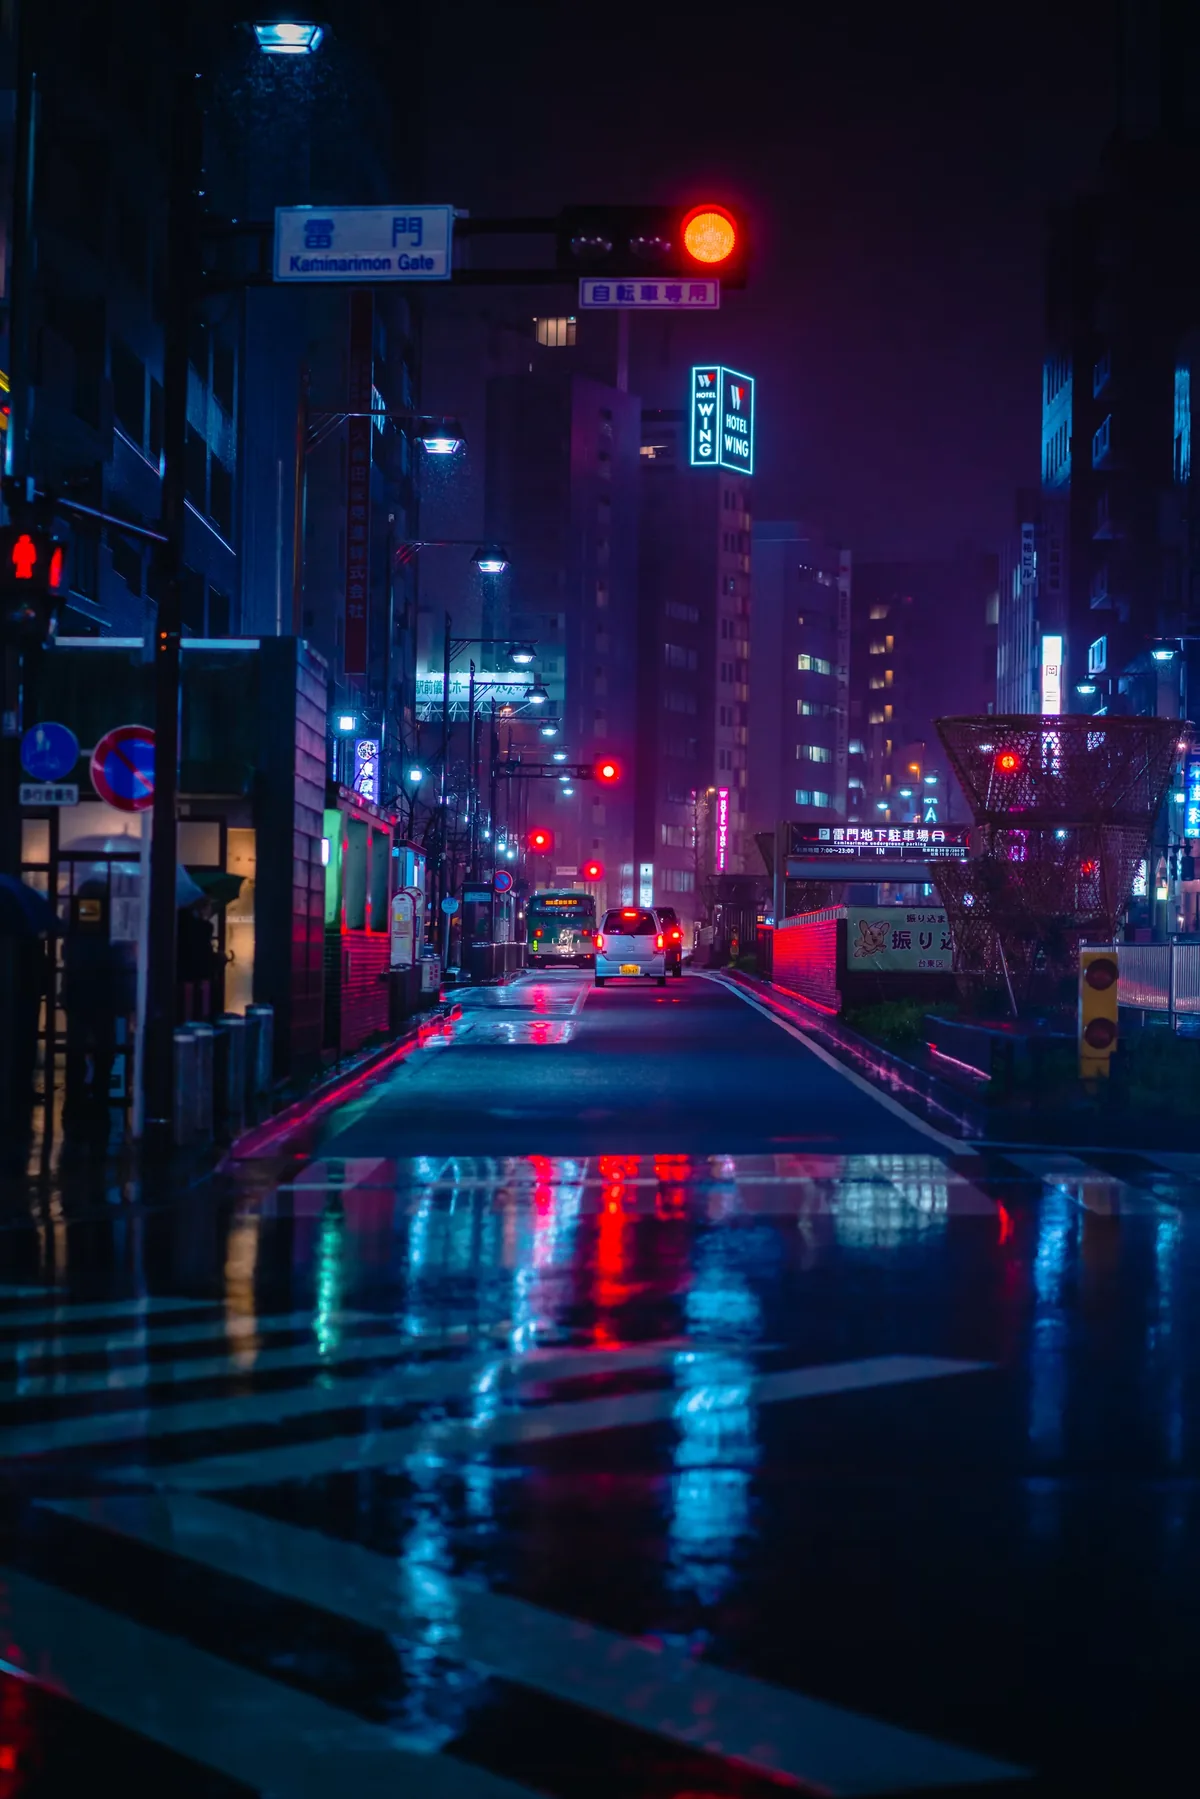
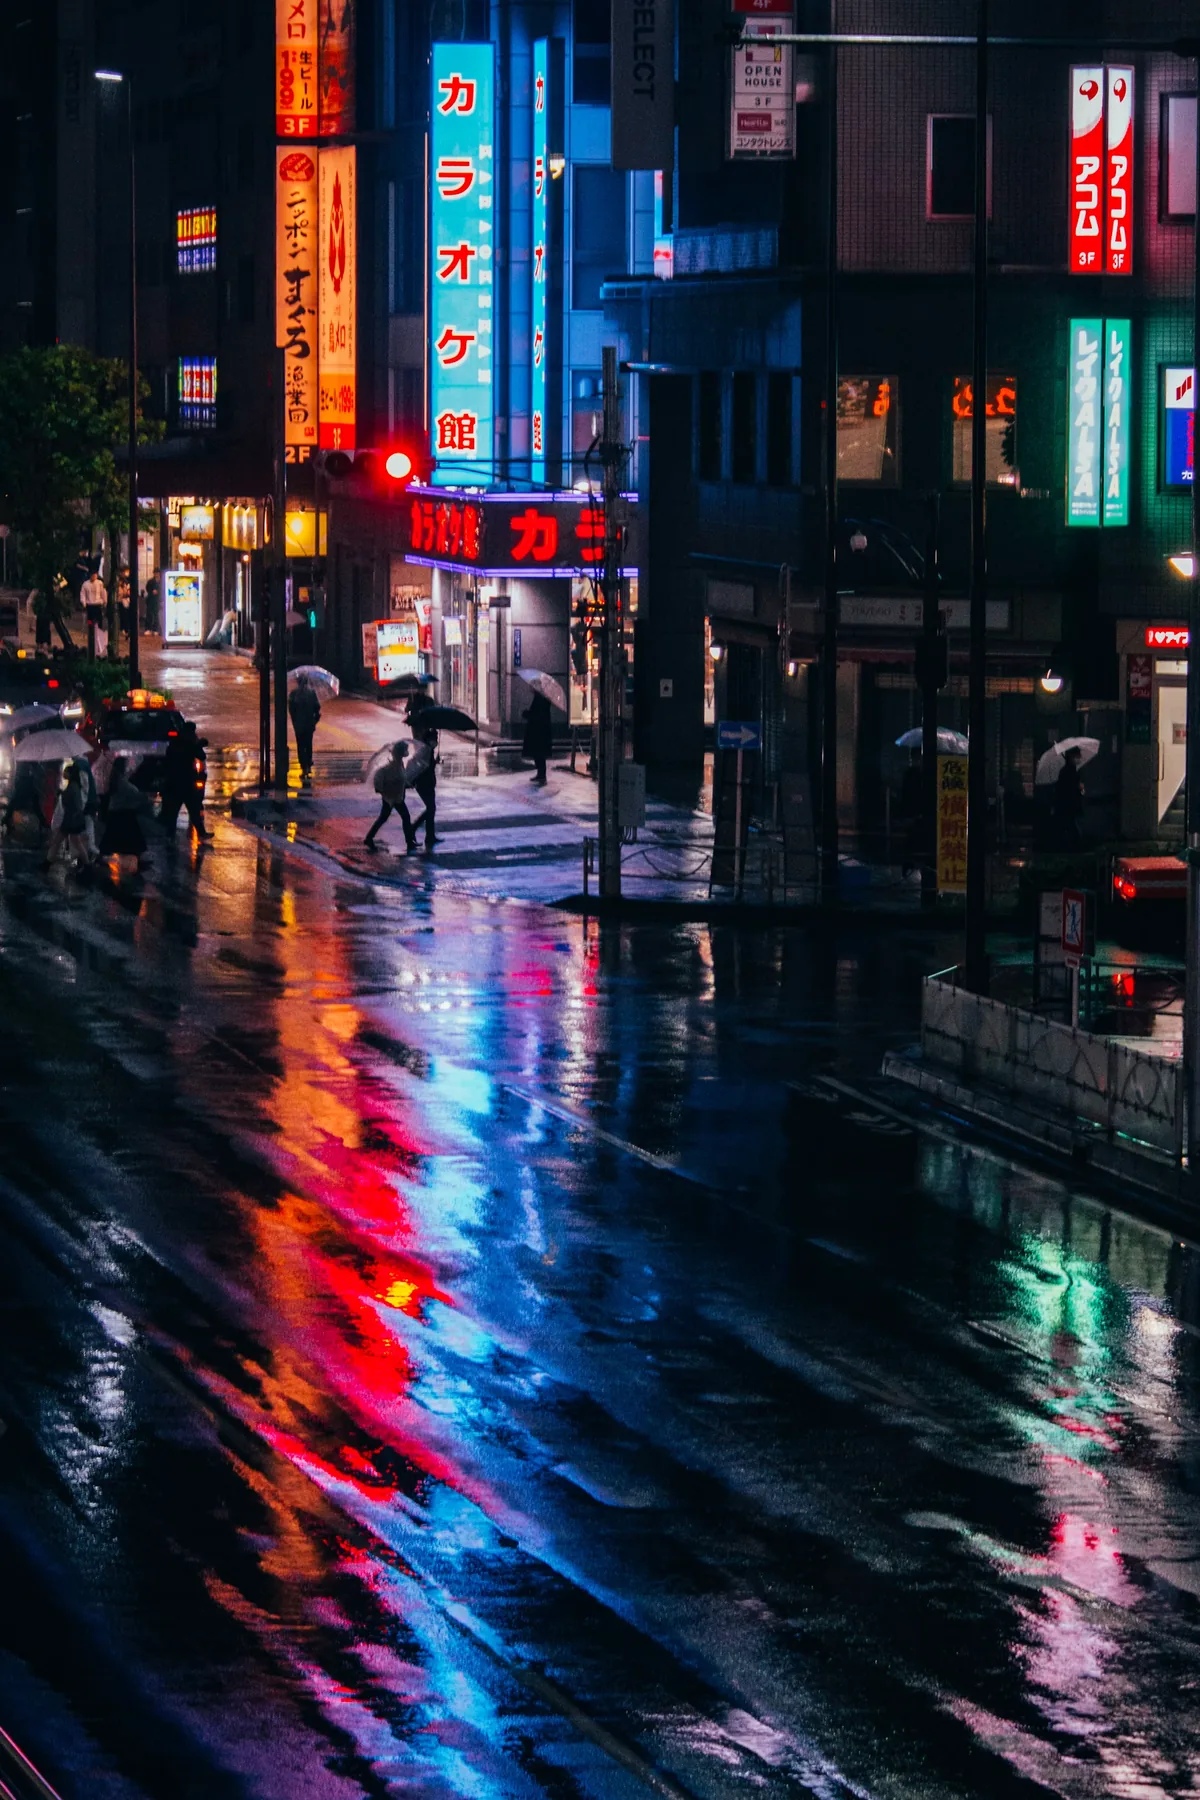
Wet pavement is one of the most useful night-city tools because it makes the street reflect light back into the frame. This can add structure and depth, but it should not become a random visual effect. Keep your composition in a form that uses the reflection to lead the eye rather than distract from the subject. Reflections are most valuable when the subject has a clear silhouette or a strong line of movement. In other words, make the pavement carry the scene rather than hoping the pavement alone will be enough to justify the frame.
Edit for atmosphere, not just coverage
When you are shooting with one lens, you will probably end up with more repeated compositions than dramatic variation. That is useful. The edit becomes a study in rhythm: one wide shot, one medium, one close detail, one observation of motion, one moment of stillness. This structure is what gives city-night footage a story. If the sequence is all traffic and all neon, the film will feel decorative. If you place a brief pause or a reflective moment between moving frames, the viewer gets time to understand the city as a place rather than a collection of lights.
A field checklist that keeps the work honest
Before you begin, confirm framing, exposure, shutter angle, lens focus and the way your camera handles low-light color. Use a test clip to check whether highlights are clipping and whether the city lights are turning into solid blocks instead of crisp color. Keep a dry cloth, spare battery and clear plan for where you will record sound. If you are working in a wet environment, a practical weather kit matters more than a second lens. The goal of a single-lens setup is not to be minimal for its own sake; it is to be disciplined enough to see the city with intention.
The Camera Post view
The best city-night video is not made by high-end gear alone. It is made by a clear understanding of what the city is doing with light, where the eye should move and how the sound and motion support the frame. One lens is often enough when the production logic is strong. What matters is not whether the camera is impressive; it is whether the footage feels as if the photographer lived in the environment long enough to understand its rhythm.