Start with the size of the final picture
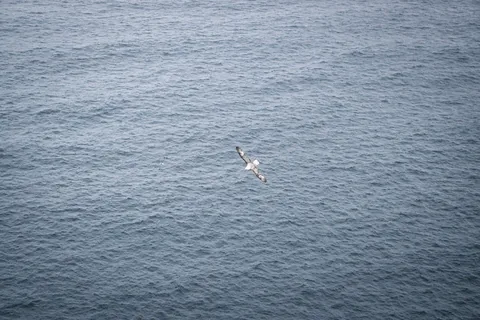
Open a flight photograph with room around the bird and make three virtual copies or nondestructive crop versions. Give them the same aspect ratio and display size. A bird that looks beautifully detailed on a full monitor may become a speck on a phone. Conversely, a tiny bird over a broad stretch of water may be precisely the point. Decide whether a reader needs to identify a feather pattern, follow the flight path or recognize the scale of the surrounding habitat.
Read the shape before moving an edge
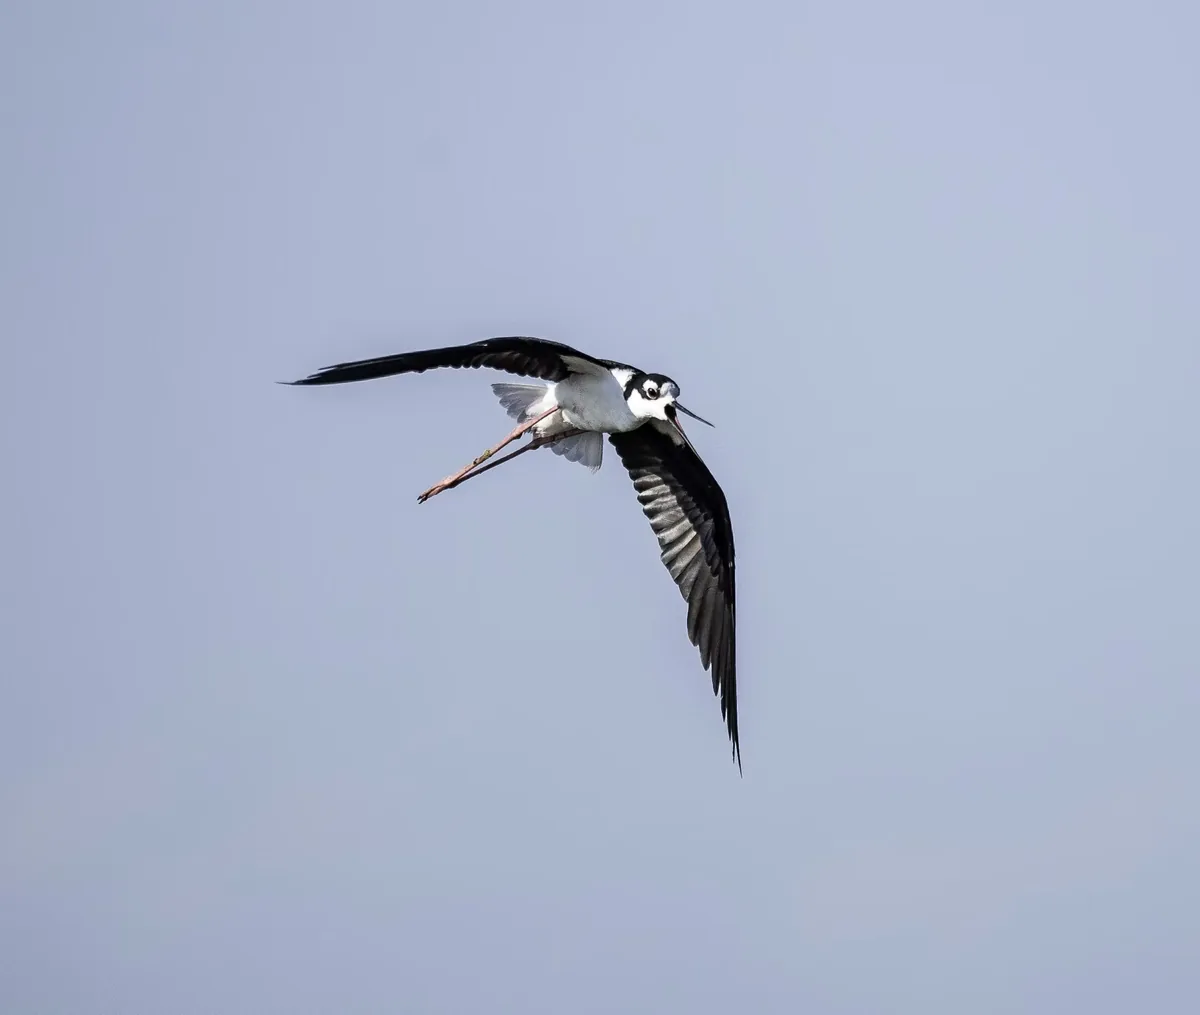
In the first version, bring the frame in until the bird’s outline reads clearly. Trace from the beak to the outermost feathers and check both corners near the extended wings. A sliver of sky between a feather and the edge can look like an accidental near miss. Try opening that edge until the gap feels deliberate. If the original already clips a wing, compare a closer detail crop with a different frame from the burst before committing to either.
Make the direction visible
For the second version, leave space on the side toward which the head points. Move the bird across the frame without changing its size, then compare the two placements. A bird turning toward the camera may have almost no obvious sideways travel. In that case, the diagonal between the wing tips can provide a stronger organizing line than the direction of the beak. Check the new margins for bright patches that compete with the head.
Give the habitat a vote
Return to the uncropped file for the third version. Keep enough of the water, shoreline or sky to show what the bird is crossing. In the lead photograph, the expanse of sea gives the small figure a sense of scale. Compare all three versions as thumbnails and write a one-line caption for each. If the habitat disappears but the bird still lacks readable detail, the middle crop may deliver neither idea. Keep the wider view or select a technically stronger original. In the field, allow the bird to follow its own course and maintain a respectful distance.